


A while ago on a Etsy shop I really like ( Pontiac Dry Goods)).and it’s epic! I wear it all the time in the studio as if just putting it on makes me more creative.
That apron became a real source of inspiration (I even wrote a whole post about it!) and it sparked the idea for my new Downloadable sewing pattern. Wouhouuu!
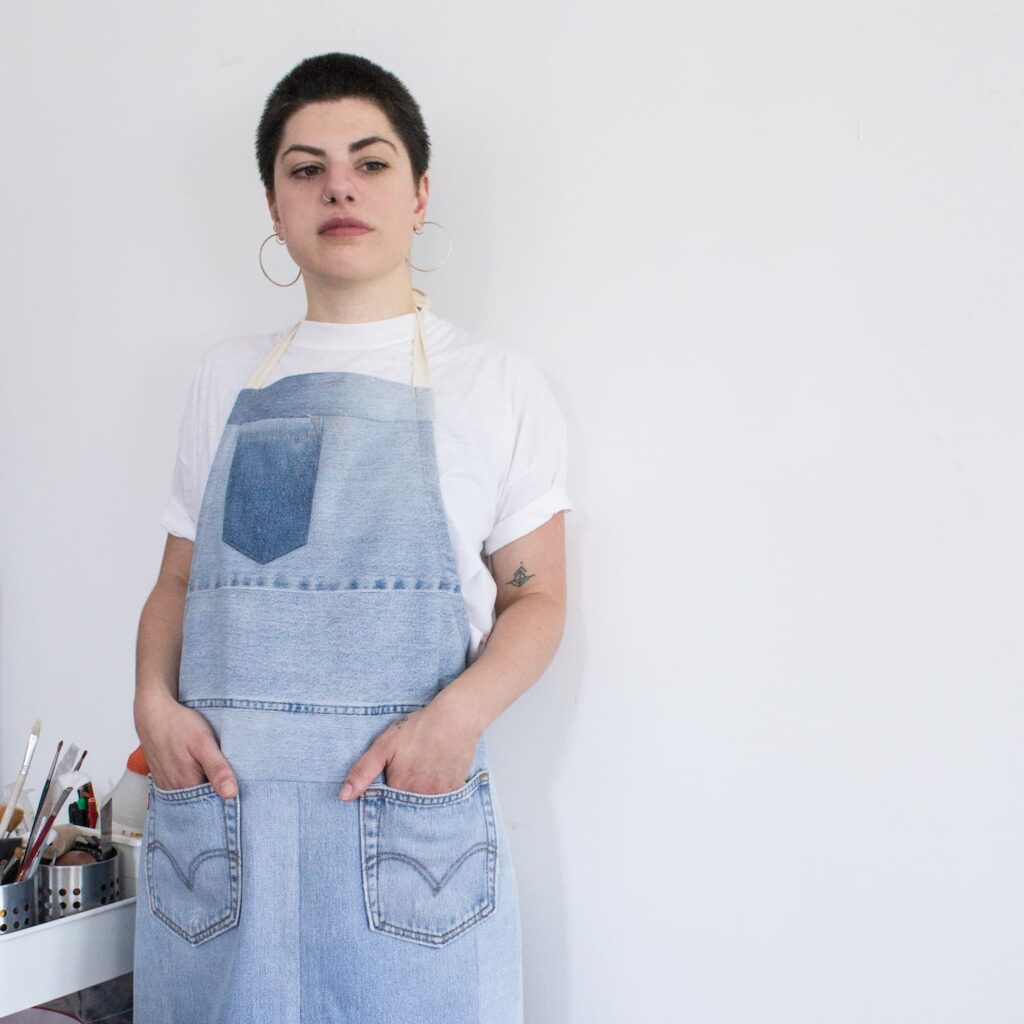
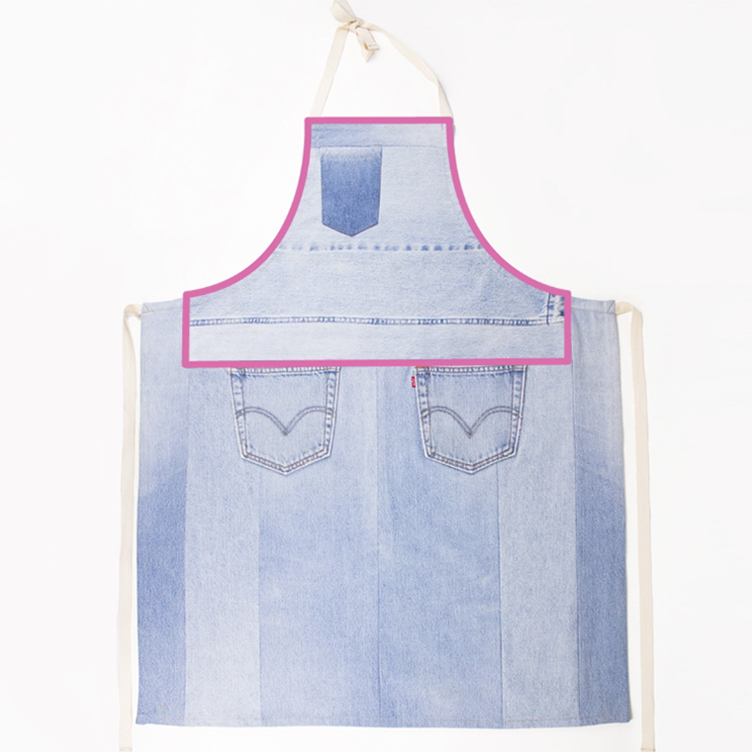
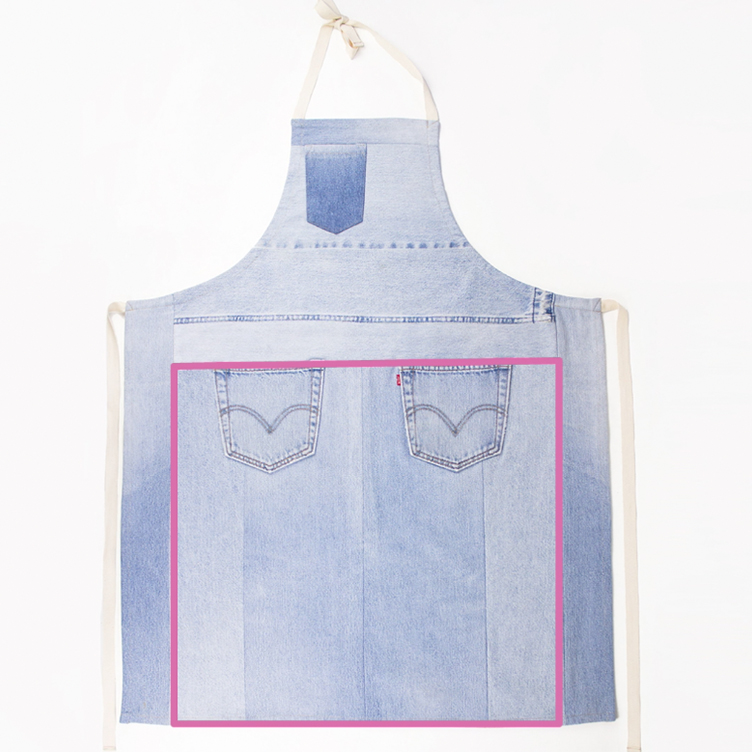
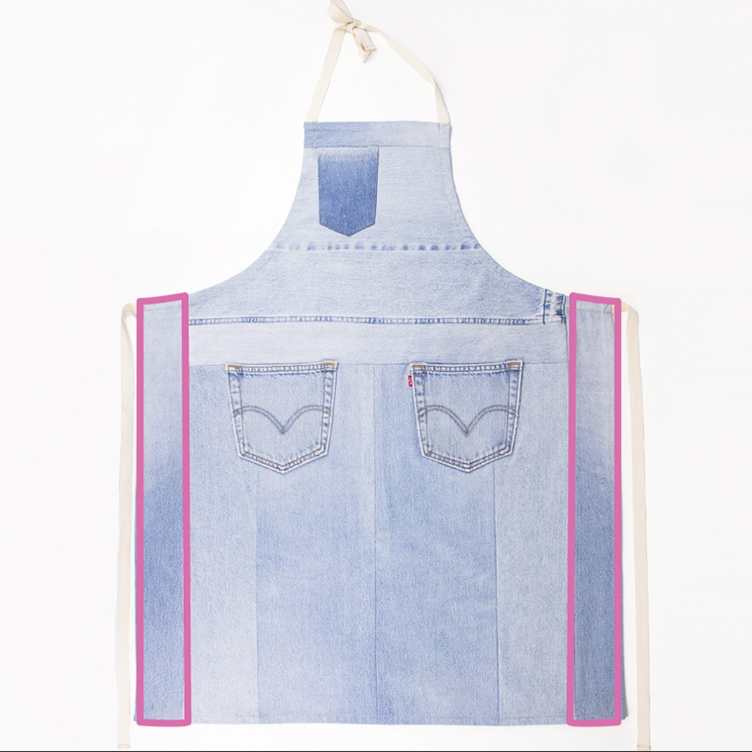
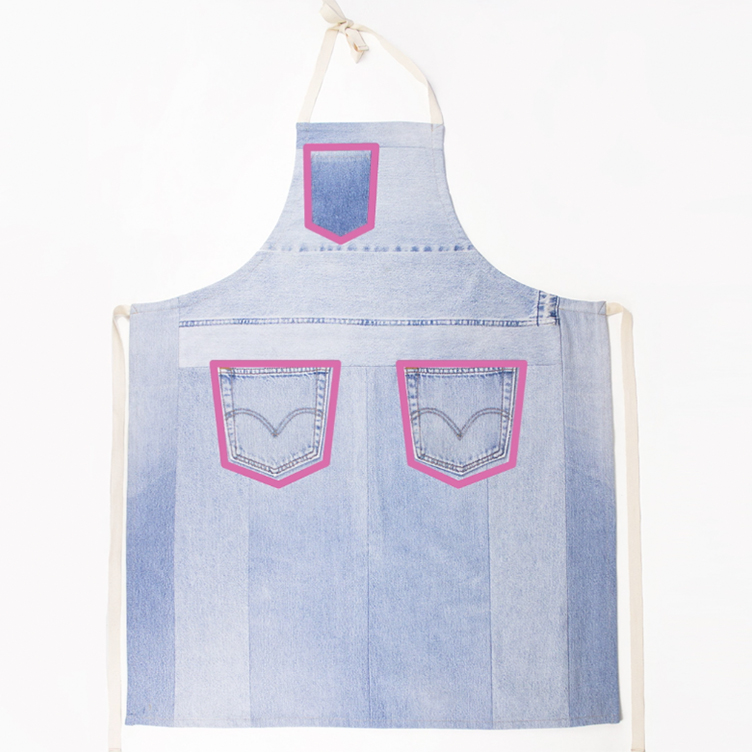
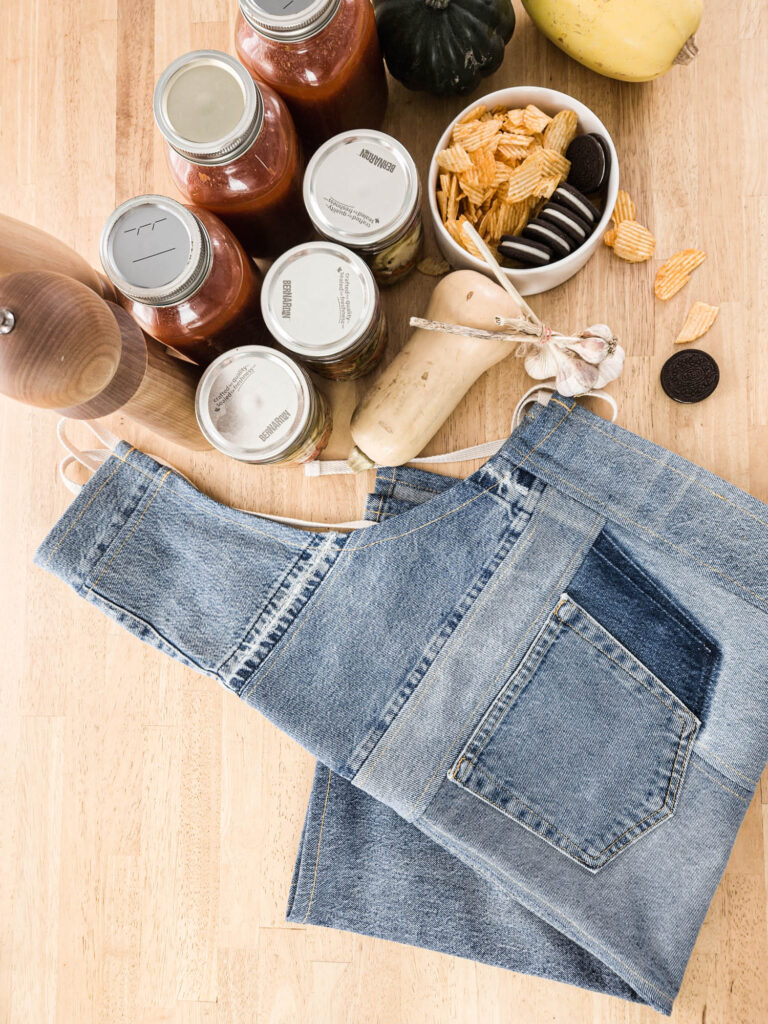
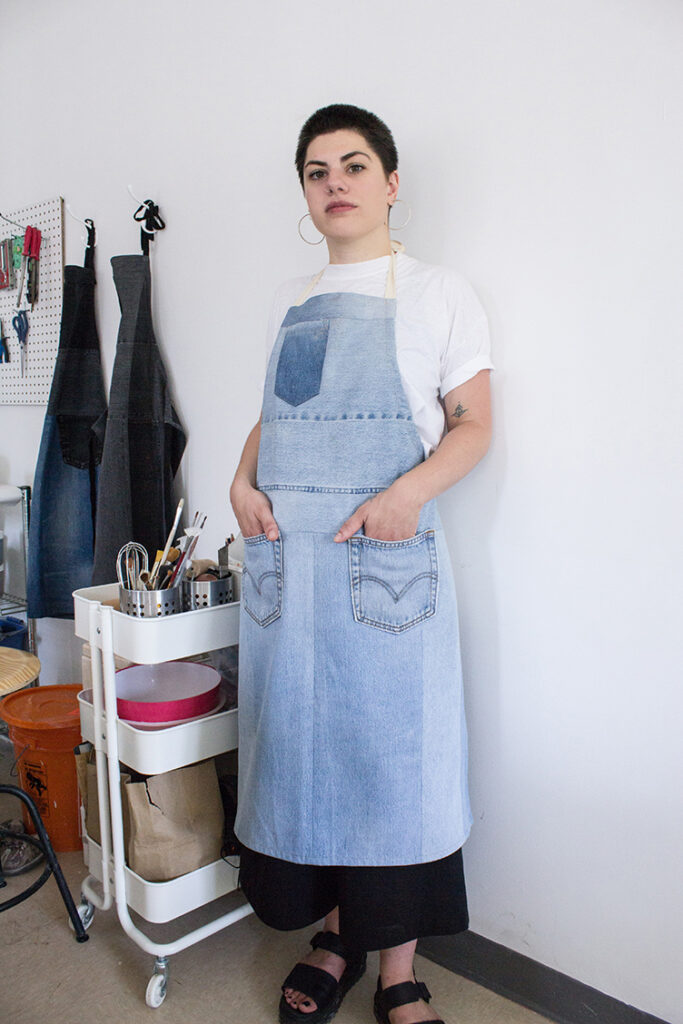
After a few trials to adapt the design and make it work with upcycled jeans, this beautiful denim apron was born. The jeans’ back pockets now sit in the front, perfect for holding tools and supplies.
The result? So satisfying!
I’m sharing here my favorite tools tools and the full step-by-step guide. You can download the pattern in just a few clicks. It’s a simple project, perfect for beginners, and can be completed in just a few hours. Time to thread your machine! 🧵
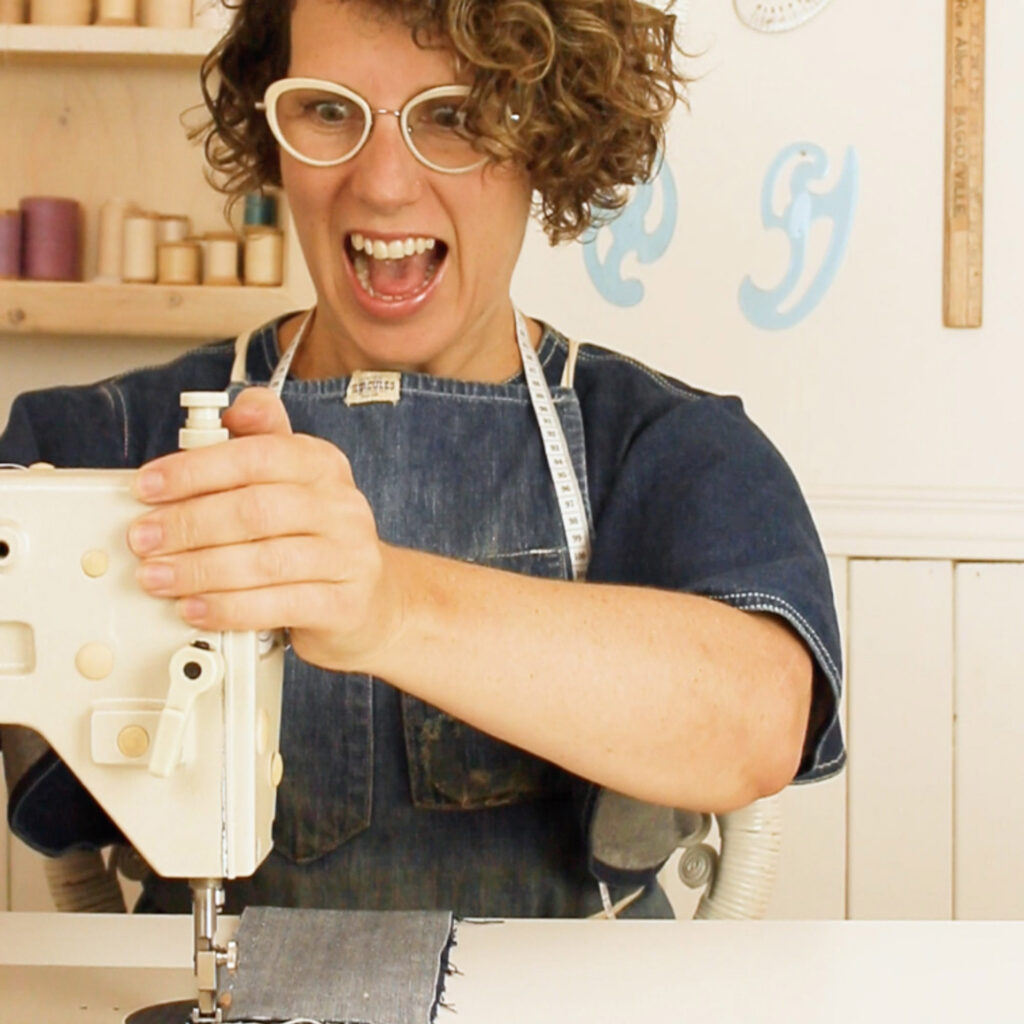
P.S. The model in the photos? That’s my friend, artist and ceramicist Camille Zurini, who absolutely nailed it!
Sewing Materials Needed
Denim upcyclers apron pattern
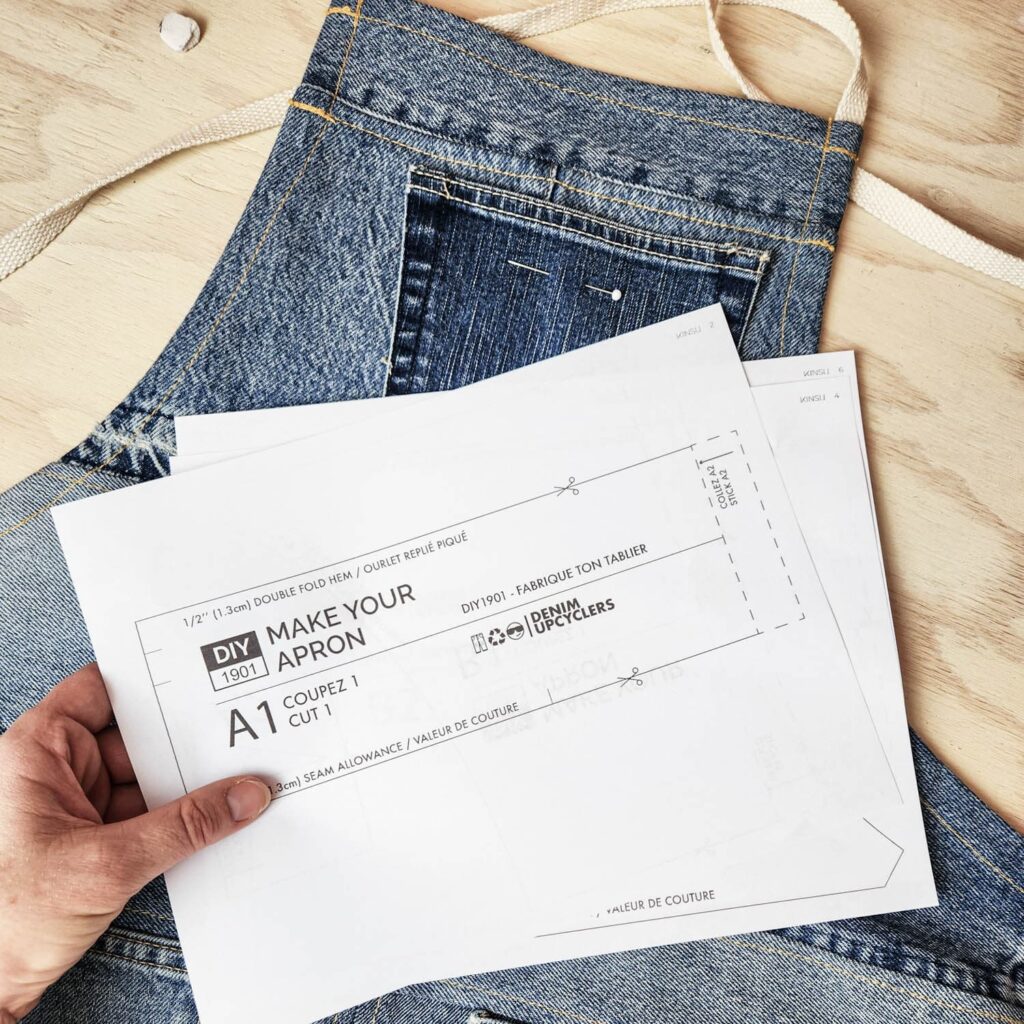
- Downloadable pattern with detailed, illustrated instructions, bilingual French/English
- Bonus sheet for beginners – Sewing Terms 101
- One size
Fabric
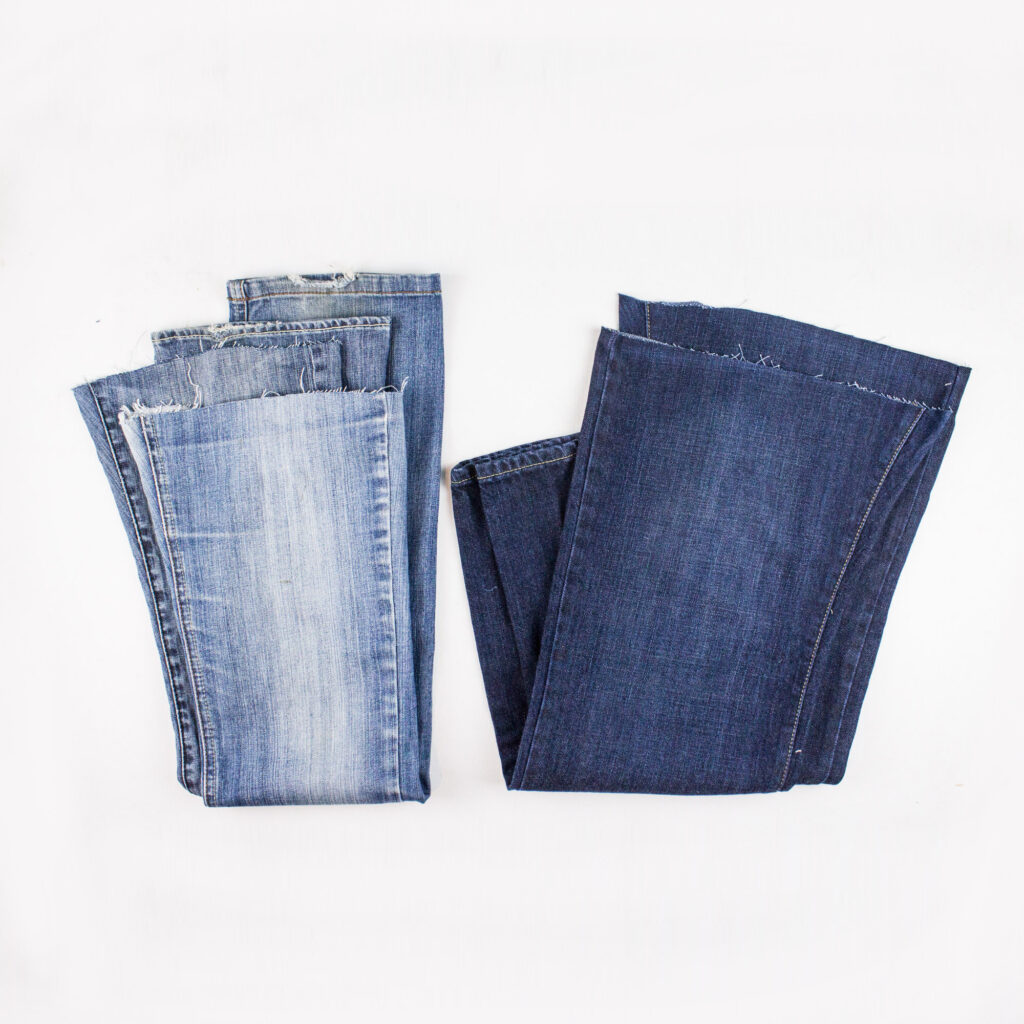
- 2 pairs of old jeans (men’s jeans in thick 100% cotton denim are ideal)
- 2 back pockets
Trims
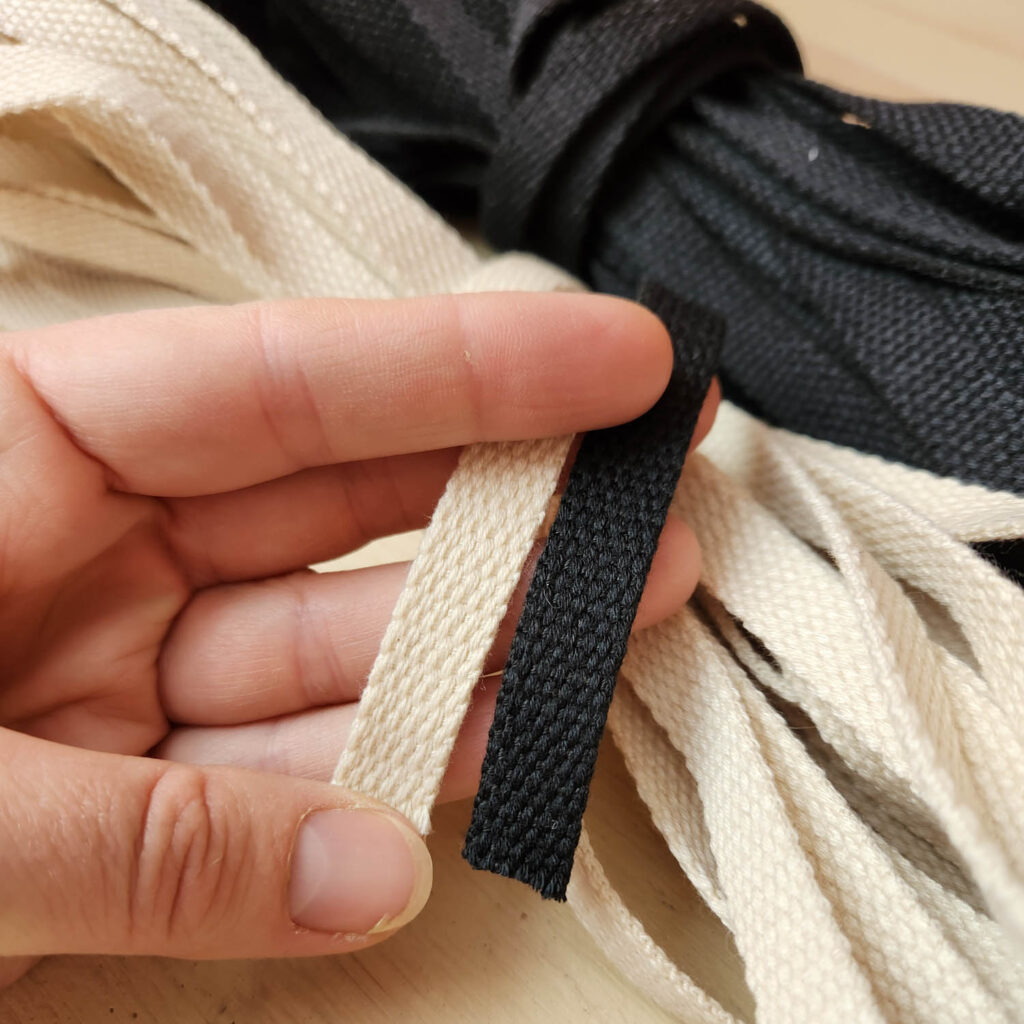
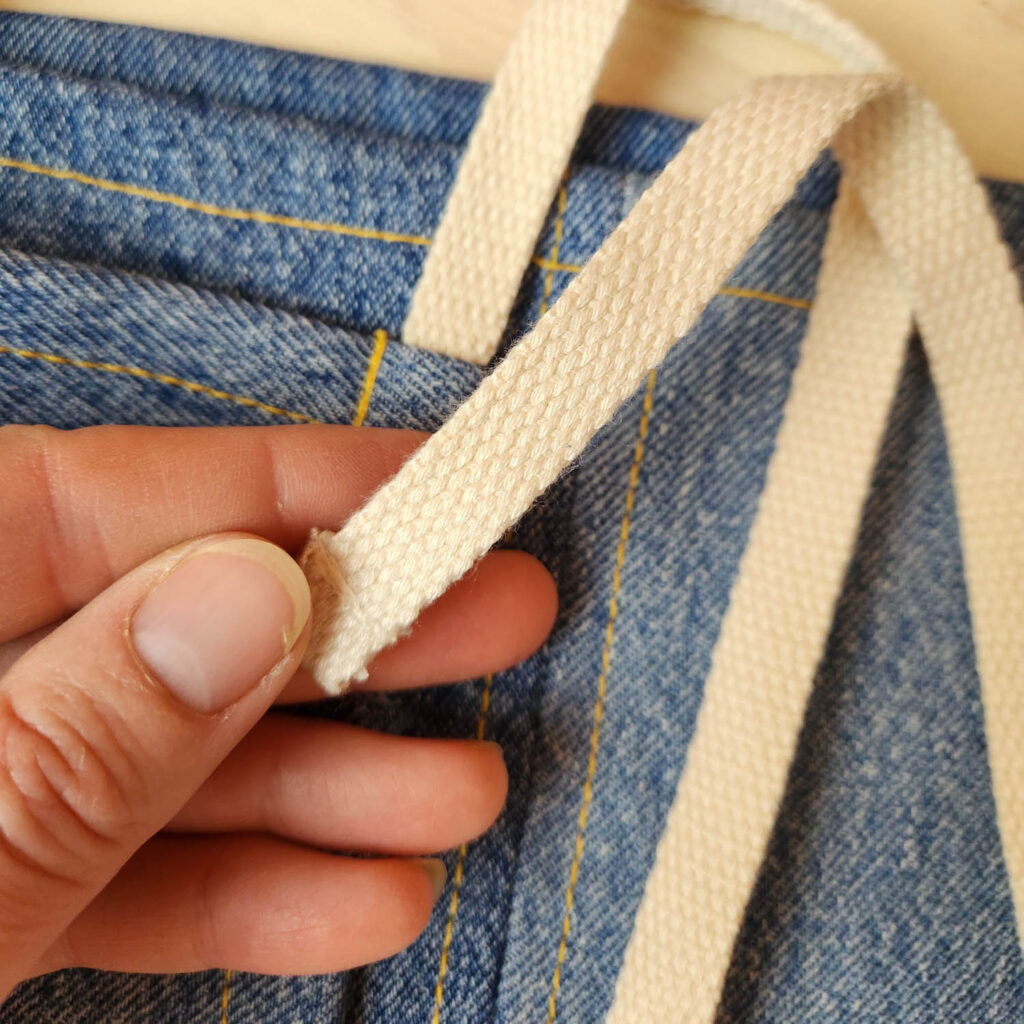
1.5 cm (½’’) cotton webbing – 2 straps of 126 cm (50’’) each for handles
👉 Get the webbing (Amazon link)
Needle & Thread for Sewing Denim
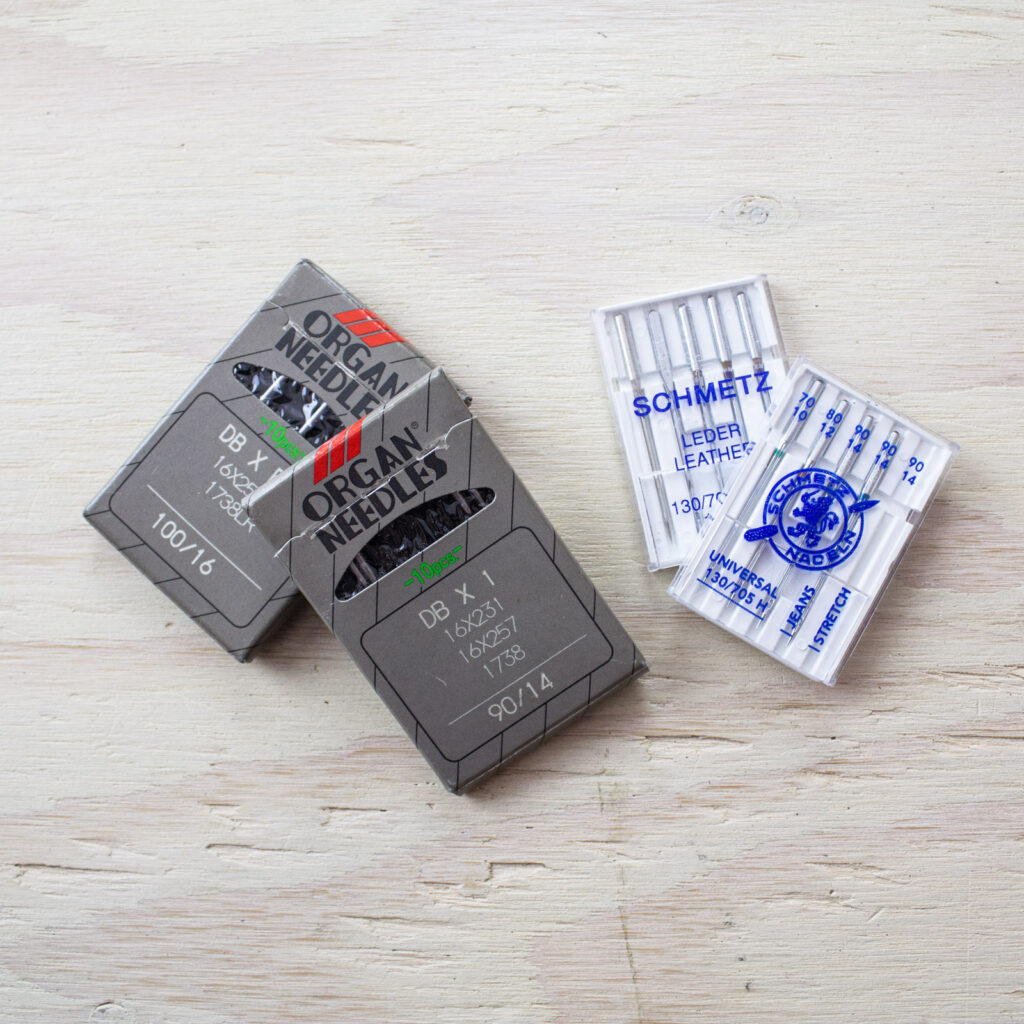
A 90/14 needle is usually ideal: strong but fine enough to slide through multiple layers.
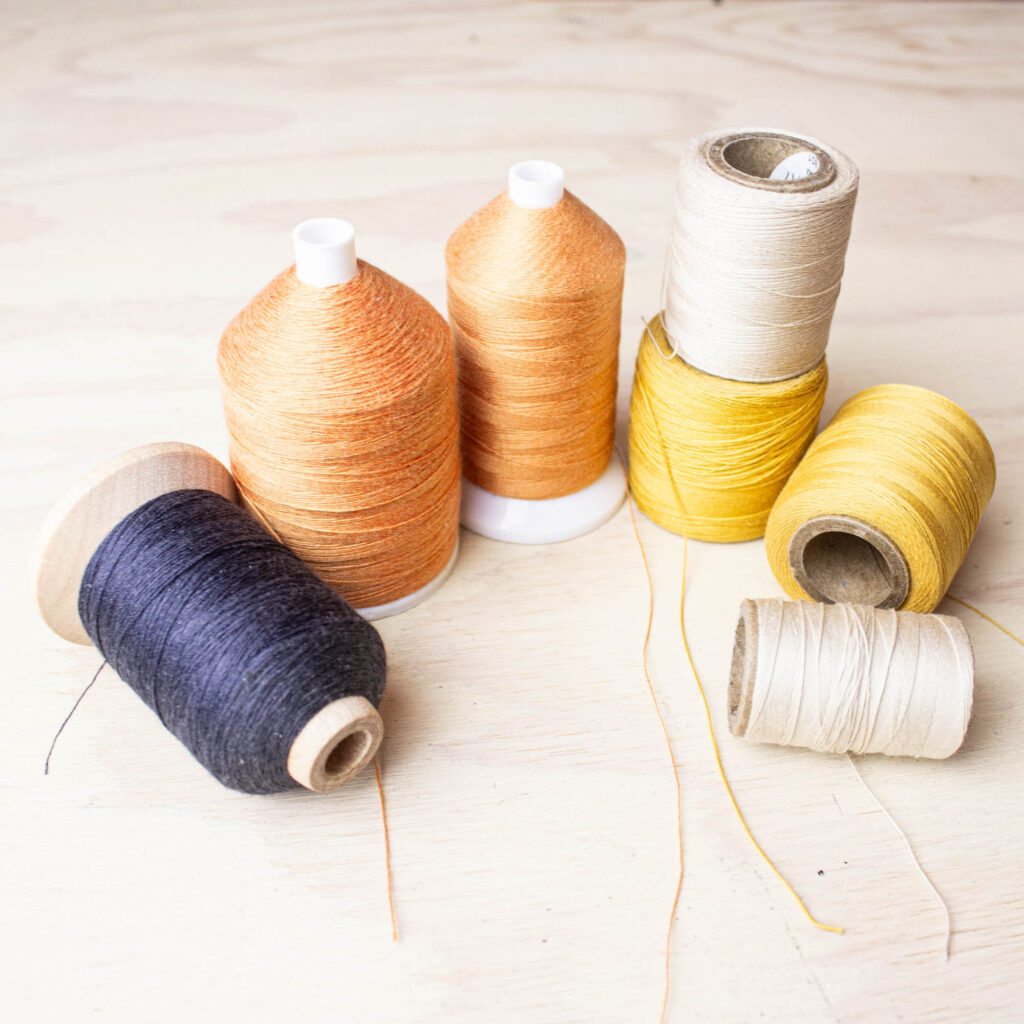
My favorite thread: Perform-X Cotton wrapped polycore thread from Wawak.
Handy sewing tools for this tutorial:
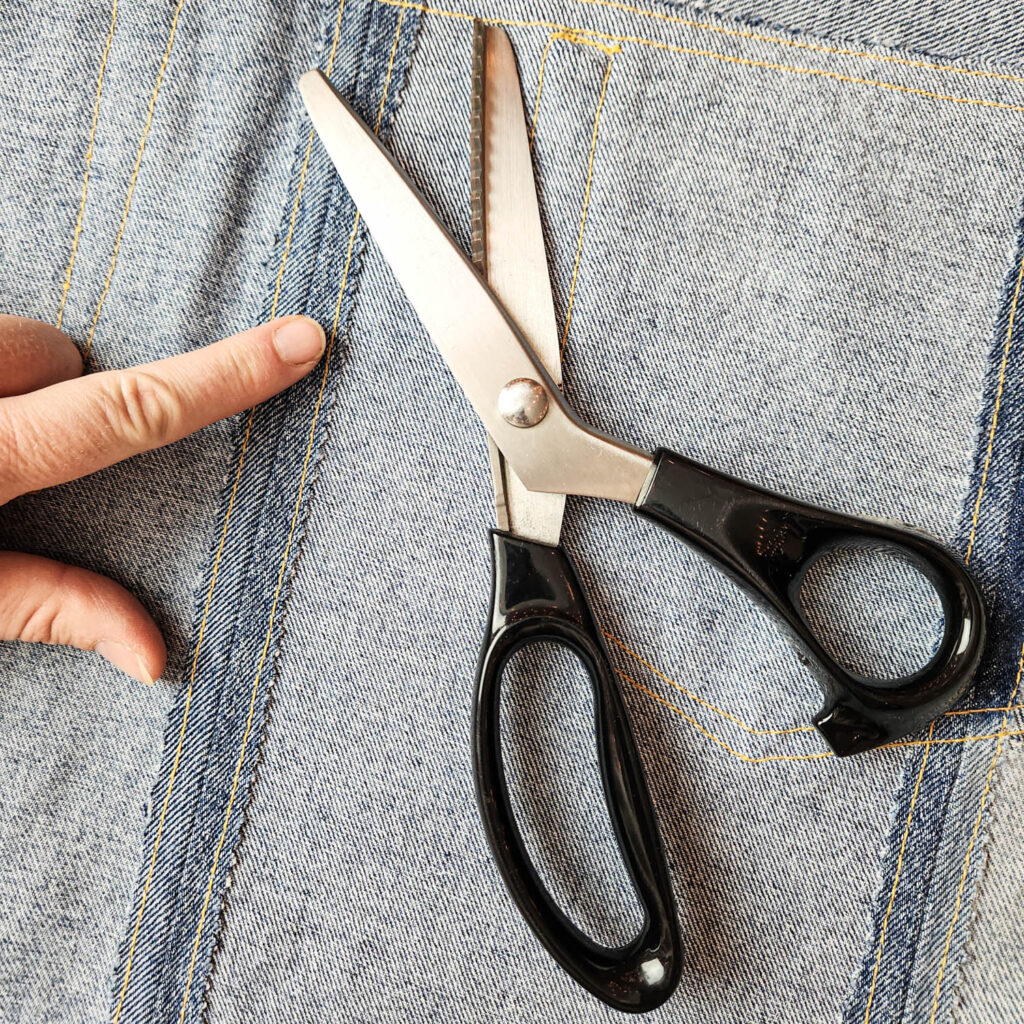
If you don’t have a serger, all seam allowances can be finished with pinking shears.
👉 Pinking shears (Amazon link)
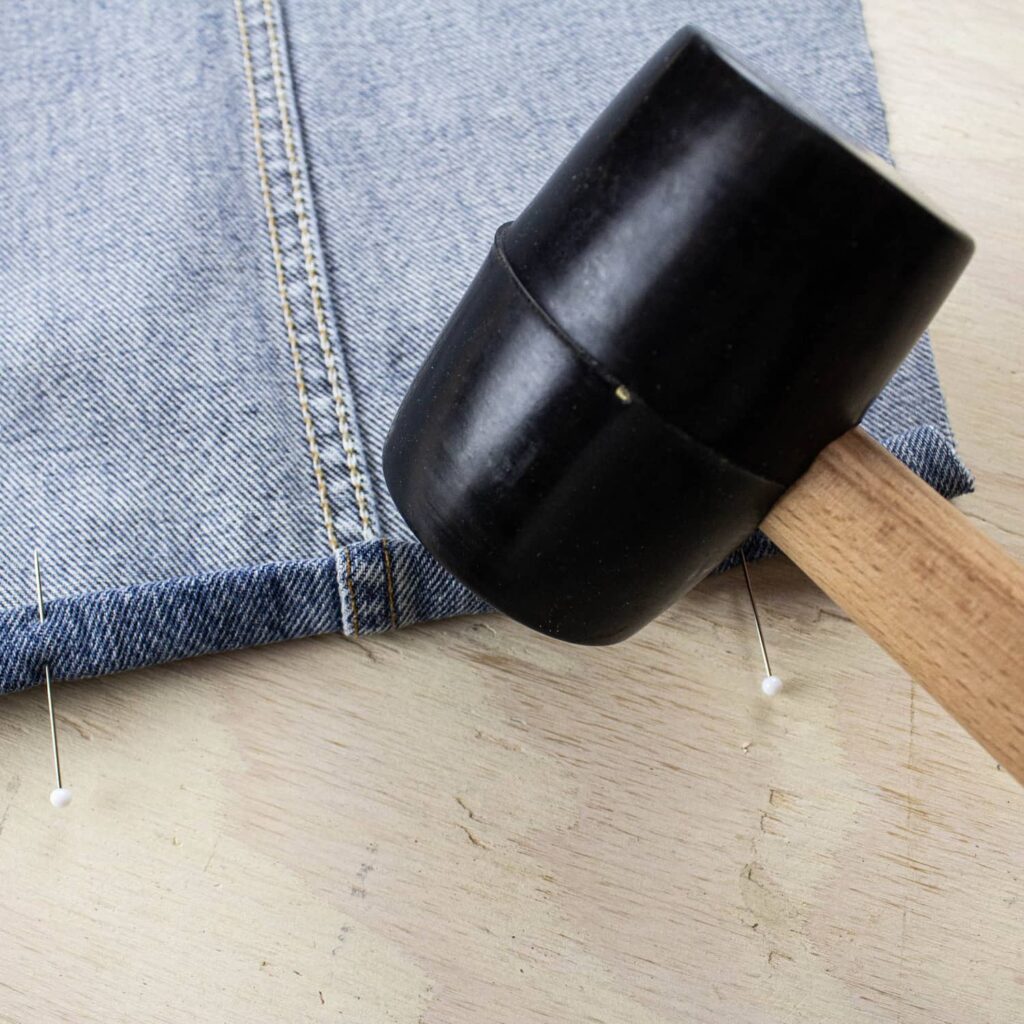
Pro tip: Use a rubber mallet to flatten thick seams before sewing.
👉 Rubber mallet hammer (Amazon link)
Beginners additional info
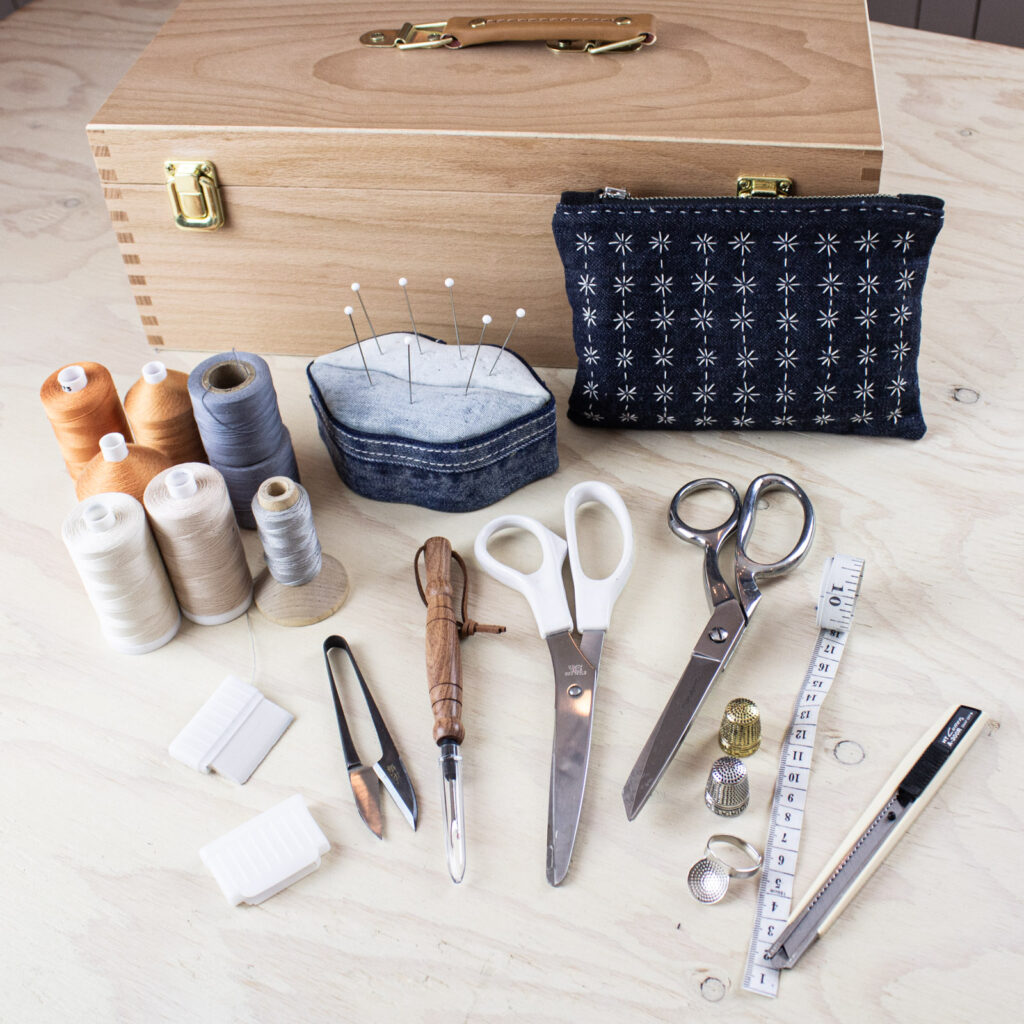
I’ve prepared a kit with a list and clickable links to all the sewing tools I use and consider essential.
👉 Check out the list here
I prepared a publication 7 sewing tips to know when you are beginner 🙂
👉 read this article.
Must Read
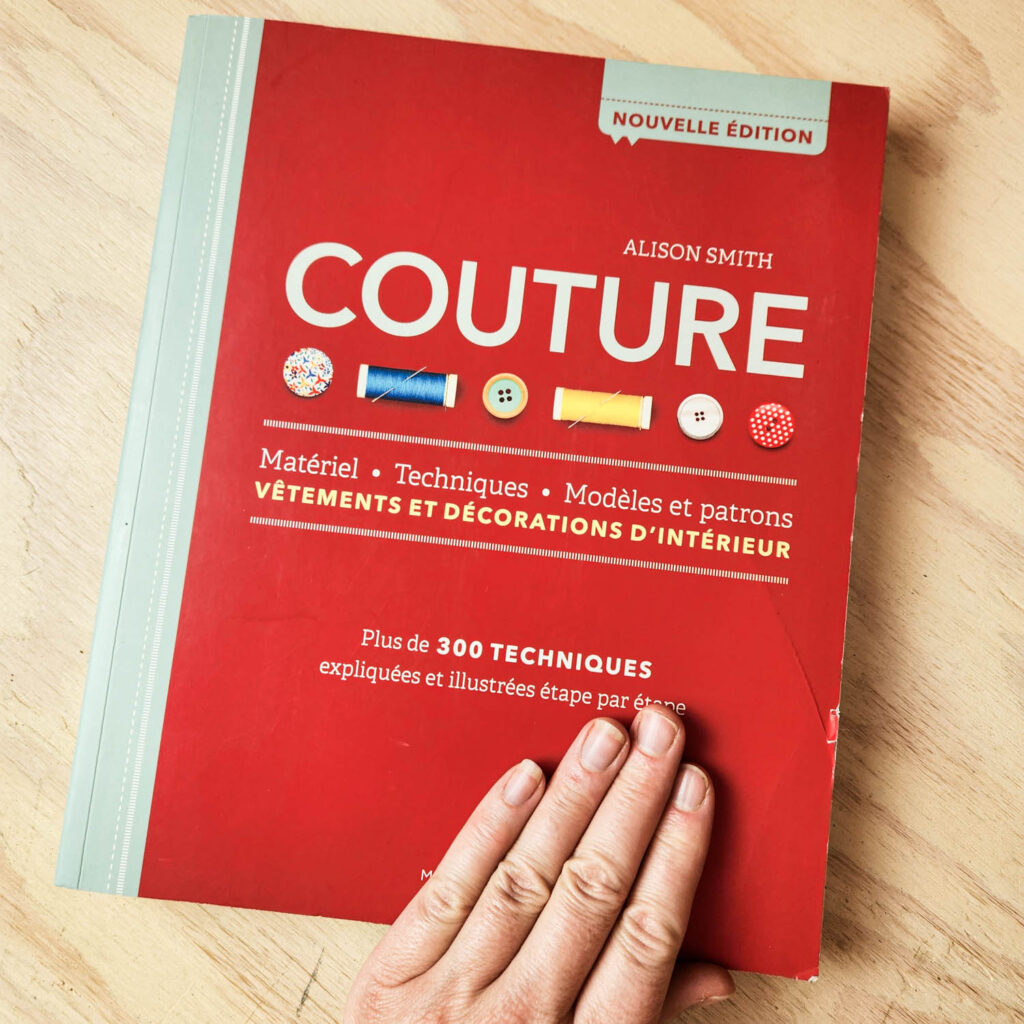
COUTURE by Alison Smith
A true bible of sewing techniques!
👉 COUTURE (Amazon link)
3 key sewing basics in this tutorial
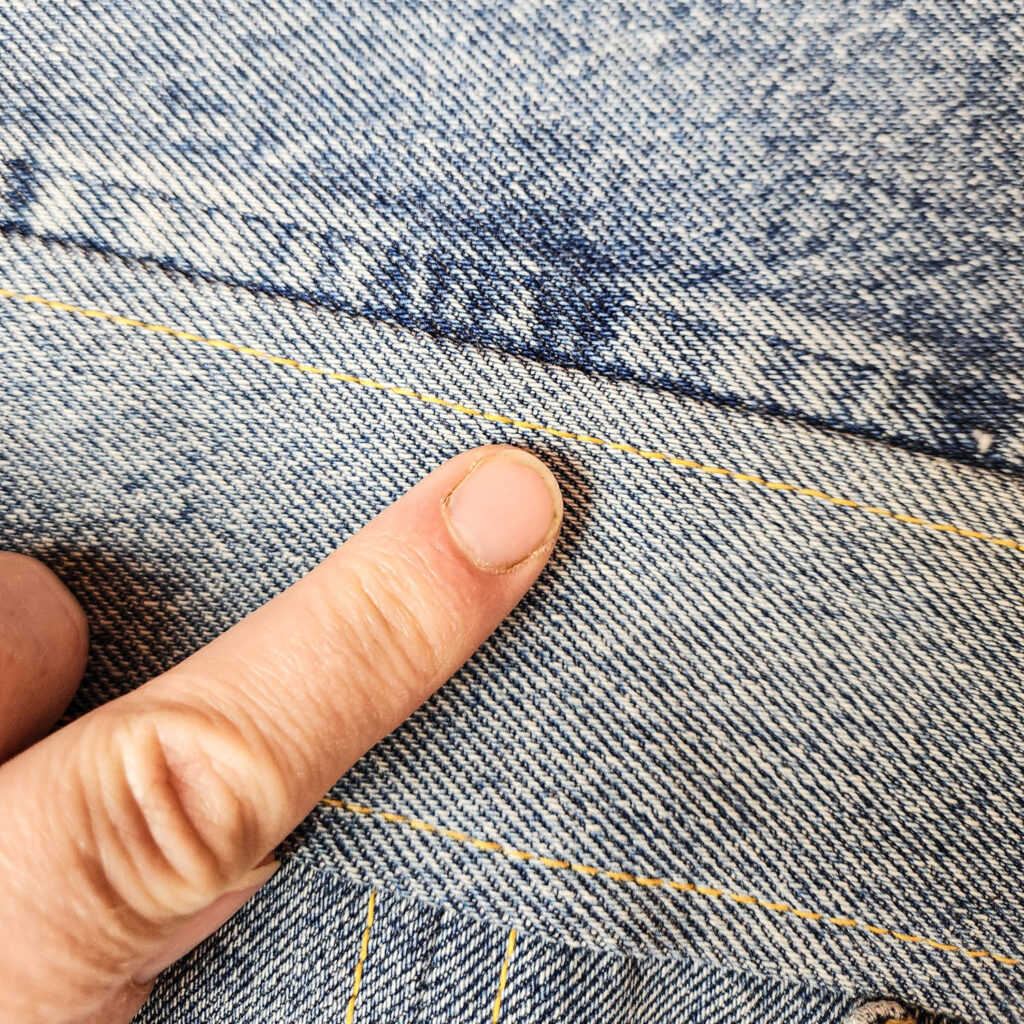
1. Open and flat seam allowance
If you do not know what a seam allowance is read this article.. 🙂
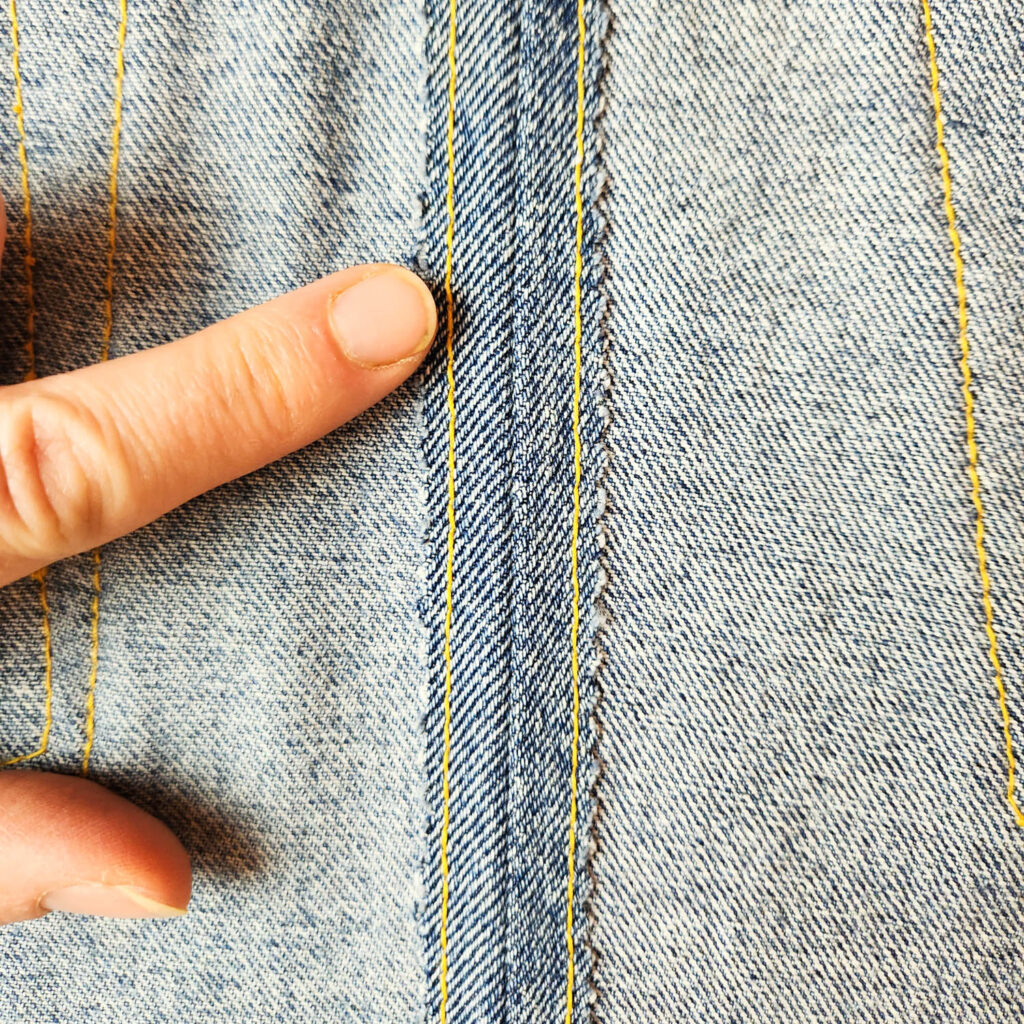
Open seam allowance
Open seam allowances help flatten the joins and reduce bulk.
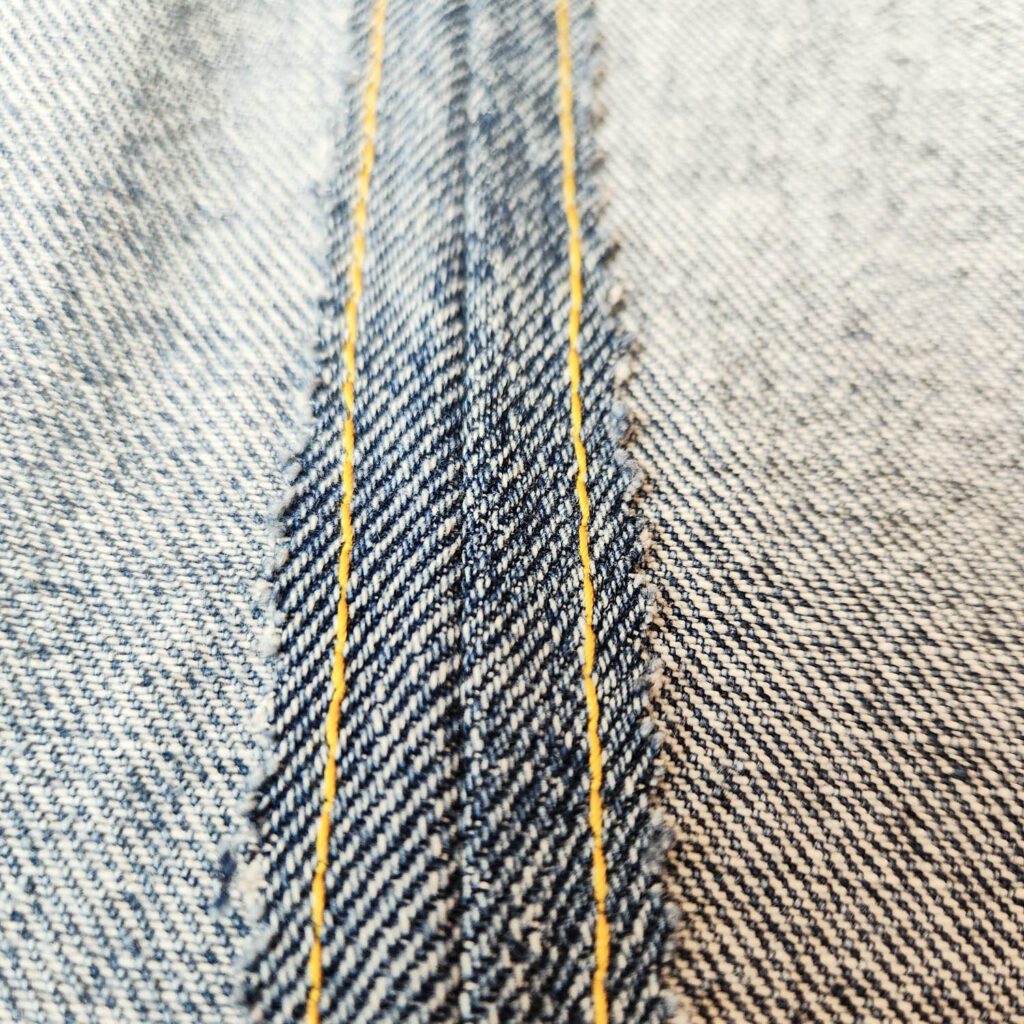
Pressing seam allowances to one side
Pressing both allowances to one side (flat-felled style) adds strength and gives a clean finish inside the garment a great option if you’re using a serger.
In this tutorial, we’ll mainly use an open seam allowance. This is especially important here because we’ll be adding a double-fold hem all around the apron: if the seam allowances are pressed to one side instead of open, the hem will be very thick at the seams and difficult to sew.
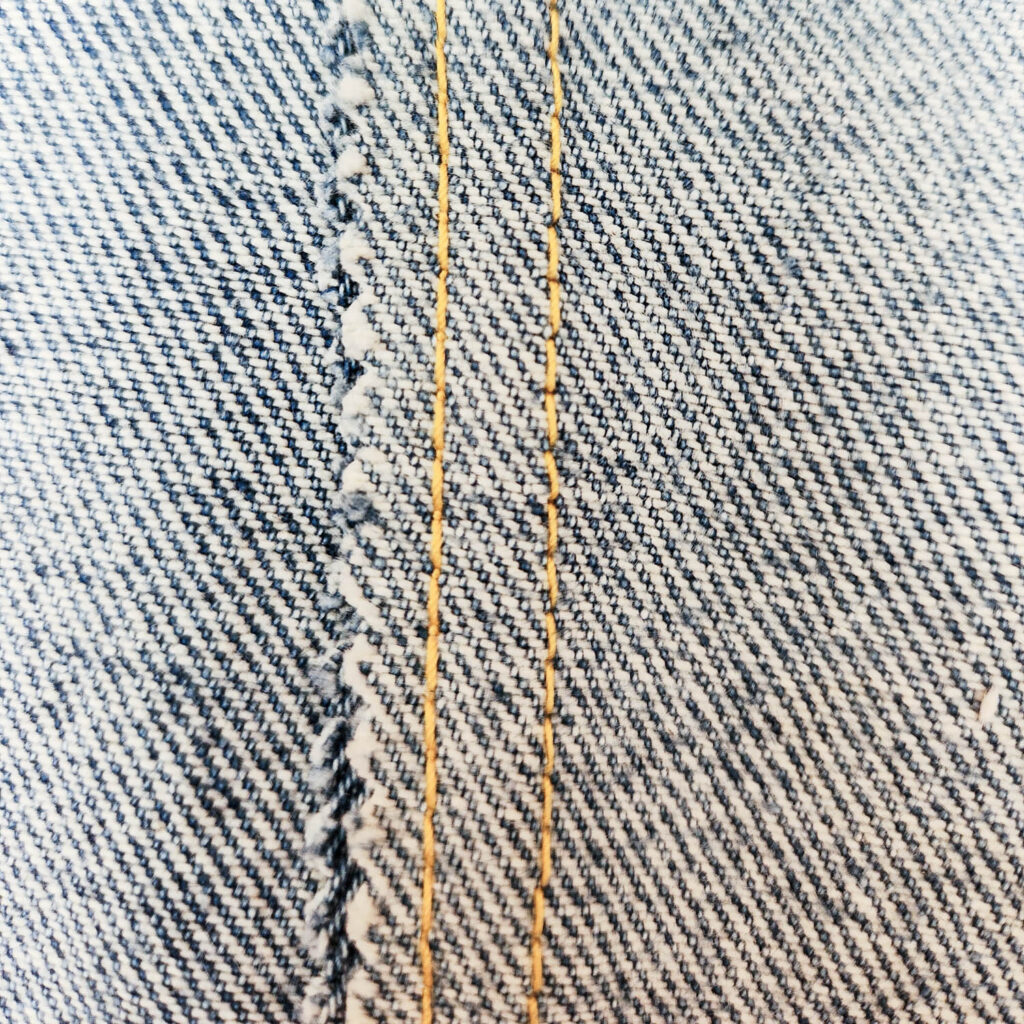
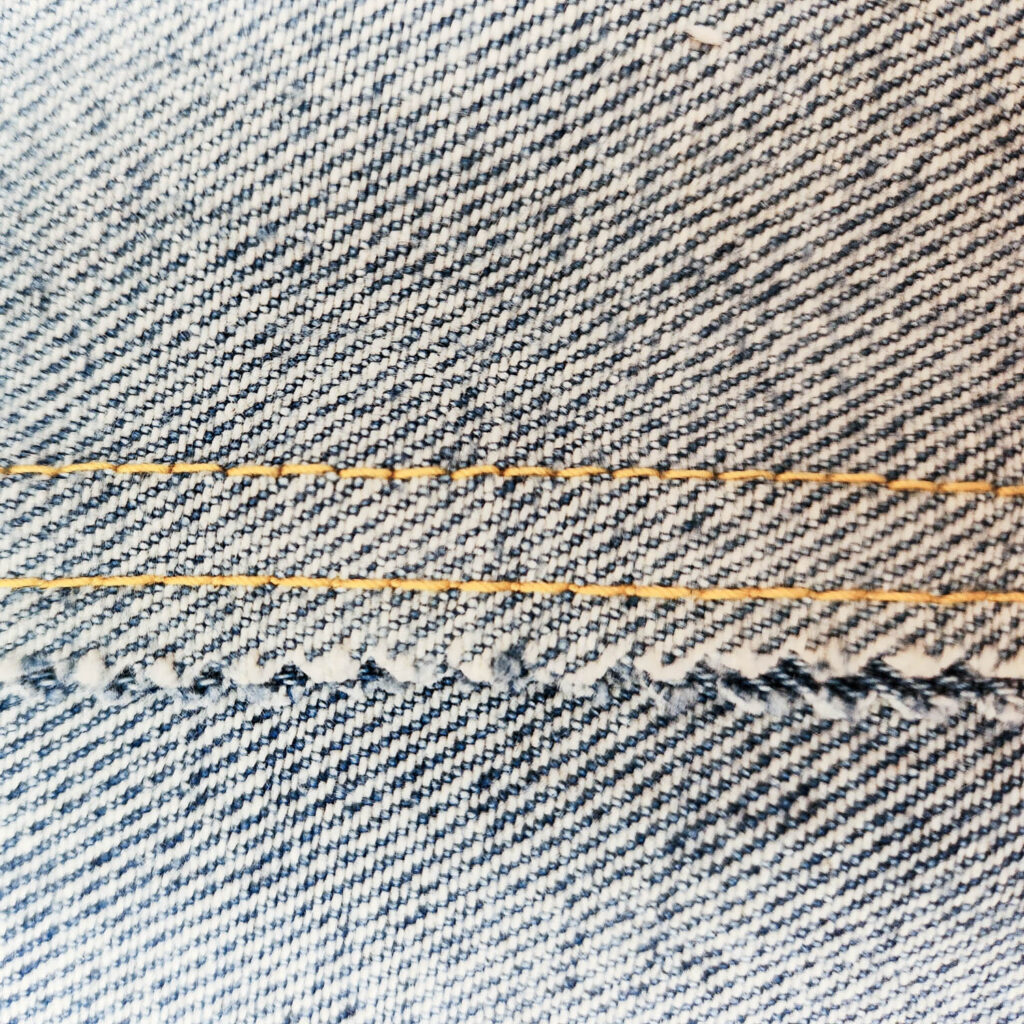
2. Topstitching
A topstitch is a visible line of stitching on the right side of the fabric, usually close to a seam or edge. It reinforces the seam, keeps the allowances in place, and adds a decorative touch.
Topstitch with open seam allowance
With open seams allowance, you’ll have two lines of topstitching on each side of the seam to fix down the seam allowance.
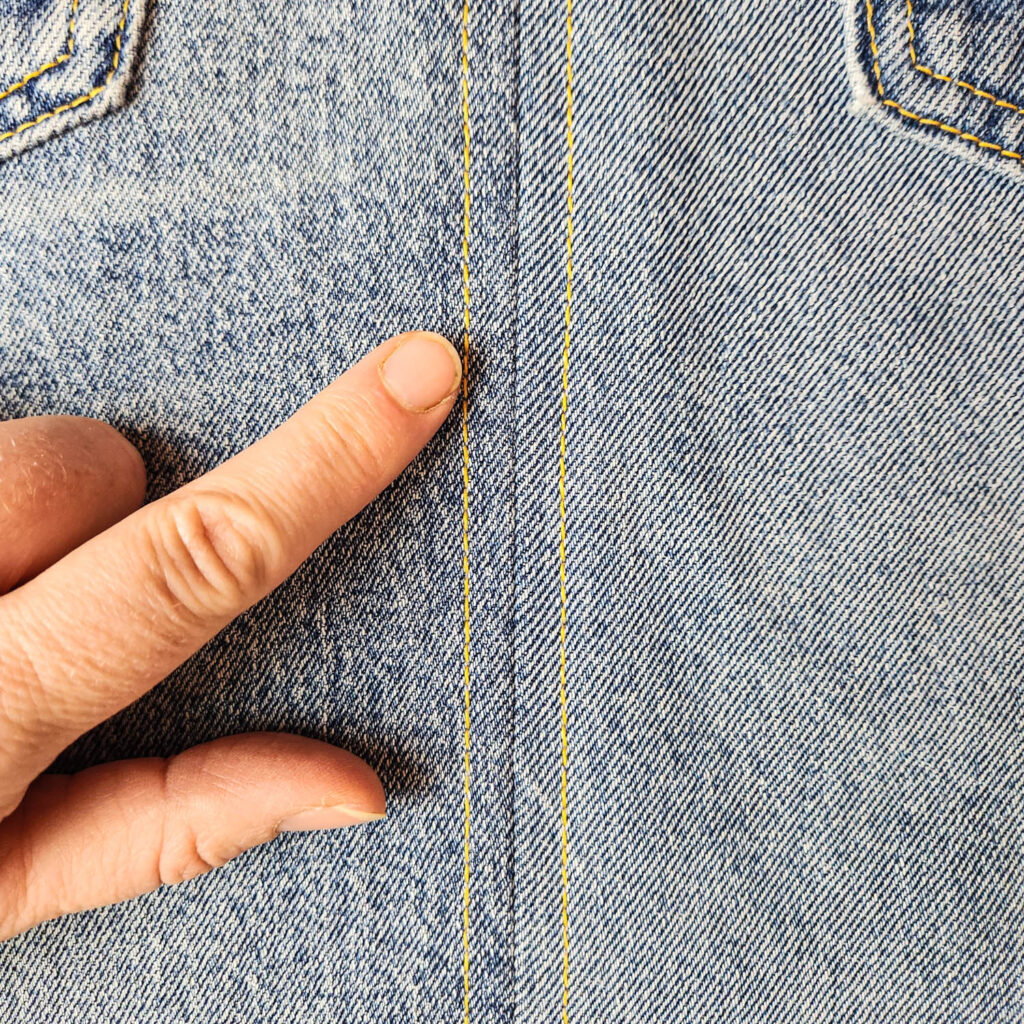
Topstitch with seam allowances pressed to one side
In the case of a seam allowance pressed to one side, there will be one or two topstitches, but both on the same side of the seam, the side where the seam allowance is pressed.
Without a serger, I pink my seams to prevent fraying. With a serger: serge either before assembling (for open seams) or after (for pressed seams).
3. Double Fold Hem Finish

This tutorial is a great opportunity to practice the double folded hem finish.. This technique involves folding the edge of the fabric twice before stitching, resulting in a clean and professional look.

We’ll practice this technique on straight and curved hems.
YouTube denim apron sewing video tutorial
Cutting Instructions
When cutting your upcycled denim apron, you can get creative with how you position the pattern to highlight certain details of your jeans without necessarily unpicking them (side seams, pockets, knee fades, hem, etc.). Have fun and explore different possibilities.
Prepare your jeans for your sewing project
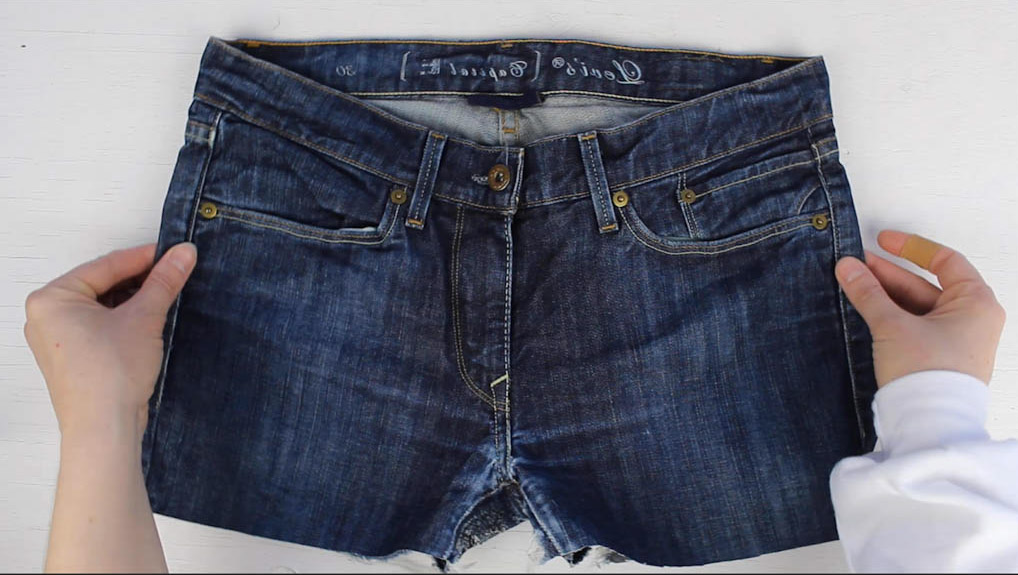
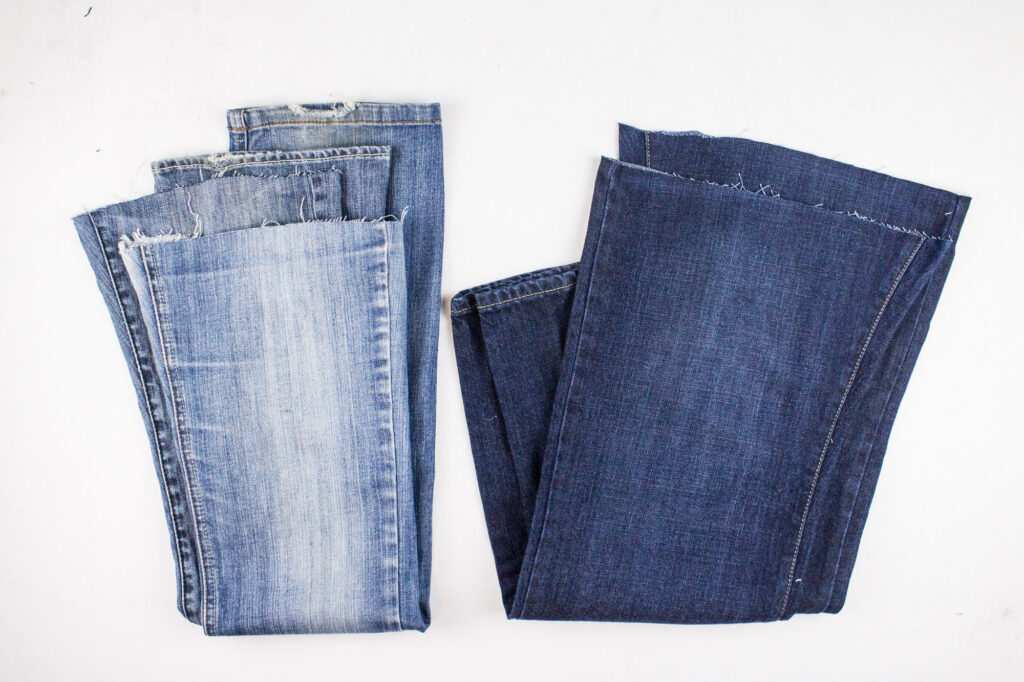
Cut off the legs to turn the jeans into shorts.
Simple Method
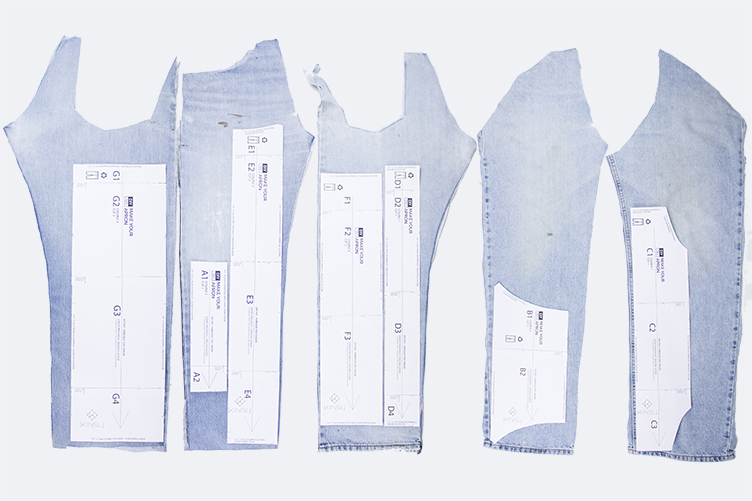
Simply place your pattern pieces on the denim scraps. The photo is just an example placement depends on your jeans’ width.
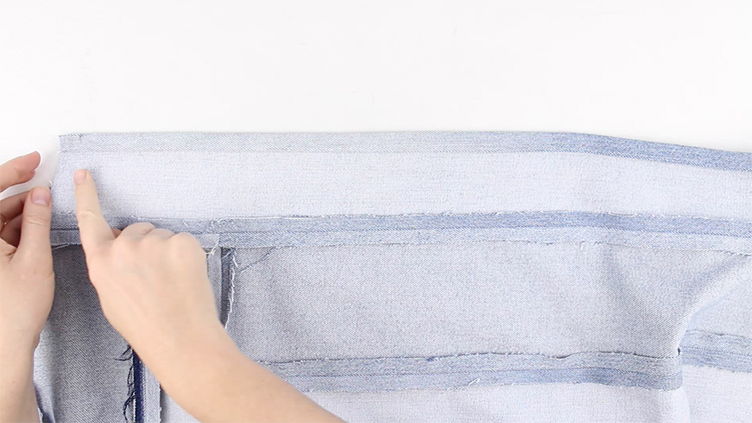
Denim upcycler Method
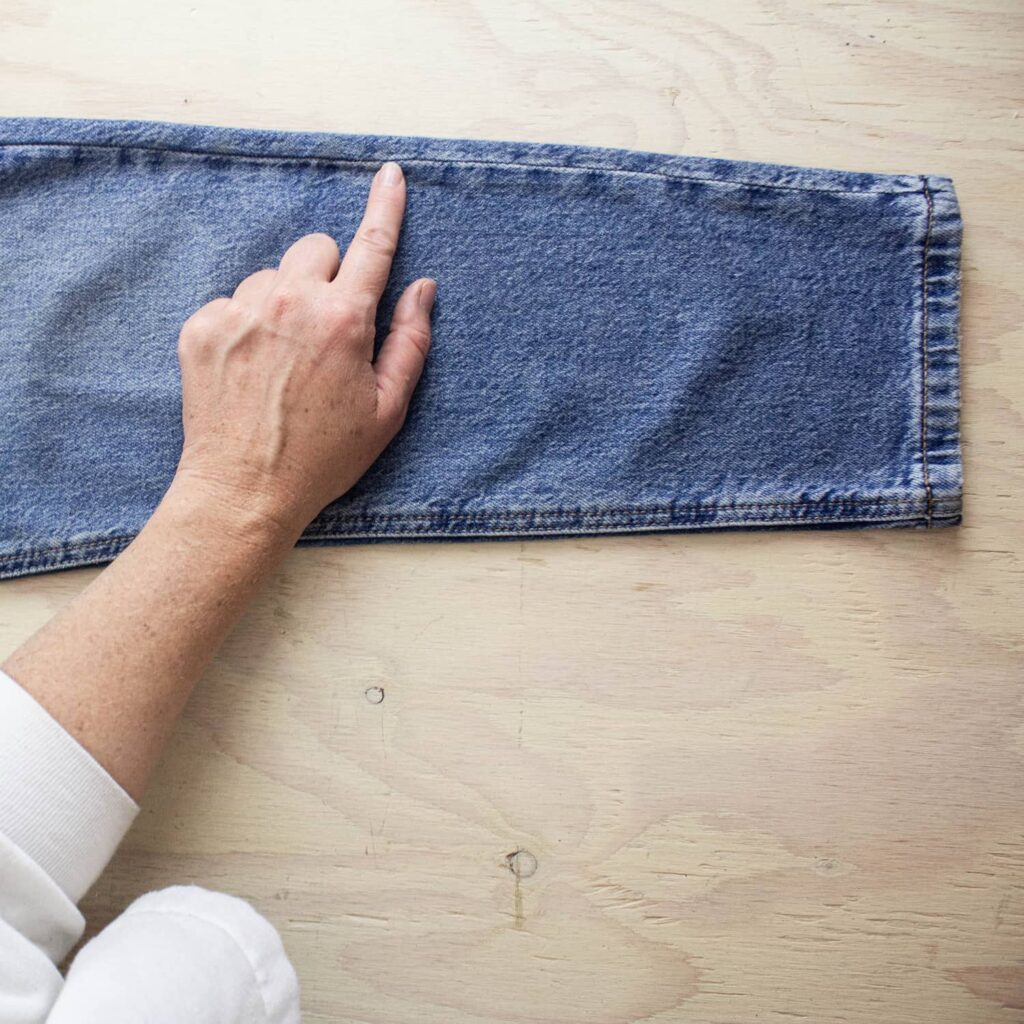
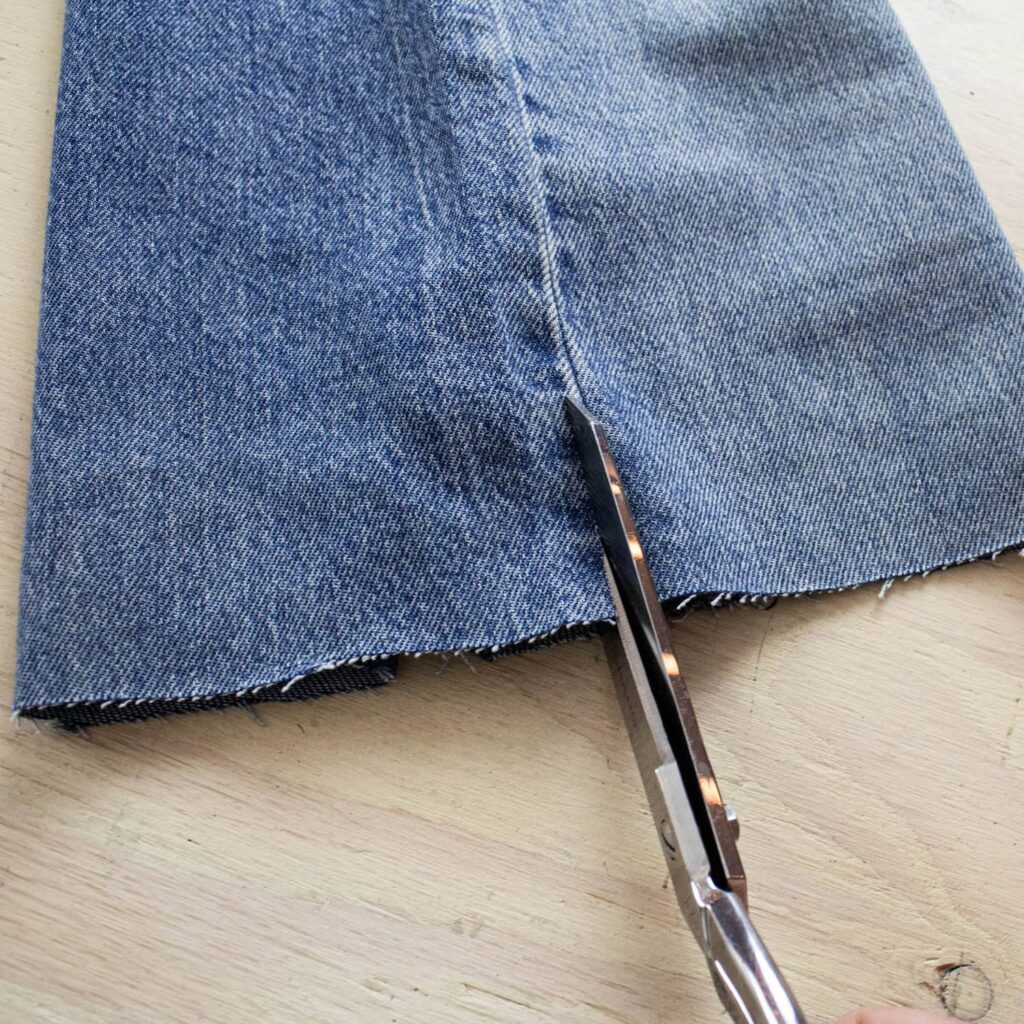
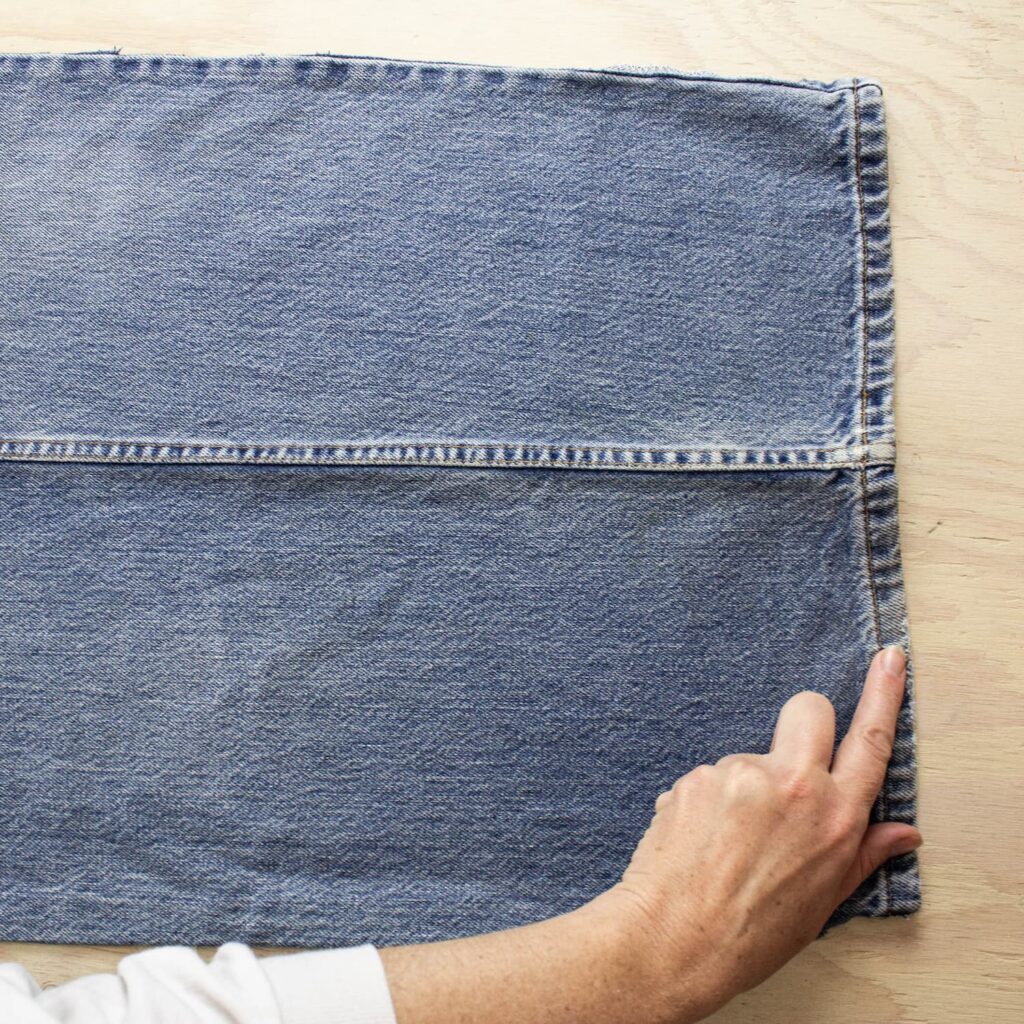
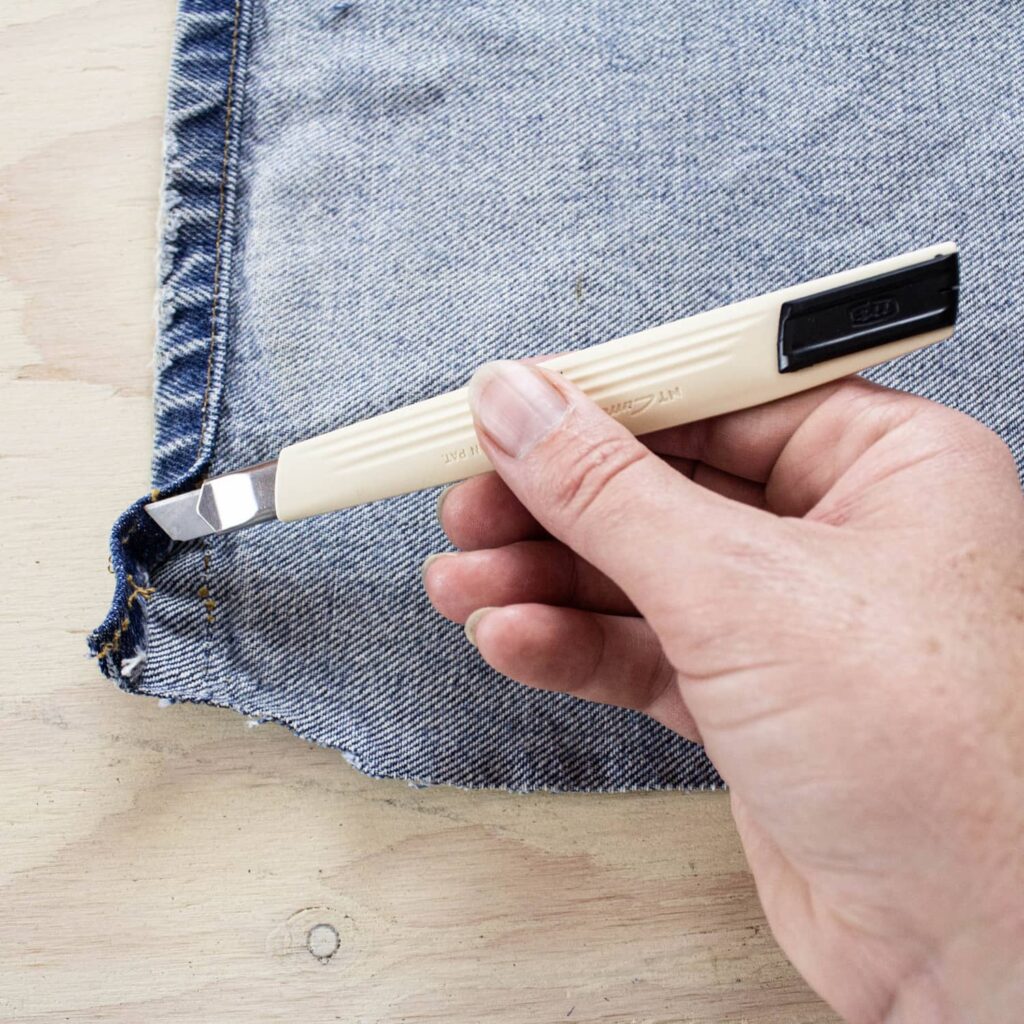
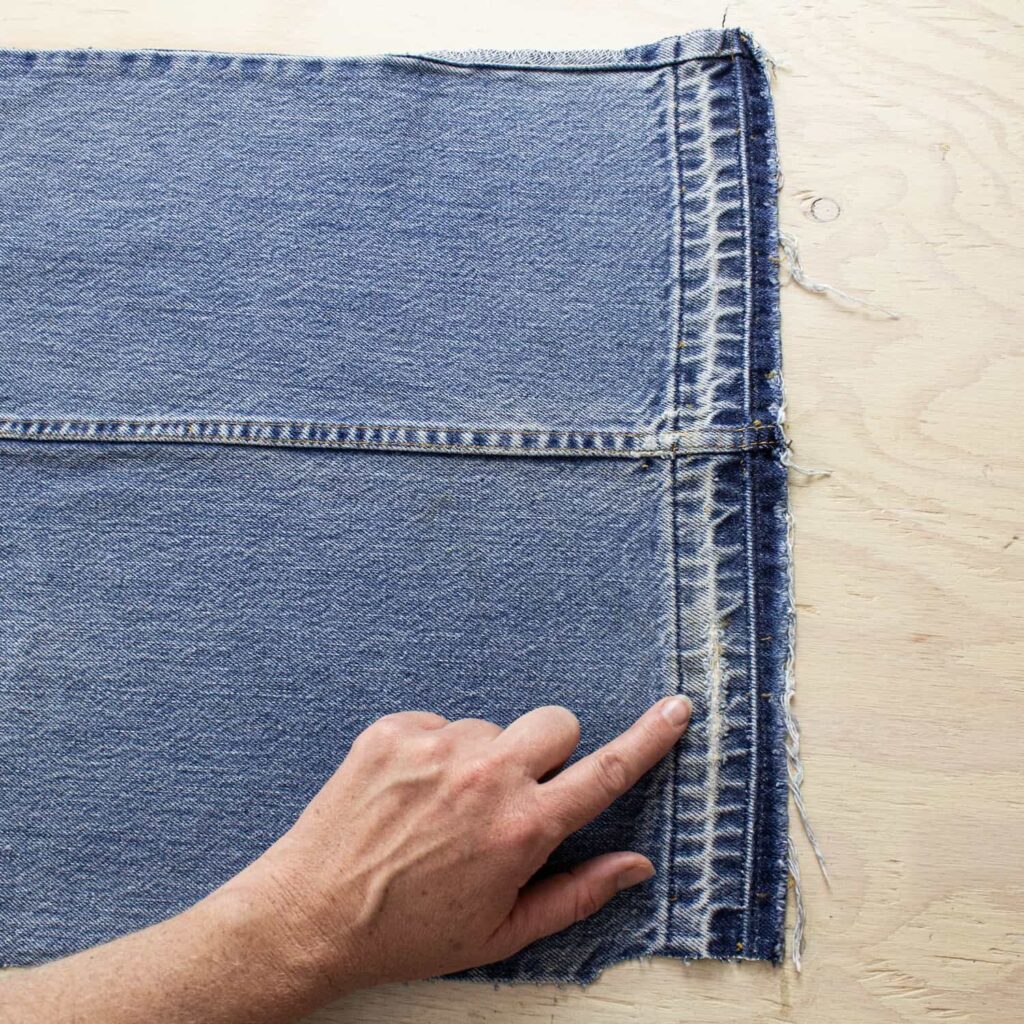
- Cut open the side seam of the jeans (the one without topstitching)
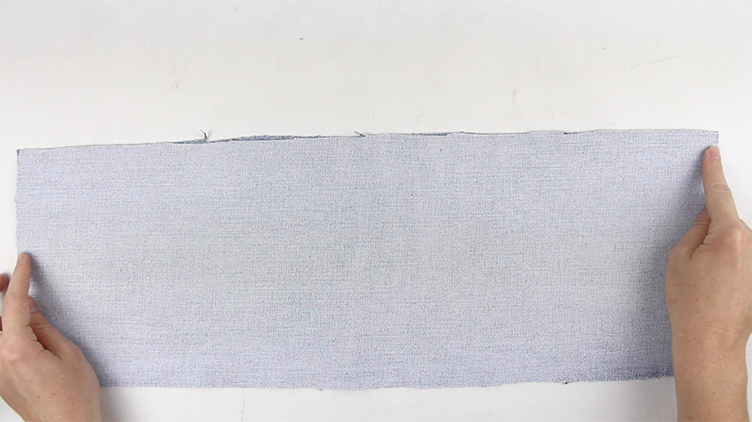
- Unpick the hem and press with an iron
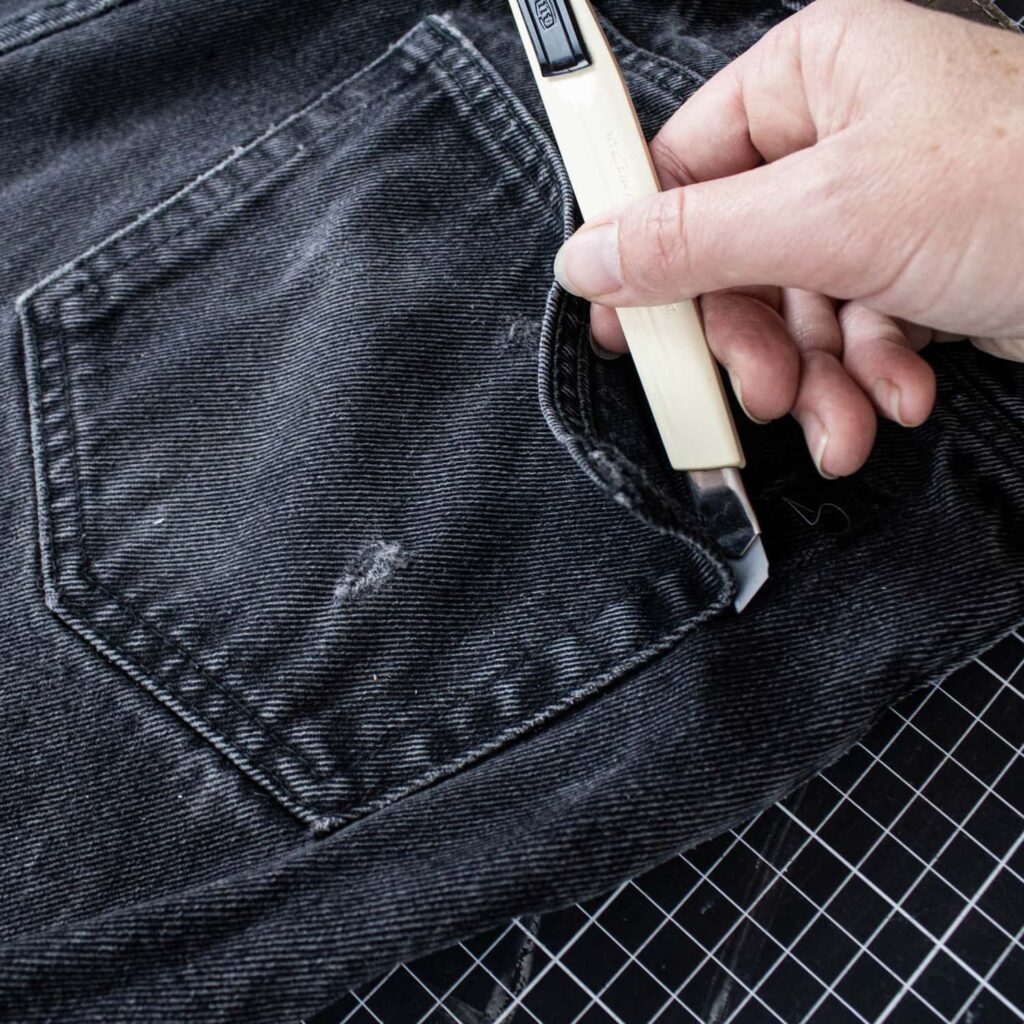
- Unpick the back pockets
Cut the fabric

I have to admit, I love cutting with an X-acto knife. It saves me from tracing the pattern on fabric faster and more precise! Change the blade often; it works great for thick, sturdy fabrics like denim. But avoid this method on delicate fabrics :)
Cut: A × 1, B × 1, C × 1, D × 1, E × 2, F × 2, G × 2 layers of fabric.
💡 Sewing Tip 101 : Take the time to press your jeans before cutting for a cleaner, more professional result.
Upcycled denim apron Sewing Steps
Step 1 – Assemble the top of the apron
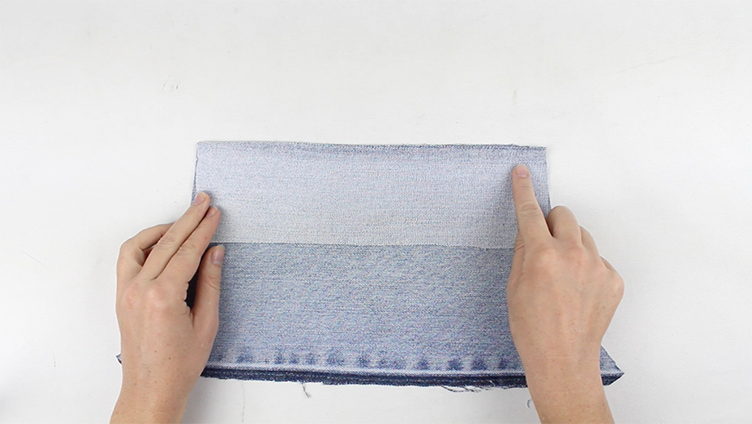
Sew piece A with B (become AB)
Sew AB with C (become ABC)
Sew ABC with D (become ABCD)
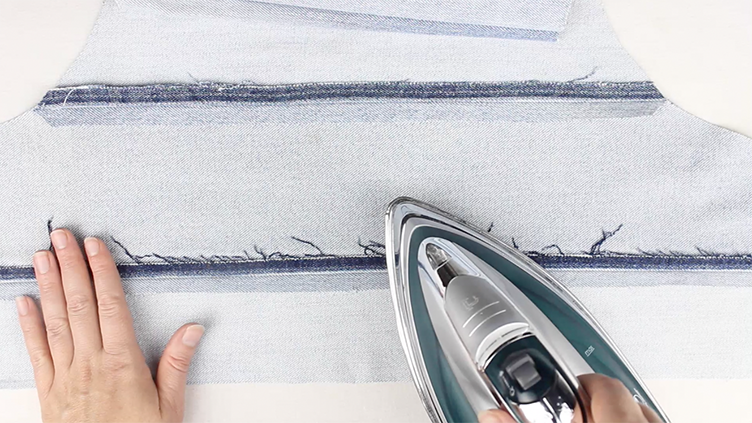
Press seams open and topstitch 0.5 cm from the seam.
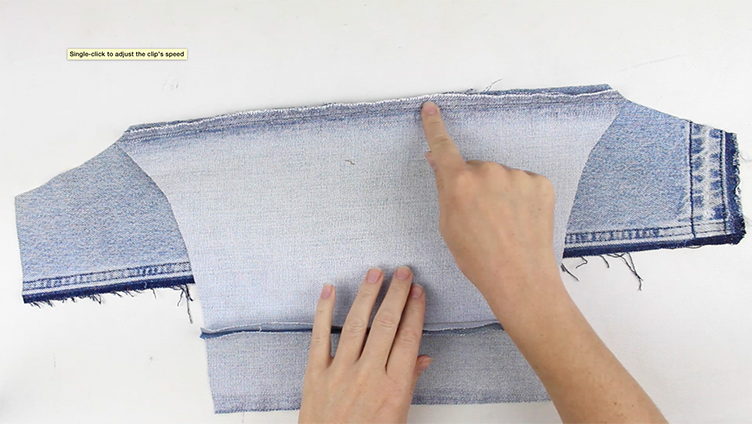
Step 2 – Sew the bottom of the apron
Sew F with G (become FG), do it twice
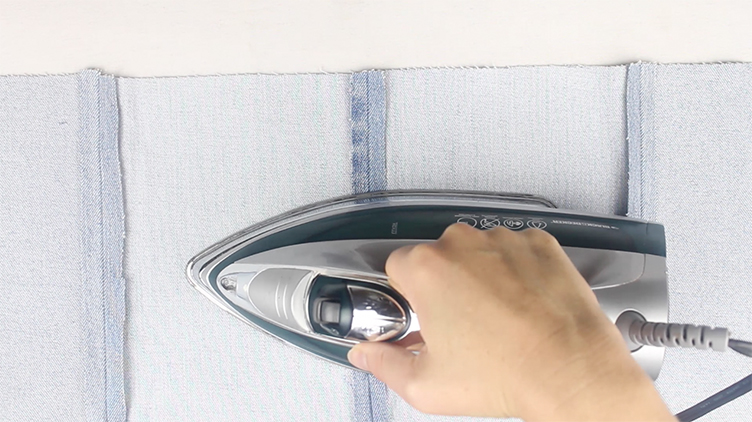
Sew the two FG sections together (becomes FGGF) and press seams open.
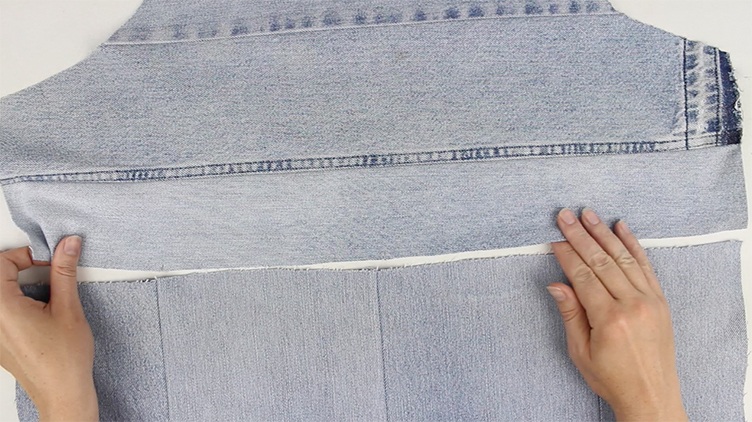
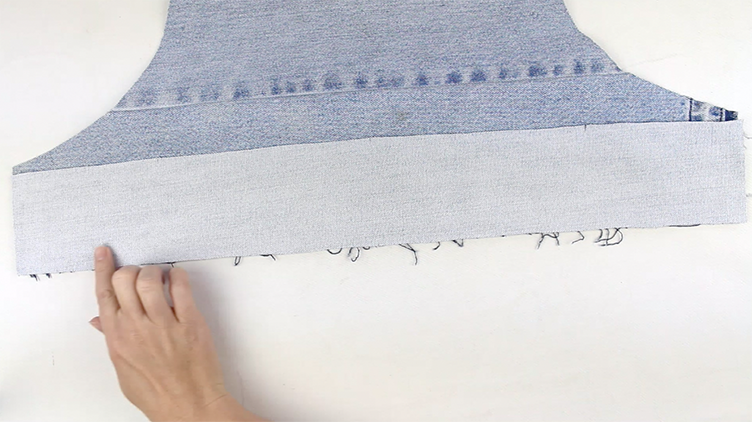
Sew the top (ABCD) and bottom (FGGF) sections together, matching notches on piece D with FG cuts.
Step 3 – Assemble the sides
Sew piece E to each side of the apron. Press seams open and topstitch as desired.
Step 4 – Sew the hem (top, sides, bottom)
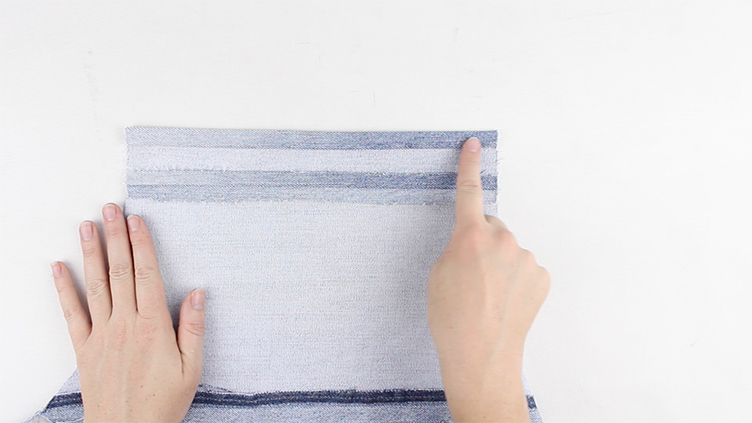

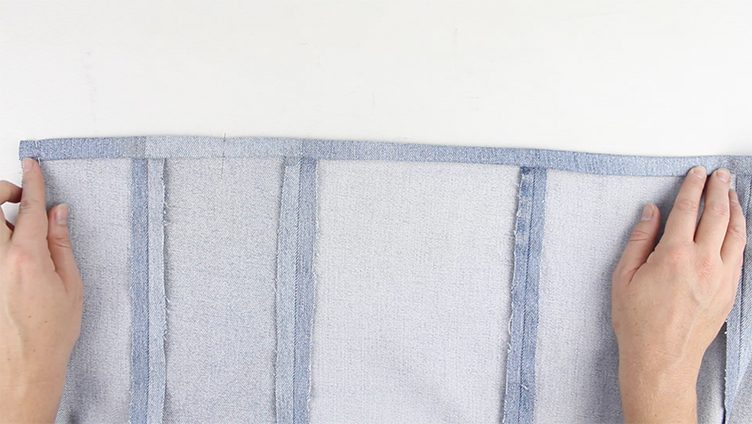
Fold twice and press the top hem ½” (1.2 cm), then stitch 2 mm from the edge.

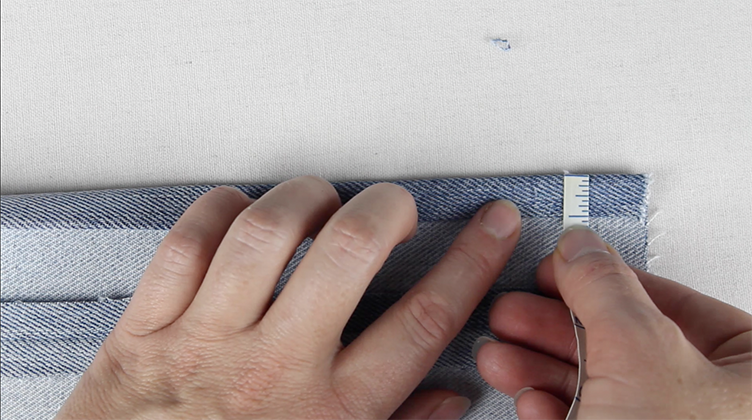
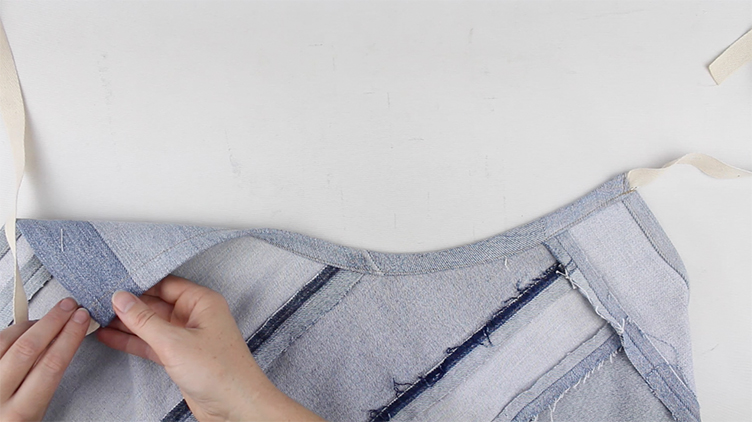
Fold twice and press the side hems ½” (1.2 cm), then stitch 2 mm from the edge.
Fold twice and press the bottom hem ½” (1.2 cm), then stitch 2 mm from the edge.
Step 5 –Attach the straps
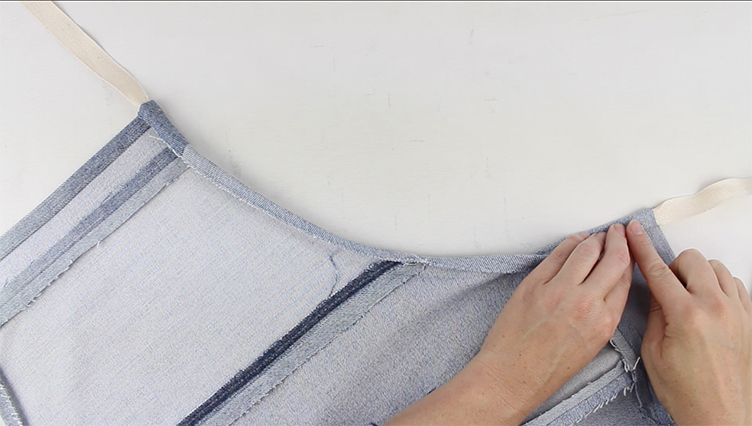
Fold twice and press the armhole hem, inserting the straps and pinning in place.
Sew 2 mm from the edge, making a diagonal stitch at each end to secure the straps.
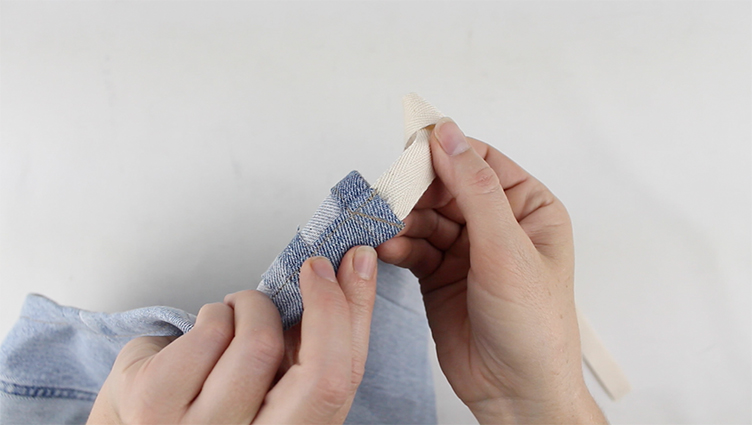
Fold each strap end twice and topstitch 2 mm from the edge.
Step 6 –Sew the pockets
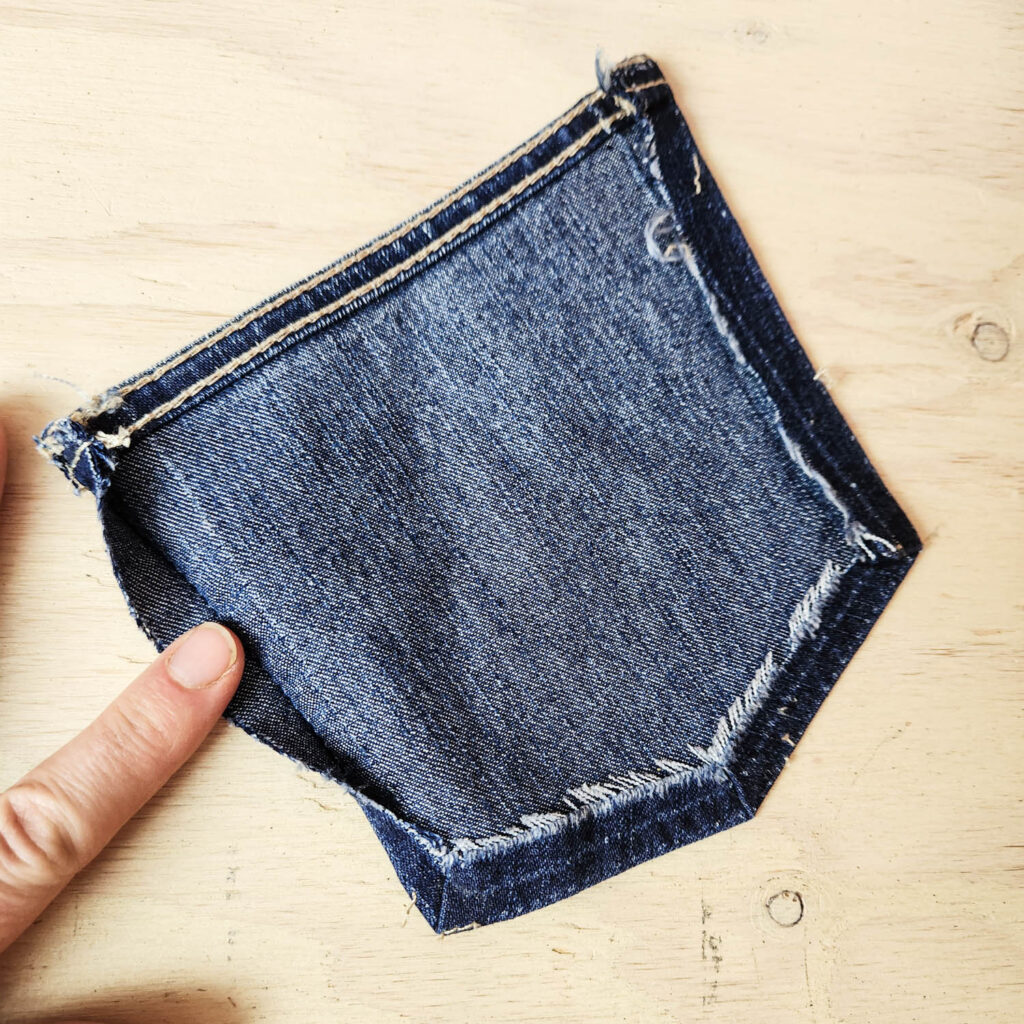
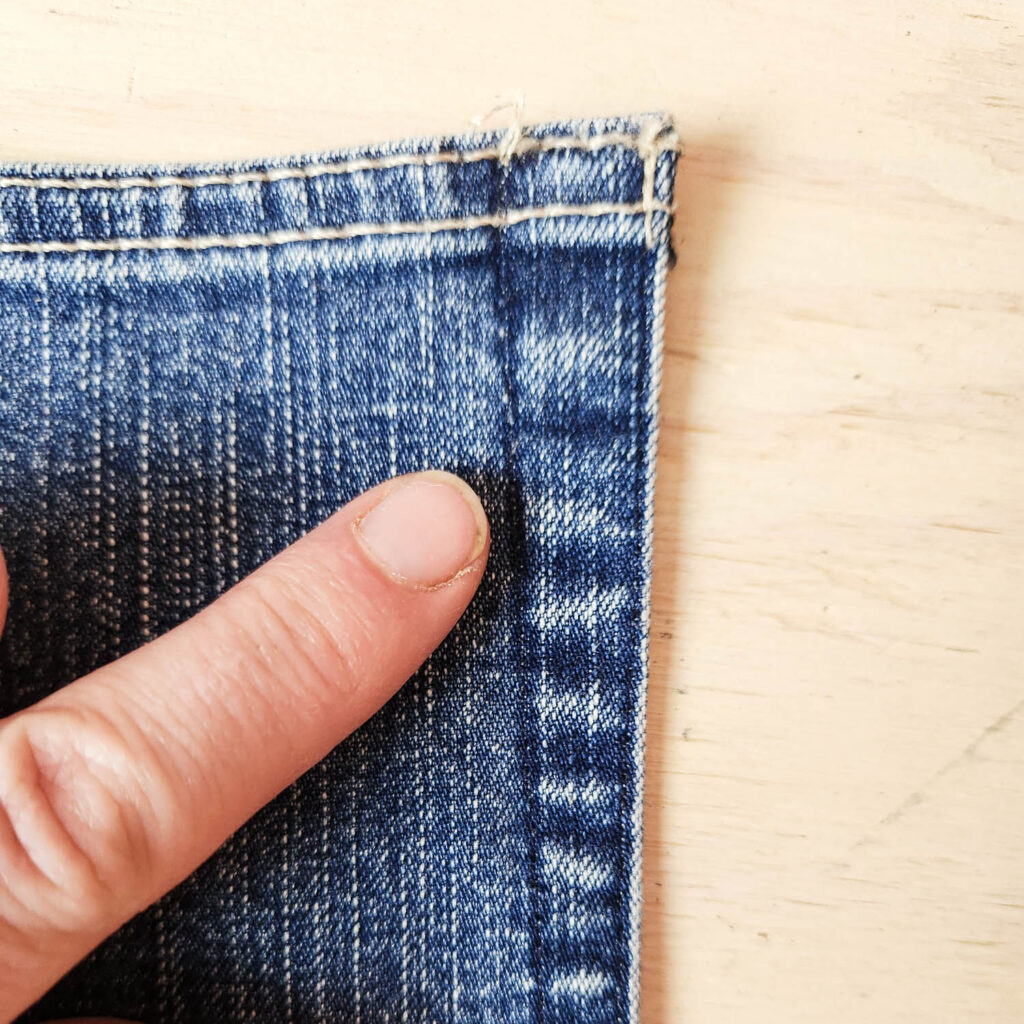
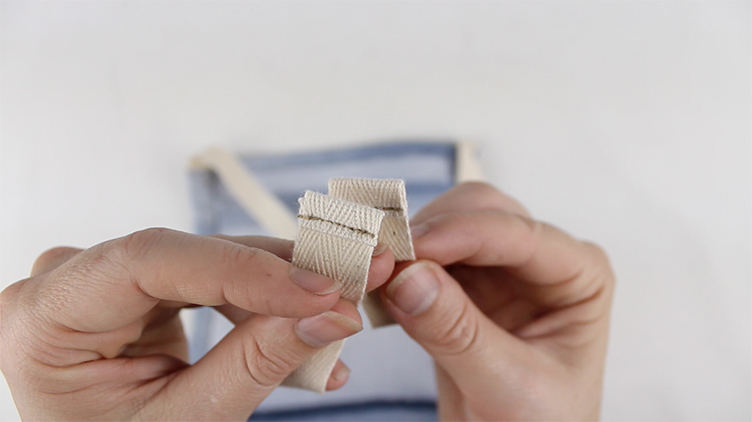
Remove all original pocket threads except the top hem.
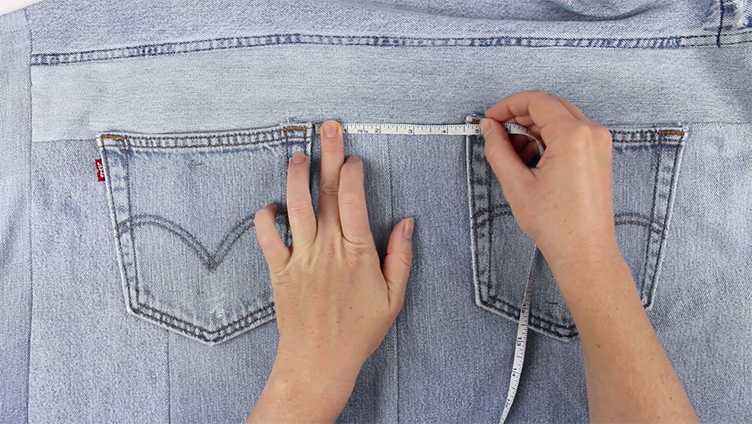
Position the pockets about 5,7 cm (2 ¼ po) from the center line and pin.
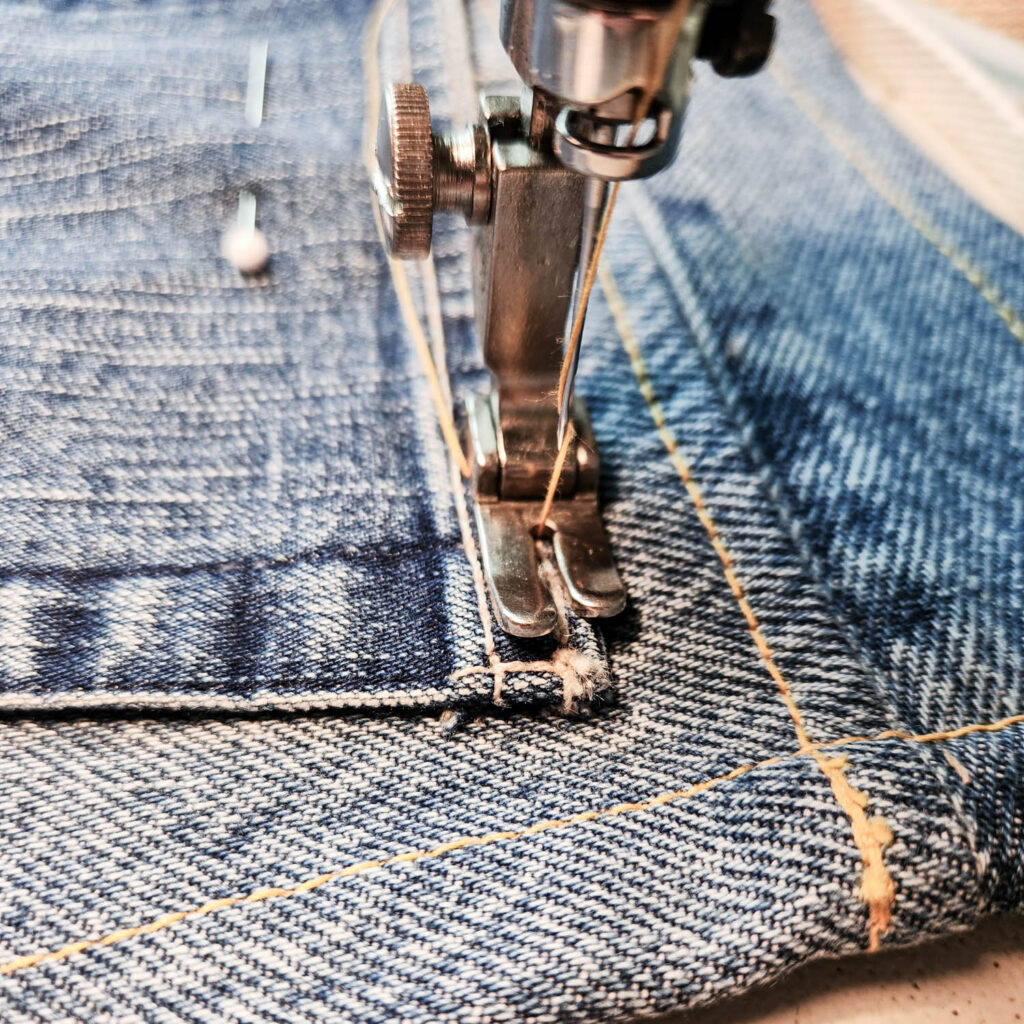
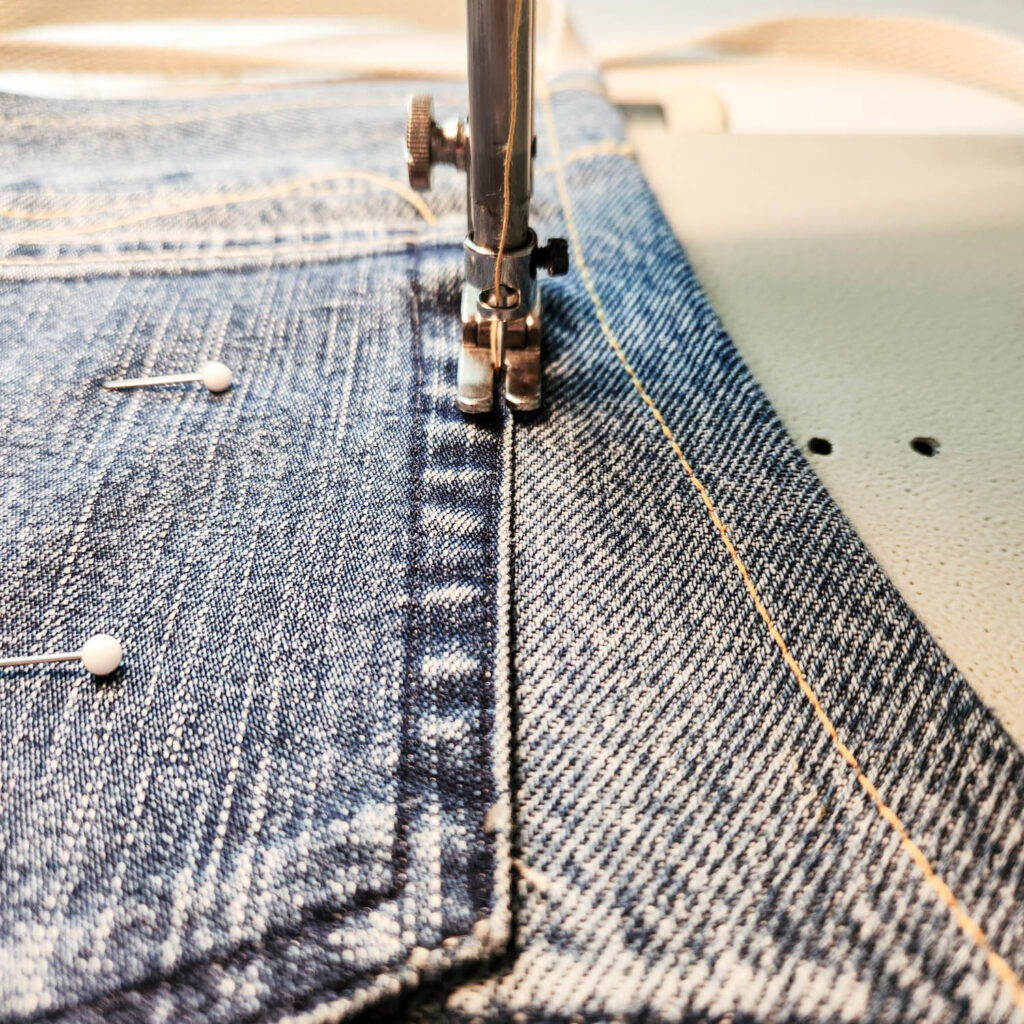
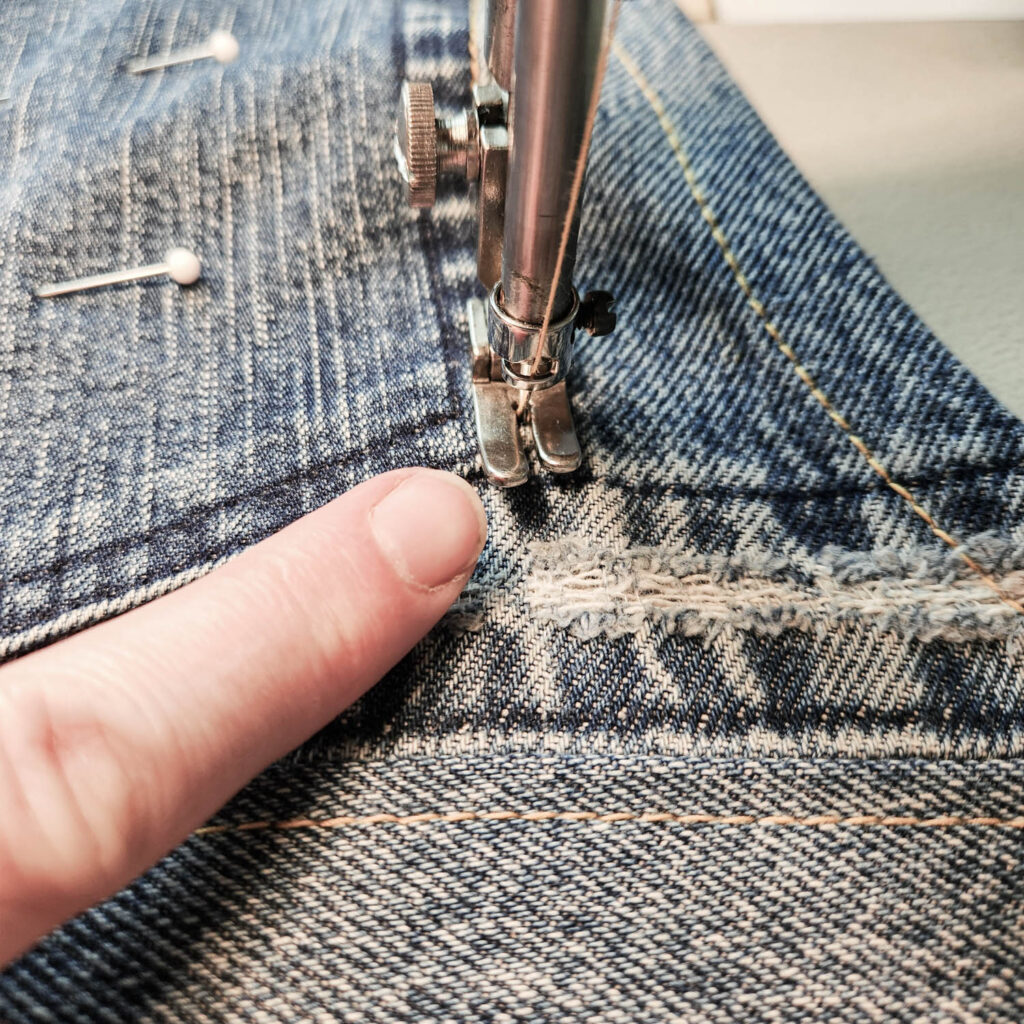
Start sewing at the upper corner, where the old bartacks were. Backstitch, then sew around the pocket 2 mm from the edge, keeping your stitching as precise as possible.
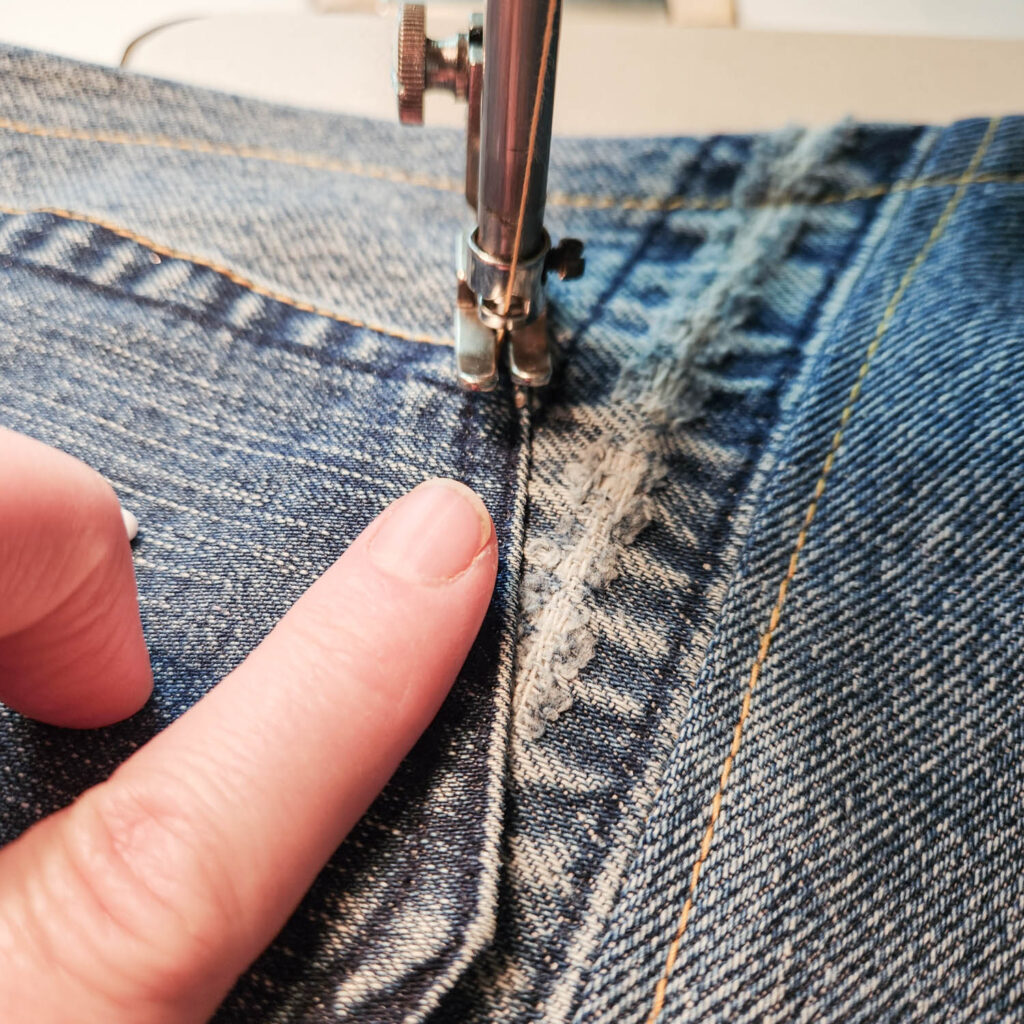

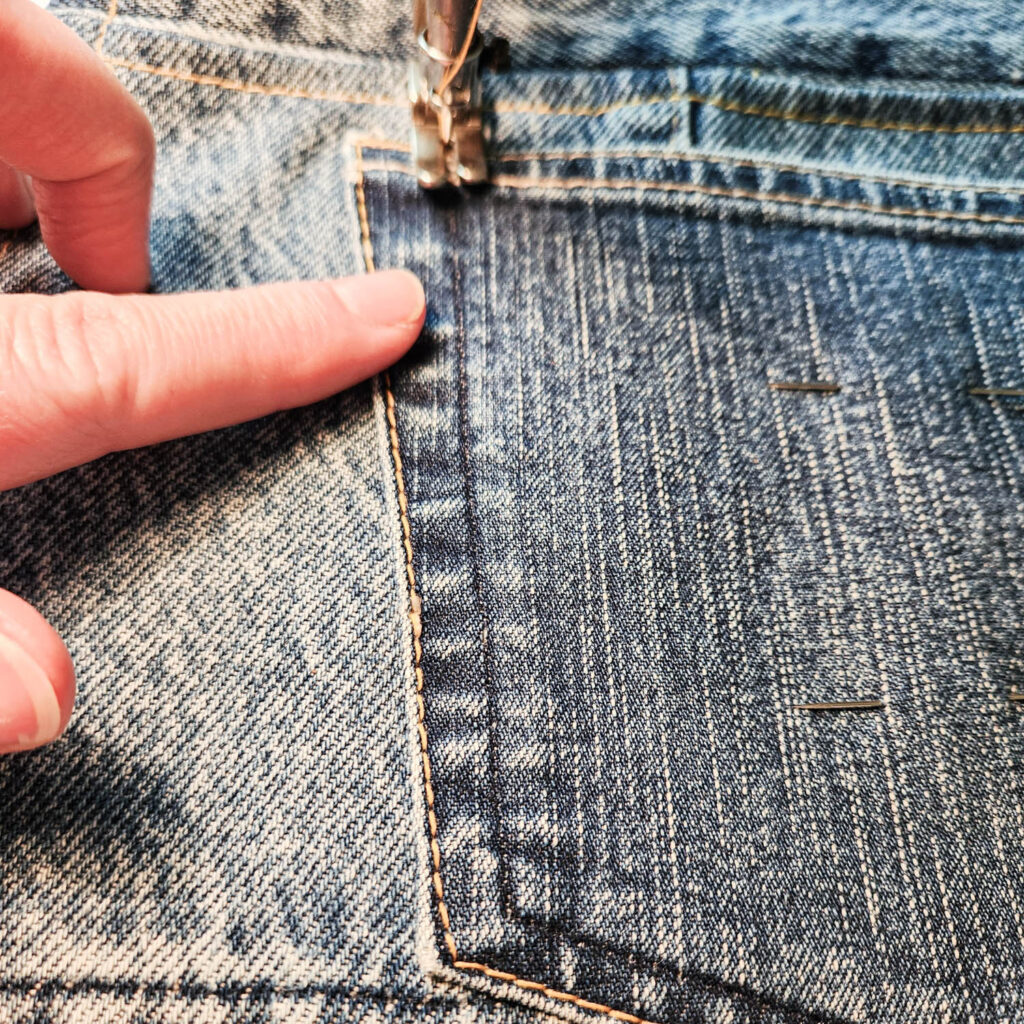
At each corner, leave the needle in the fabric, lift the presser foot, pivot, lower the foot, and continue sewing.
At the final corner, backstitch again and sew the inner line back to your starting point.
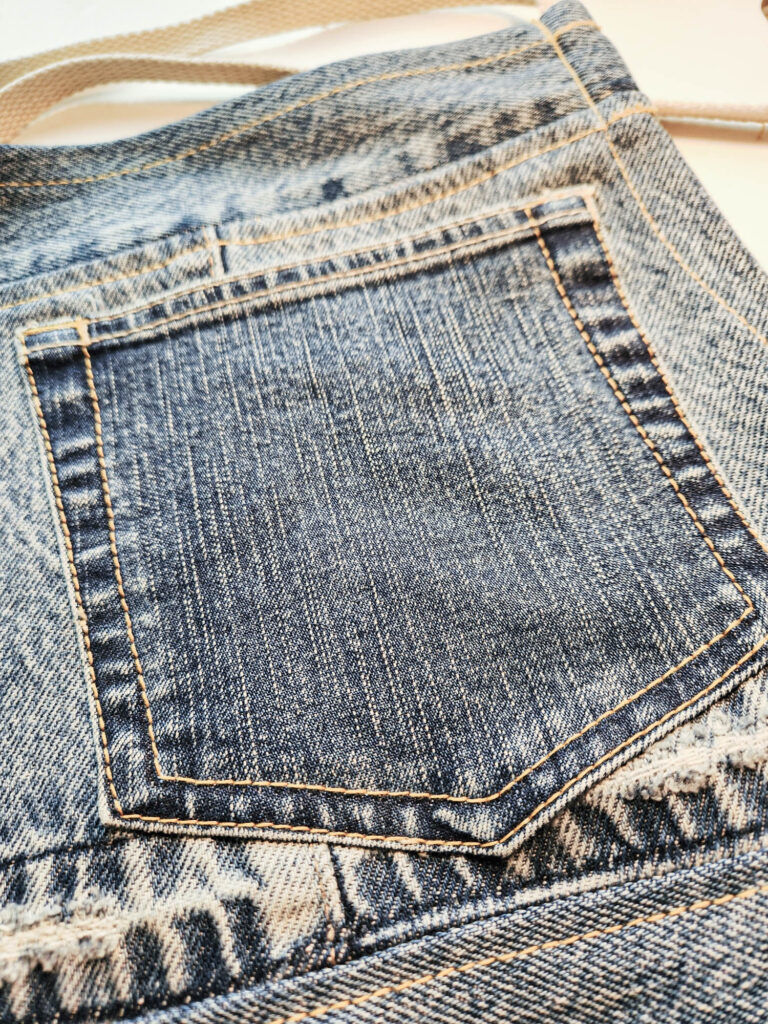
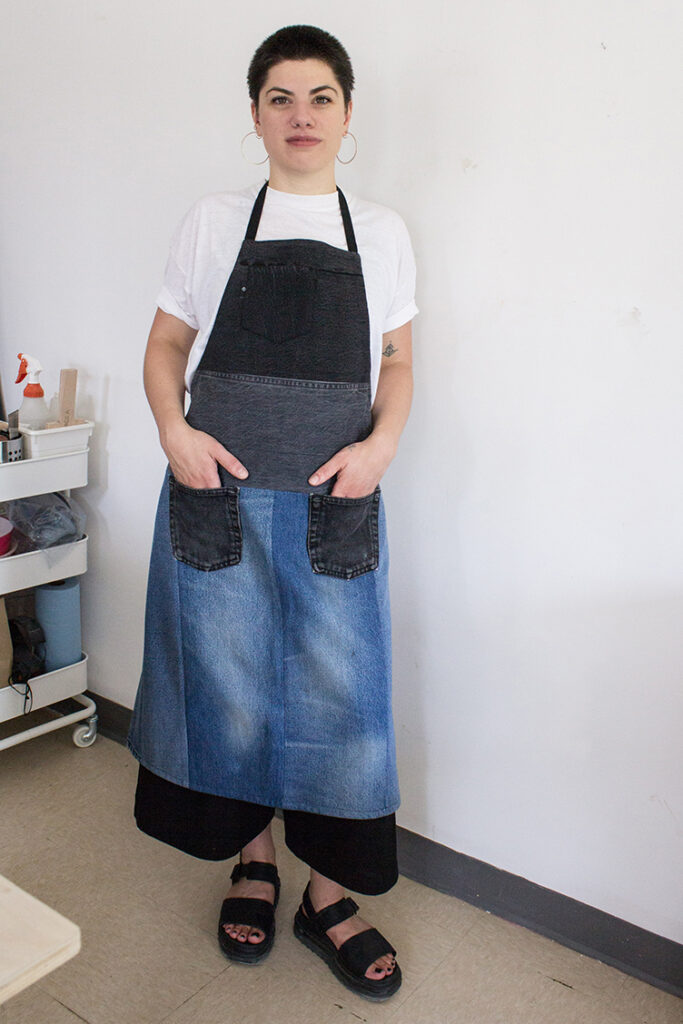
Finito! Here are a few color options for inspiration!
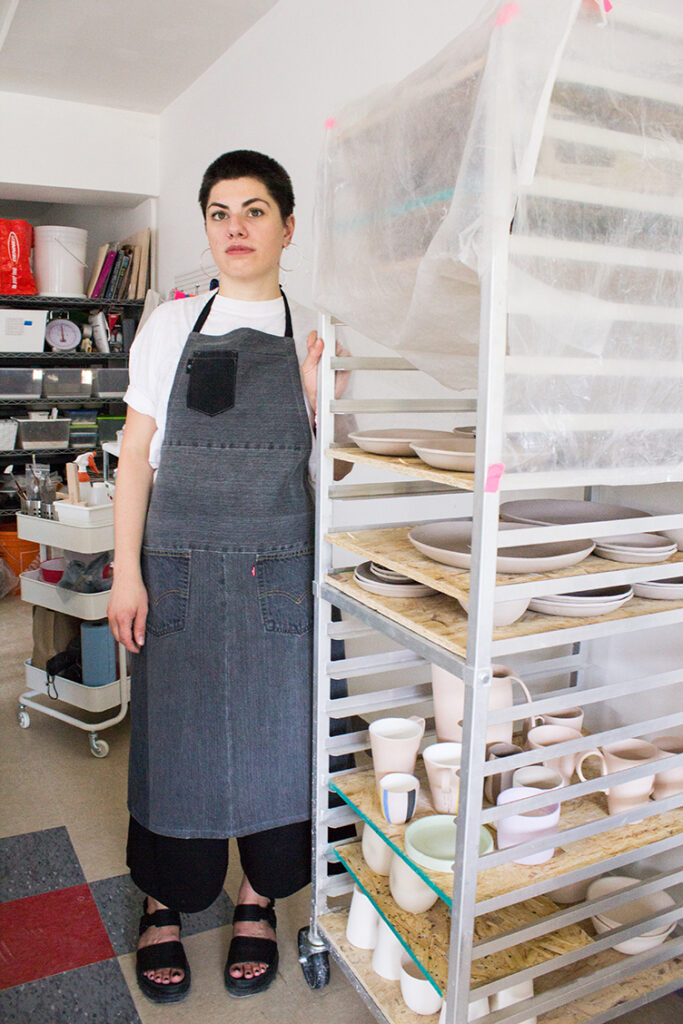

Your upcycled denim apron is now ready to join you in all your creative adventures... in the studio or the kitchen! By repurposing old jeans, you’ve given new life to the material while creating something practical, sturdy, and unique.
Feel free to play with colors, textures, and pocket placements to make it your own. Most importantly, have fun! Share your creations, tips, and variations in our Facebook groupe! I love seeing what everyone comes up with from this pattern. 🧵✨
For more inspiration, tutorials, and pattern discounts, subscribe to our Denim Upcyclers newsletter.

3 replies on “DIY|Comment Fabriquer un Tablier en Denim“