


March 7, 2026
Ariane Brunet-Juteau – Editor
This post exists because of Elaine’s post in FBK community and the amazing response it received. Elaine asked:
“Can anyone please explain how to do this type of fringed effect?”

The answers were surprisingly varied:
- Many said rag quilt
- Many others mentioned chenille
- A few suggested fabric slashing
- Some said none of the above
I was intrigued.
Although I was familiar with all techniques, I had never actually tried them myself. My curiosity quickly turned into a small denim lab, and I thought it would be fun to bring you along for the ride.
Enjoy
Ariane
Rag quilt vs Chenille
Rag Quilt
(Faux) chenille


Denim Rag Quilt
A rag quilt is made from fabric squares sewn wrong sides together, so the seam allowances are exposed on the right side.
Those seam allowances are clipped and frayed, creating the soft textured effect that rag quilts are known for.

(Faux) Chenille
Faux chenille is created using a technique called fabric slashing:
- Layer at least two fabrics
- Sew rows of parallel stitching
- Slash the top layers between the stitched rows
- Wash the fabric so the cut edges bloom into a fluffy texture
True chenille fabric, however, is produced by weaving chenille yarn, not by slashing fabric.


You can slash the fabric using scissors, but the rotary cutter is so much more fun to use.
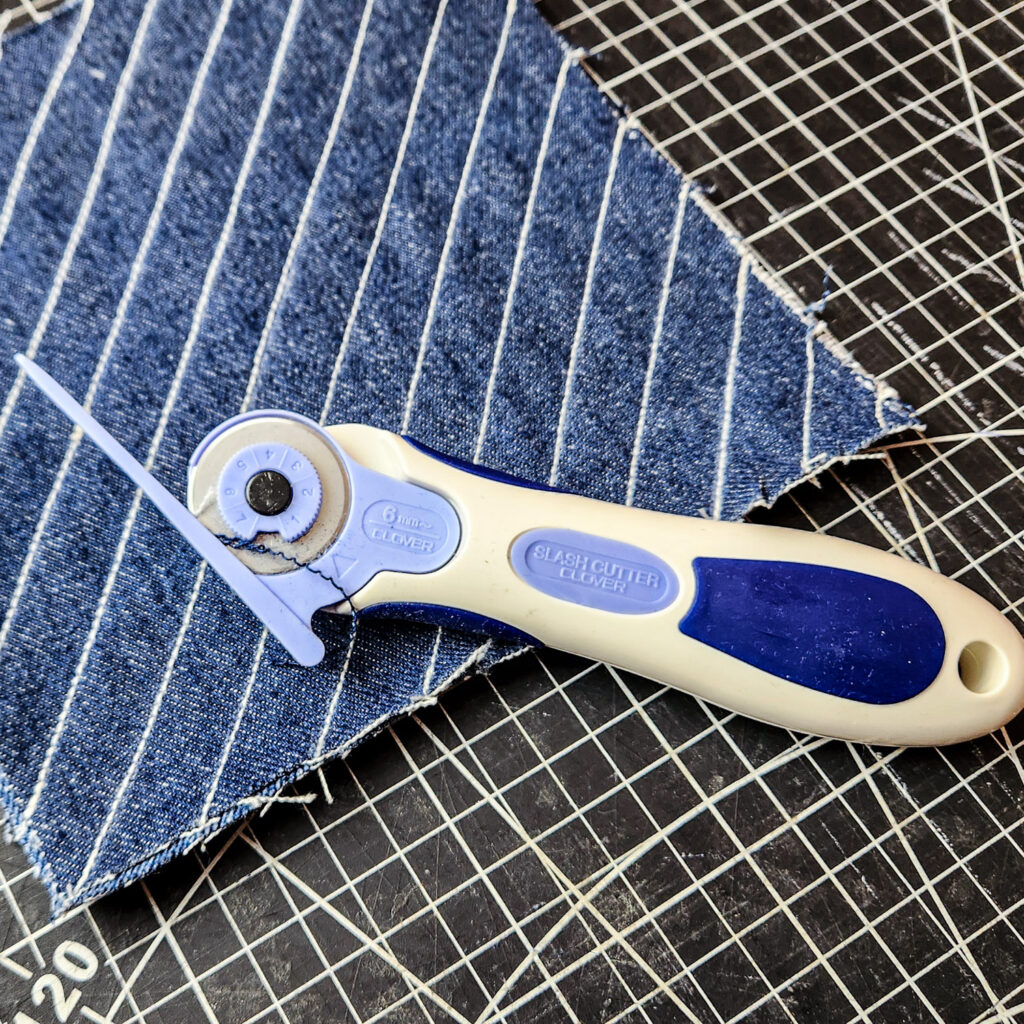
Rotary cutter
Slash cutter
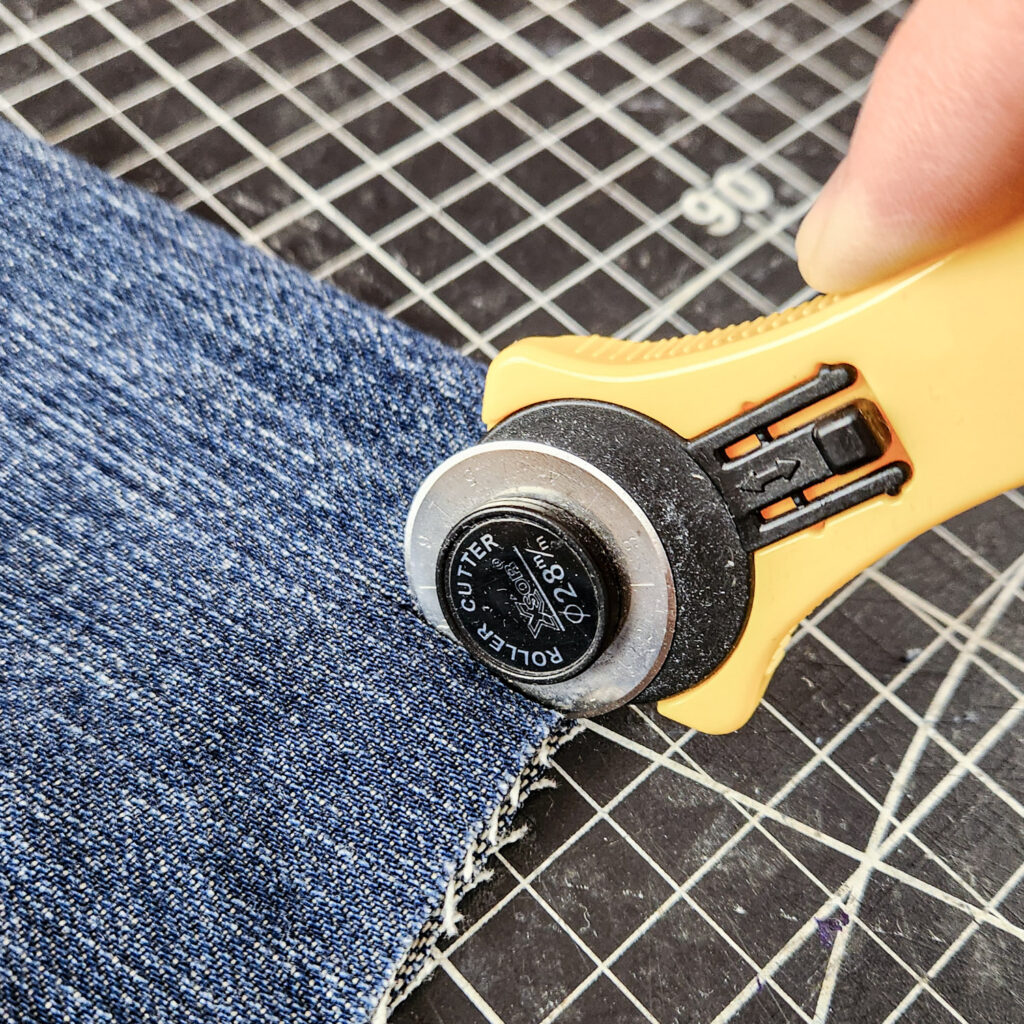
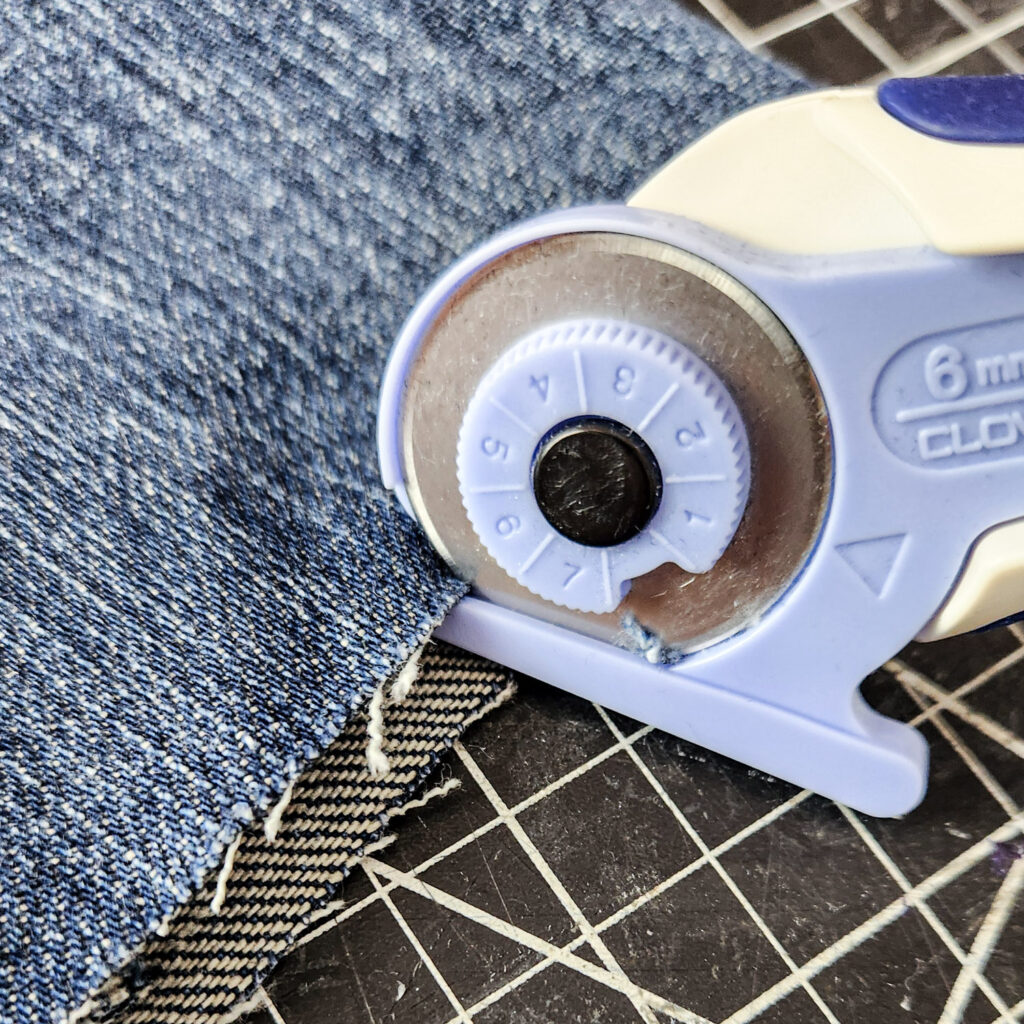
A regular rotary cutter will cut through all layers of fabric. The chenille slash cutter. It has a guide that prevents the blade from cutting the bottom layer.
Also, the blade doesn’t rotate. So instead of slicing, you’re actually slashing the fabric.
You can find the link to the tool here (Amazon link)
Tips from our community
Our members shared some great insights:
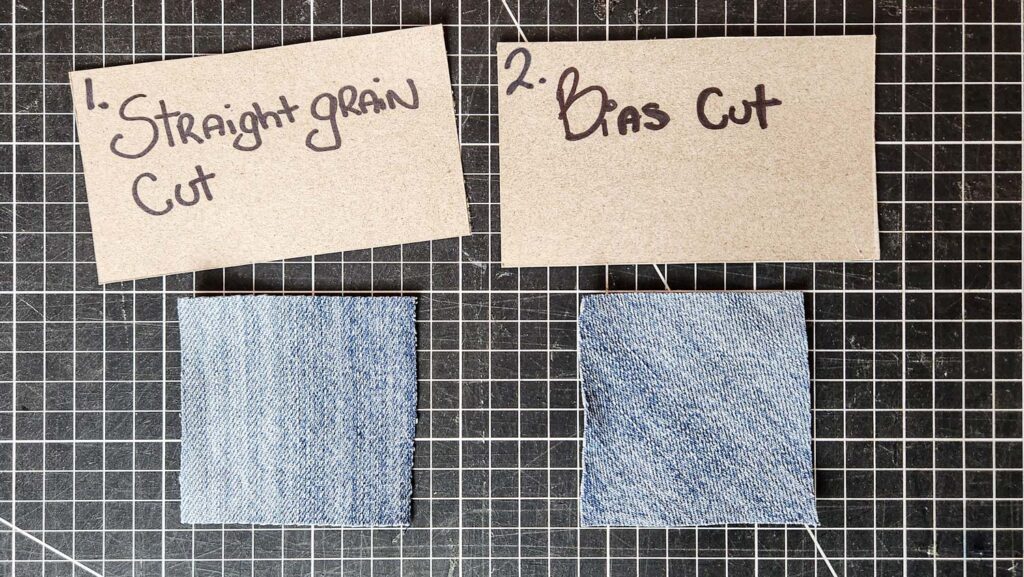
- Peter Cut denim squares on the bias, not the straight grain. Bias cutting allows the edges to fray without falling apart.
- Lucy Stretch denim doesn’t fray as well.
- Diane Heavier denim frays best.
- Emarie For fraying seams, I use a dog brush with tiny wire bristles.
- Julie Cutting on the straight grain creates more consistent fraying.
- Kathy Snip the seam allowance at all junctions before washing. It will fray more easily.
- Karen Slash on the bias for a fluffier effect.
- Janice : Using more than two layers of fabric gives a thicker, fluffier result.
Naturally… I Had to Test It
So I ran a few experiments in my denim lab. I tested:
- Straight grain vs. bias cut
- Lightweight denim vs. stretch denim vs. heavy denim
- One layer of denim vs. multiple layers
- Dog brush vs. sandpaper for fraying edges
Here are a few of my tests 😉
Do you like this content? Subscribe to the newsletter :)

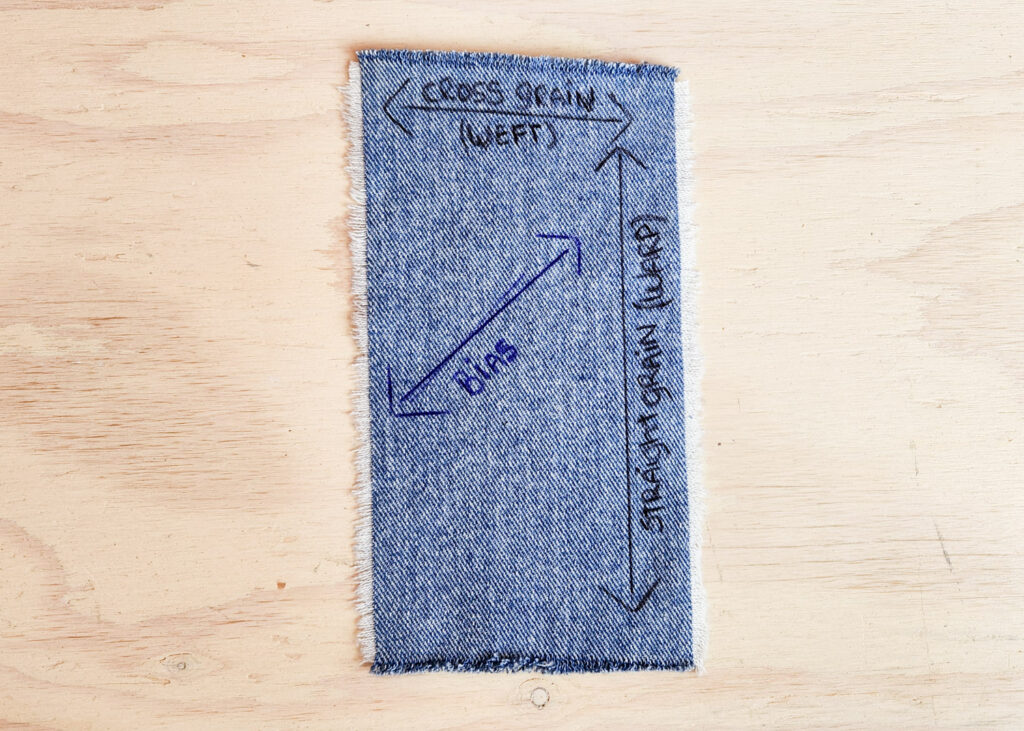
Droit-fil vs Biais
Many of you mention different output depending on how fabric was cut
If you’re not familiar with straight grain, warp, and weft threads, I’ve got you covered — check out the article I linked. here.

Denim Rag Quilt
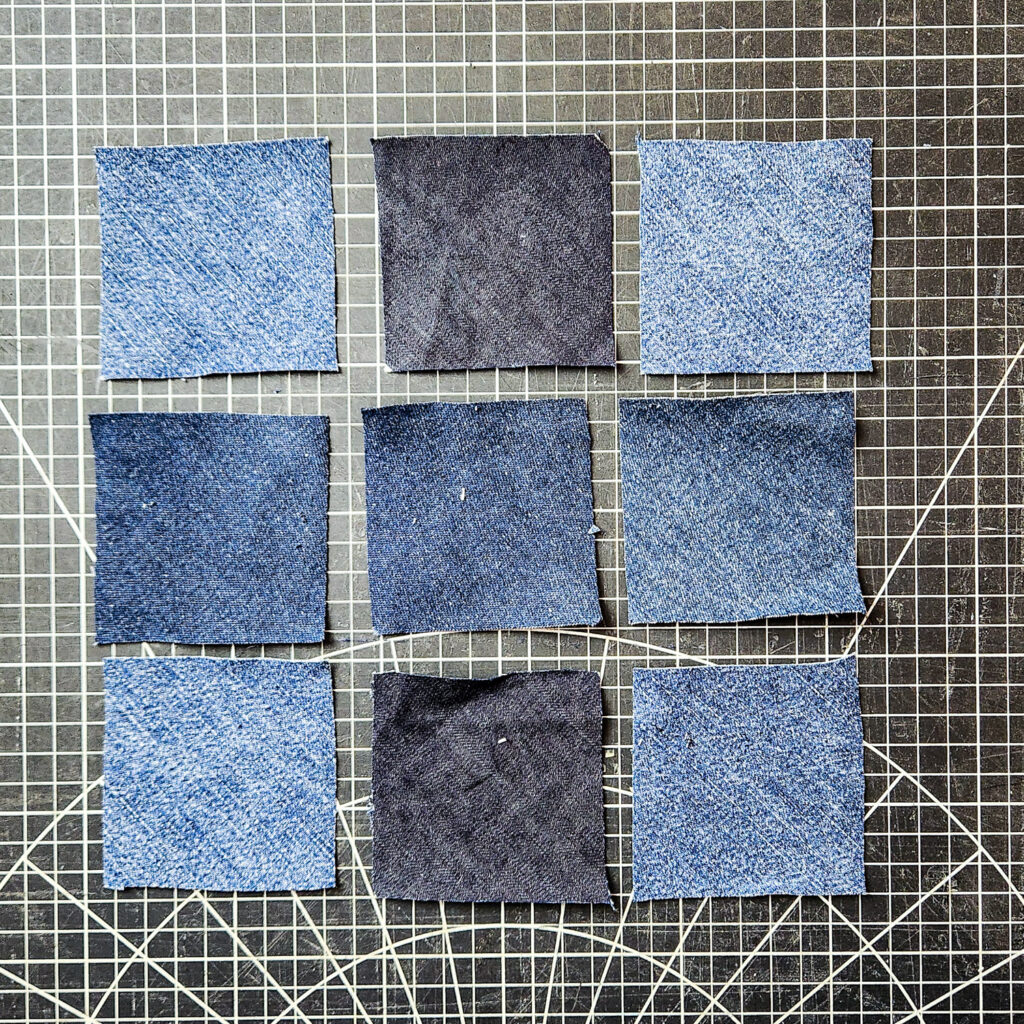
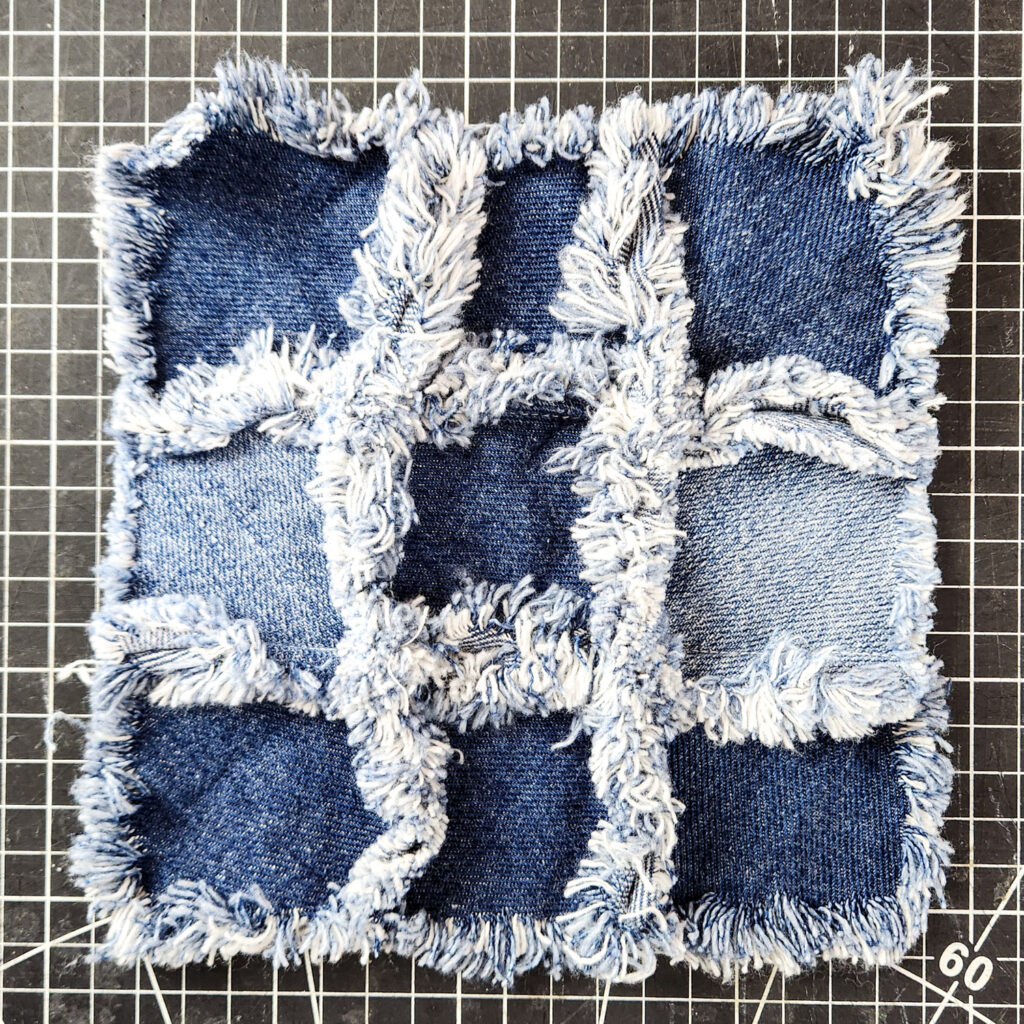
I first tested straight grain vs bias cutting using the rag quilt technique.
For my samples, I used 3 × 3 inch squares, which produced 7-inch blocks once assembled.
LILI SWATCH
Straight grain placement cut
MIMI SWATCH
Bias placement cut
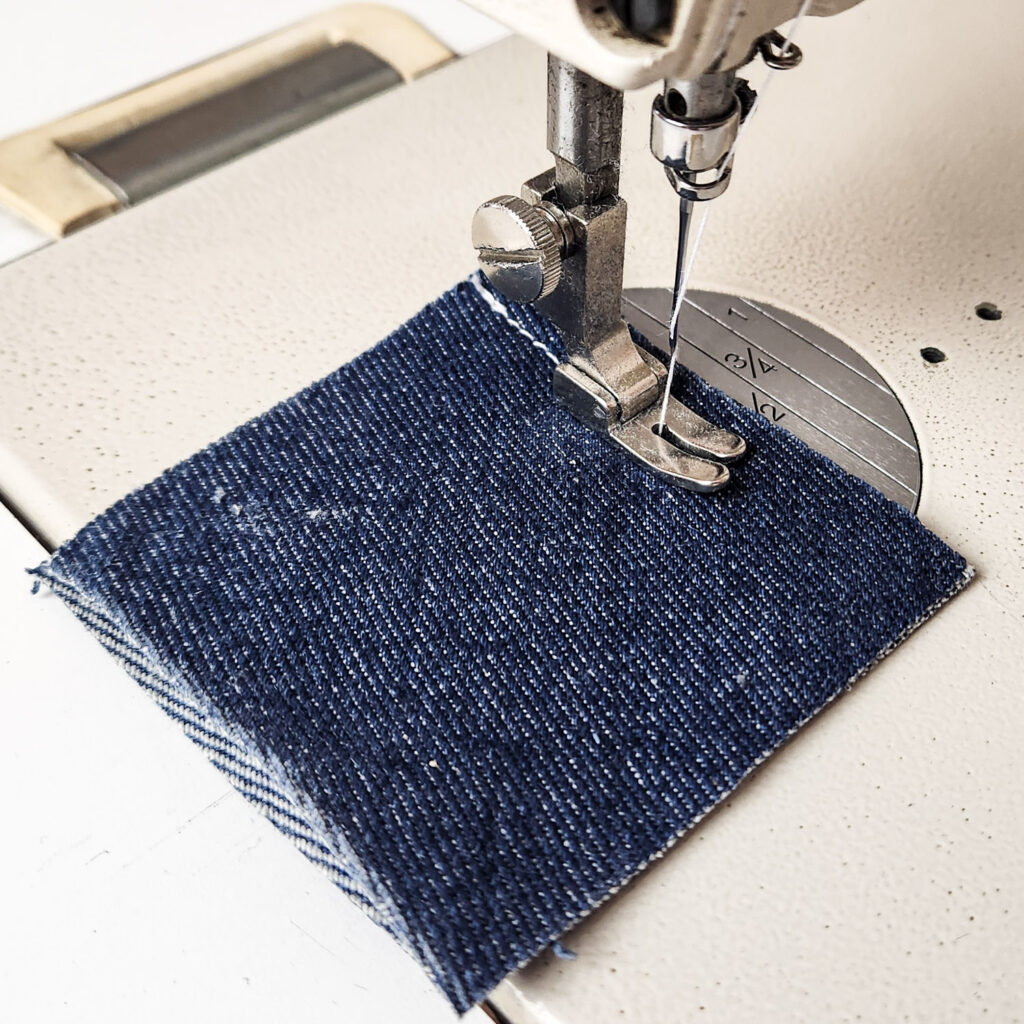
1. Assemble
I sewed the blocks using ½-inch seam allowances.
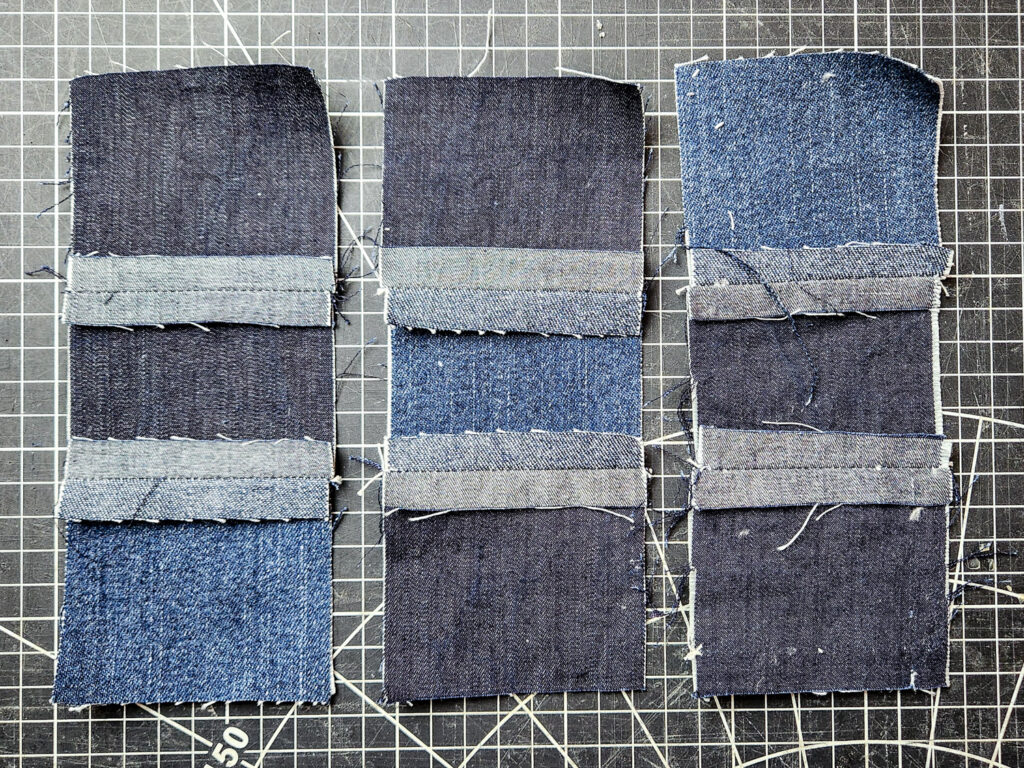
2. Washing
Snip the seam allowances every inch or so before washing. This helps them fray better during the wash cycle. I snip mine after washing, so the fraying during the wash wasn’t as strong as it could have been.
3. Hand fraying
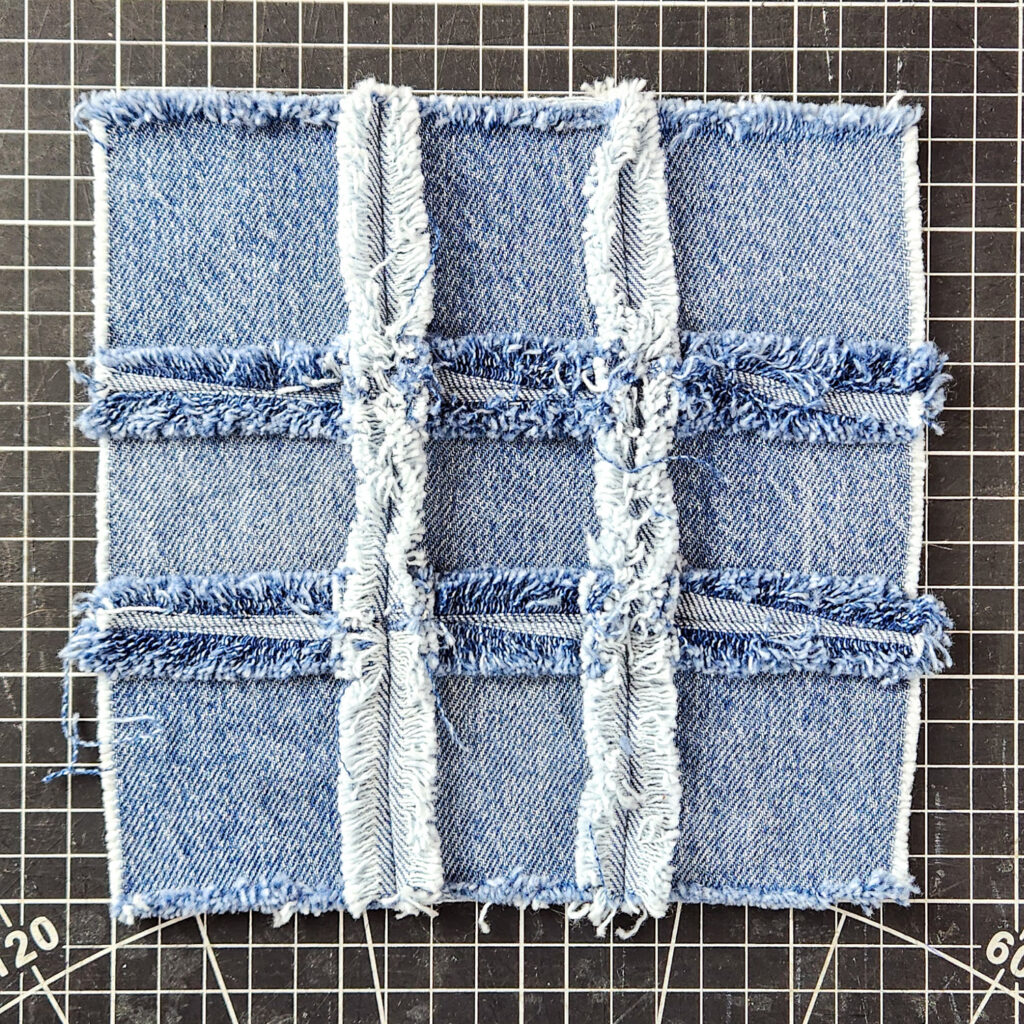
Lili swatch: Washed once. I used a seam ripper to hand-fray the seam allowances.
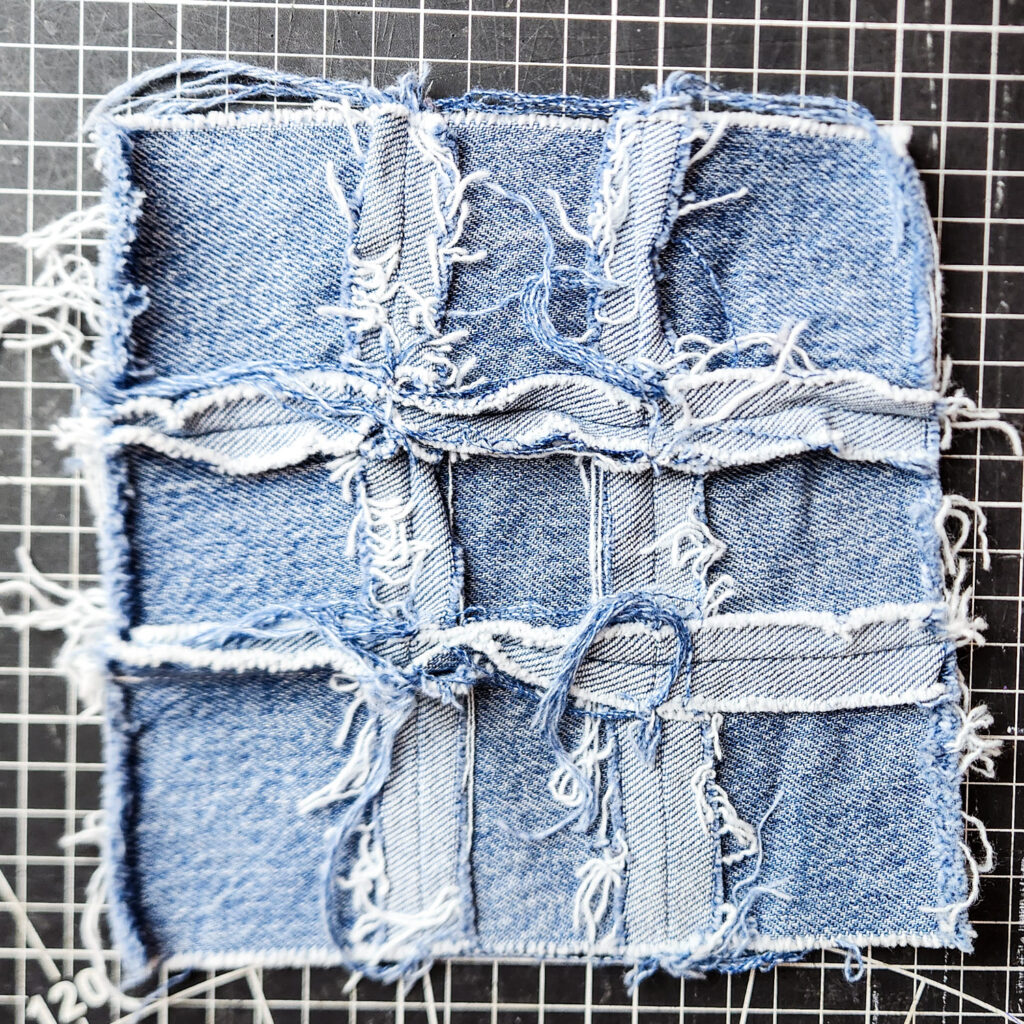
Mimi swatch: Washed twice. I used the dog brush to fray the seam allowances.
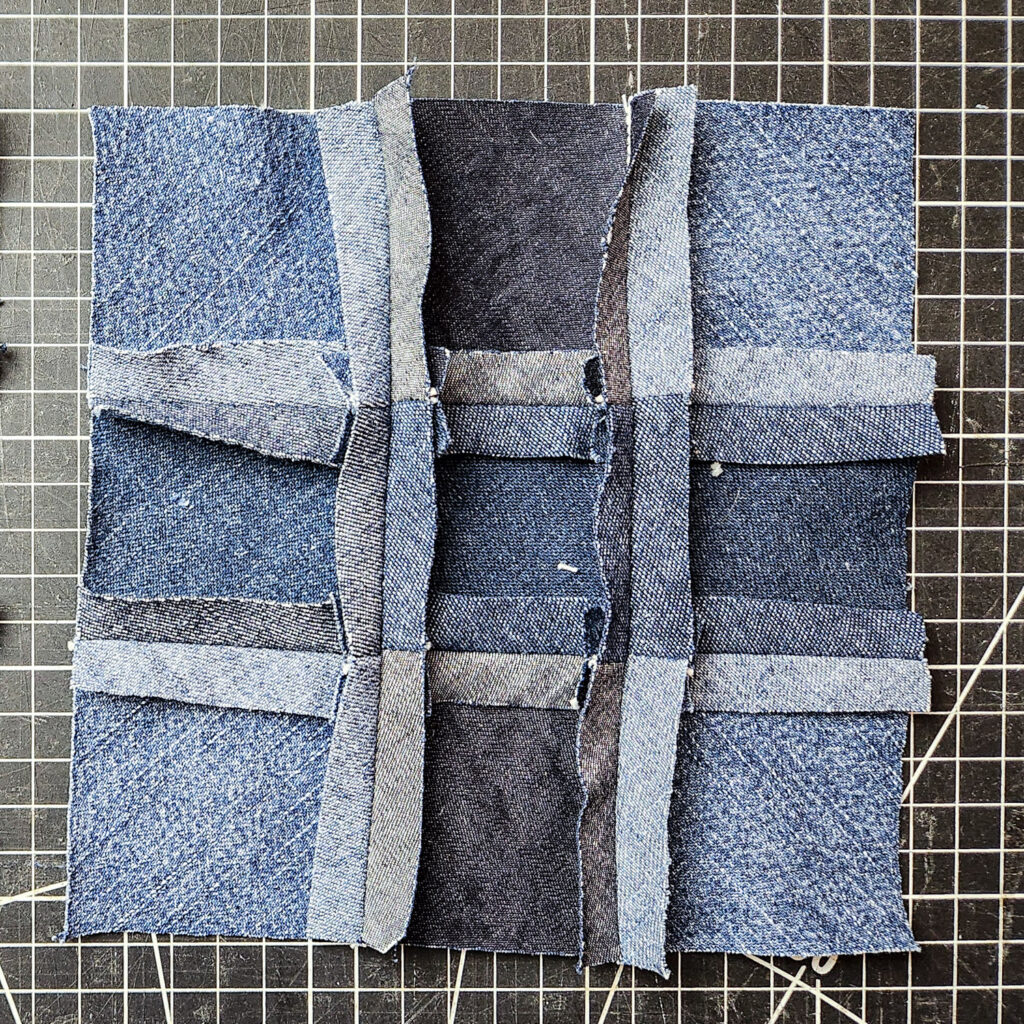
5. Distinctive elements
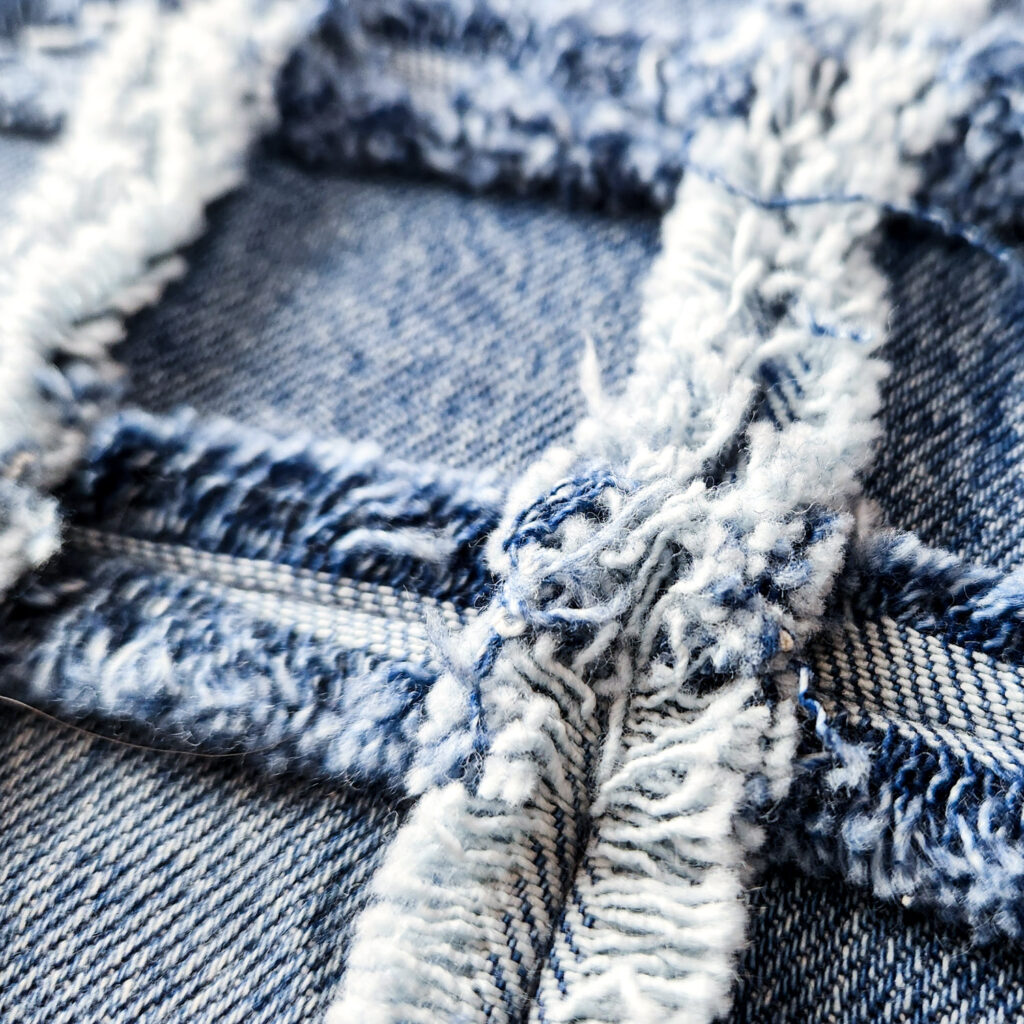
Lili swatch : Subtle fraying reveals the white weft yarns vertically and the indigo warp yarns horizontally.
Mimi swatch: : When the seams fray, the edges become bicolored, fluffy, and textured, giving the quilt a cozy and playful look.
I like Lili bu Mimi is my favorite here.
Denim (faux) Chenille
I then tested straight grain versus bias using the fabric slashing technique to create faux chenille samples.
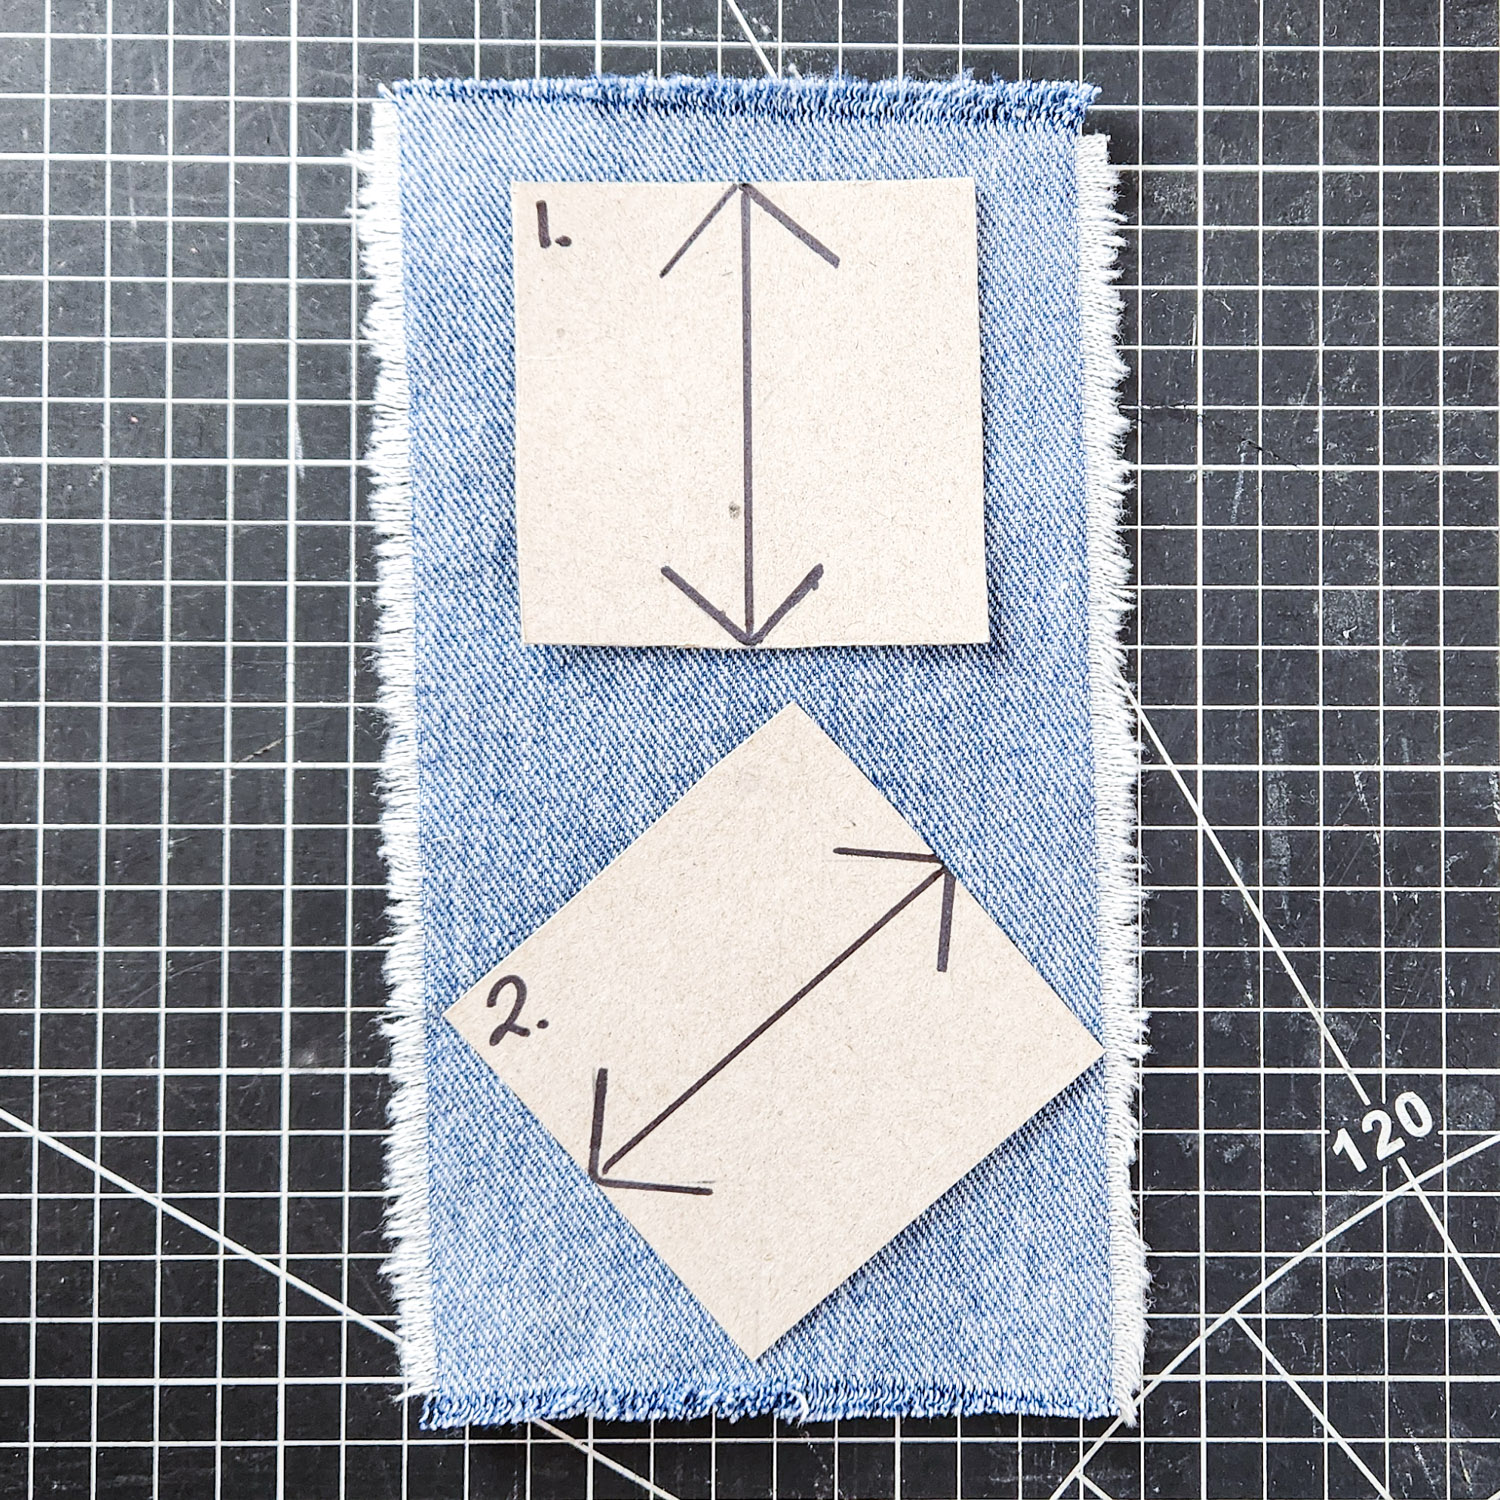
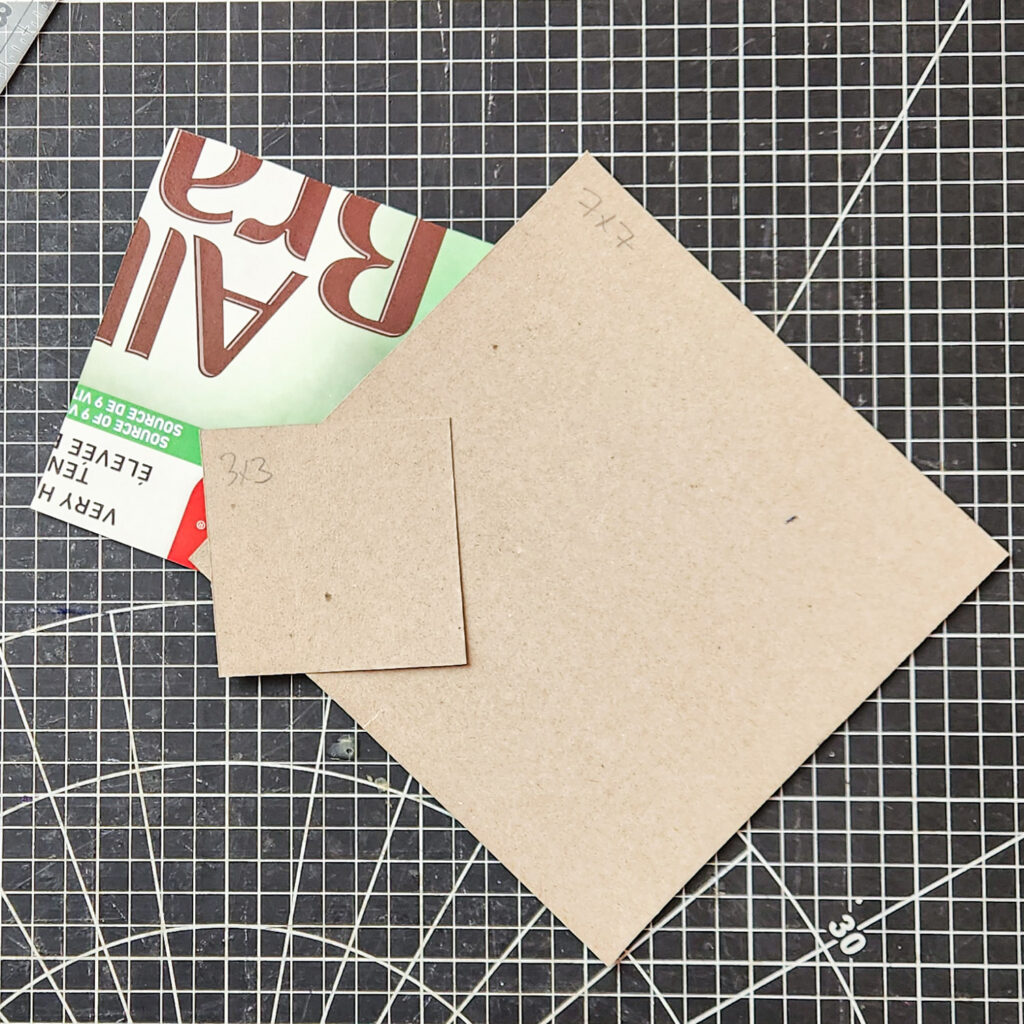
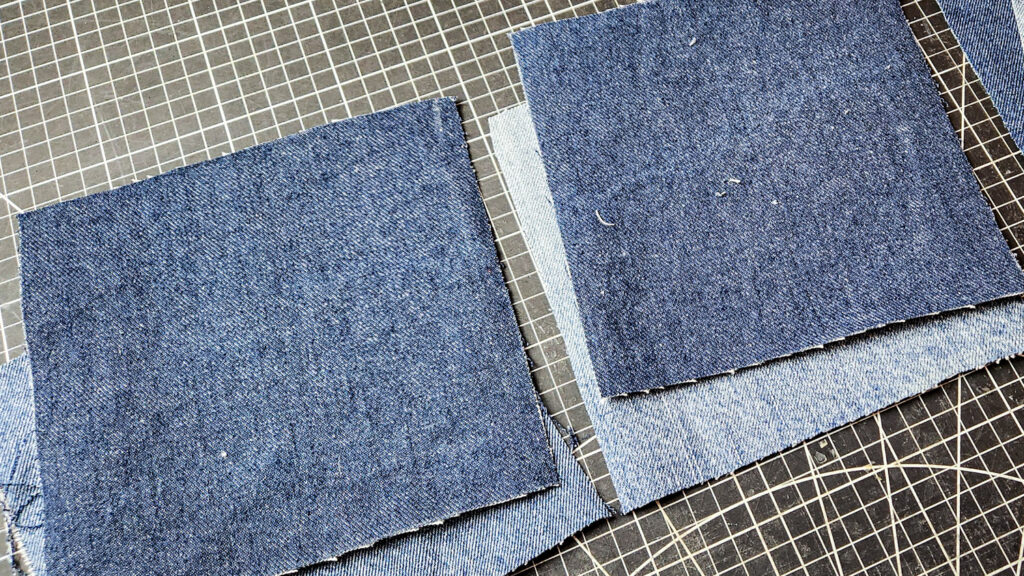
1. Cutting the Squares
I cut all my squares on the straight grain of the fabric.
I like to use cereal box cardboard to make my square templates.
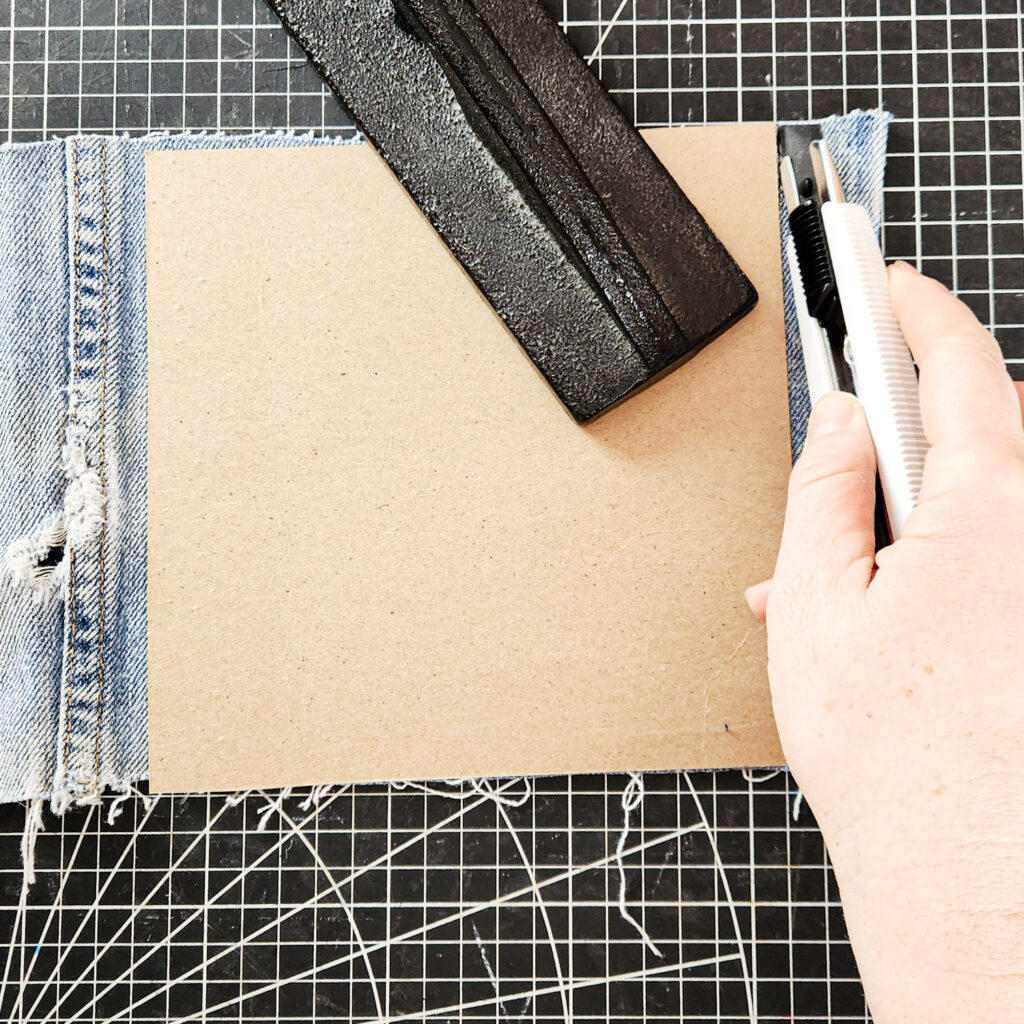
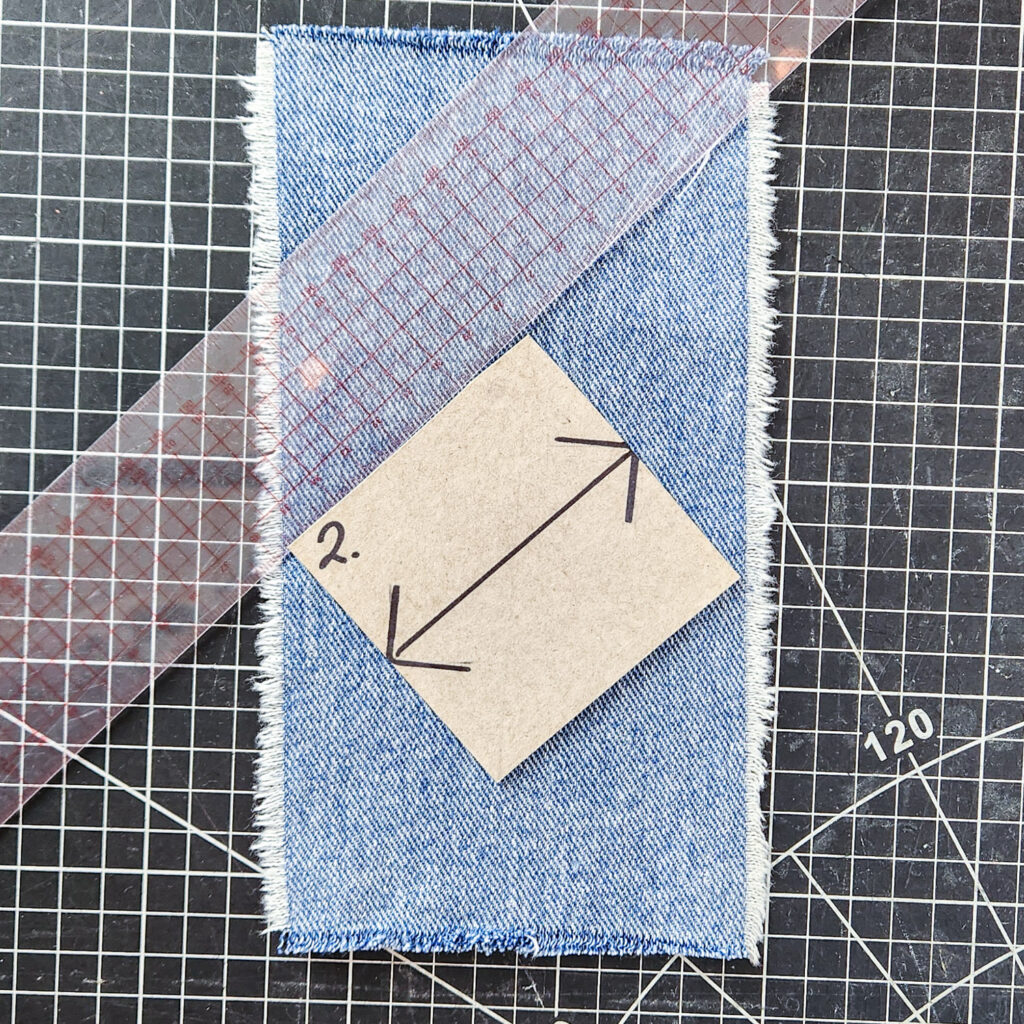
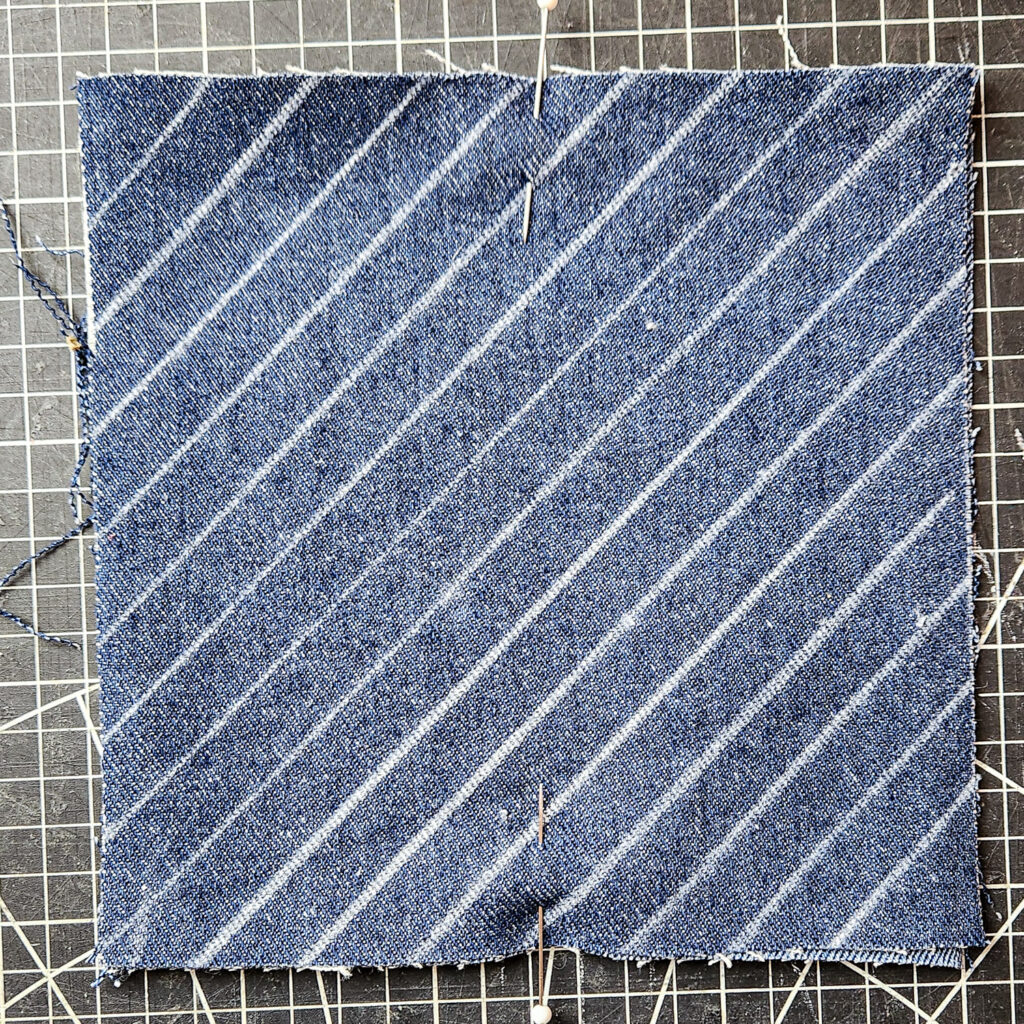
2. Trace and Sew
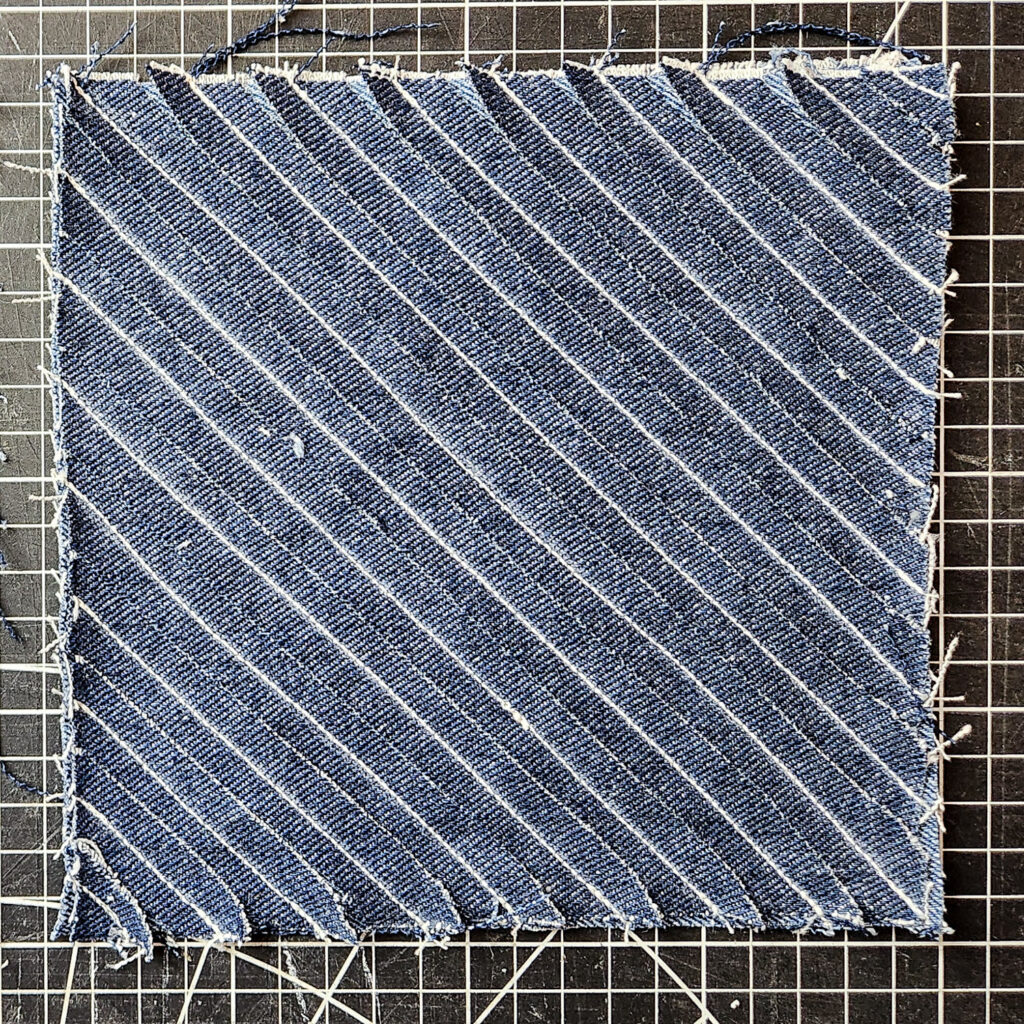
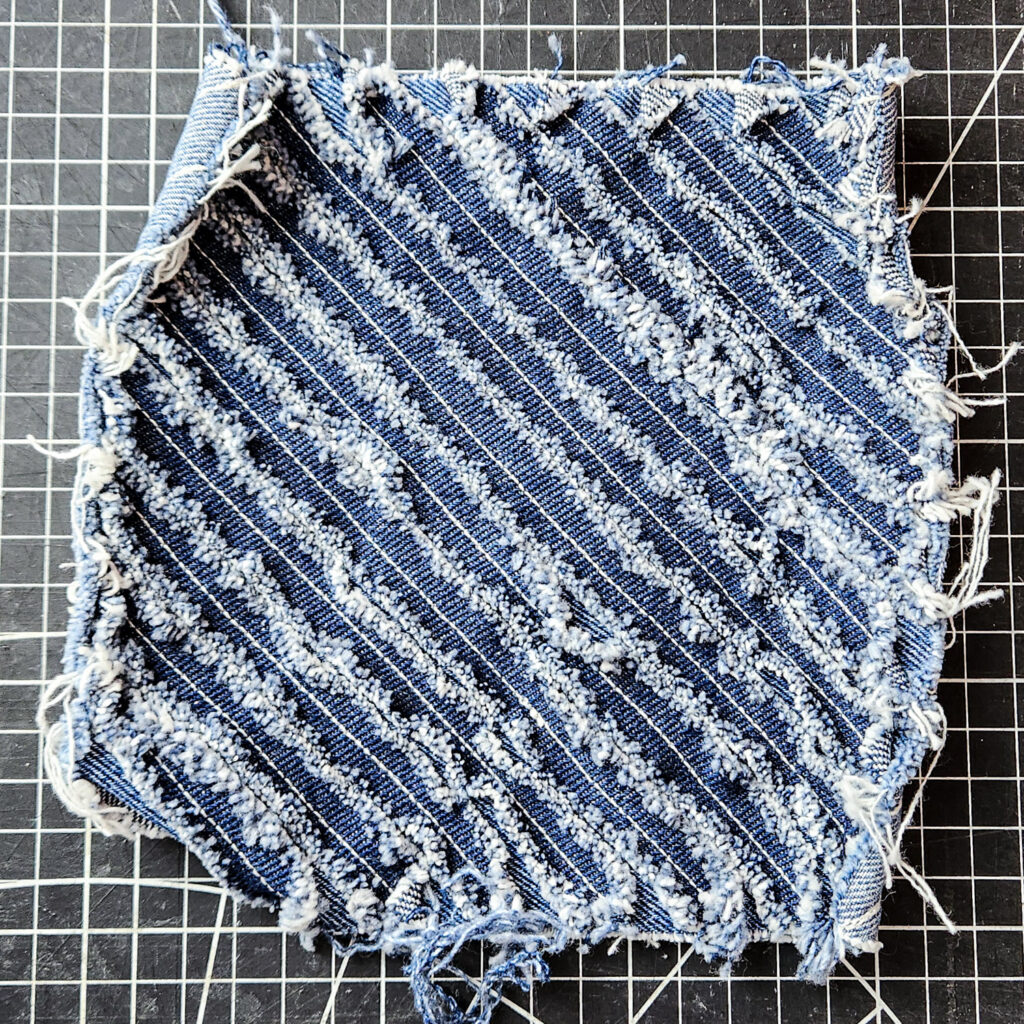
I mark the stitching lines on the fabric. On one sample, the lines run vertically to follow the straight grain, while on the other they run diagonally to follow the bias.

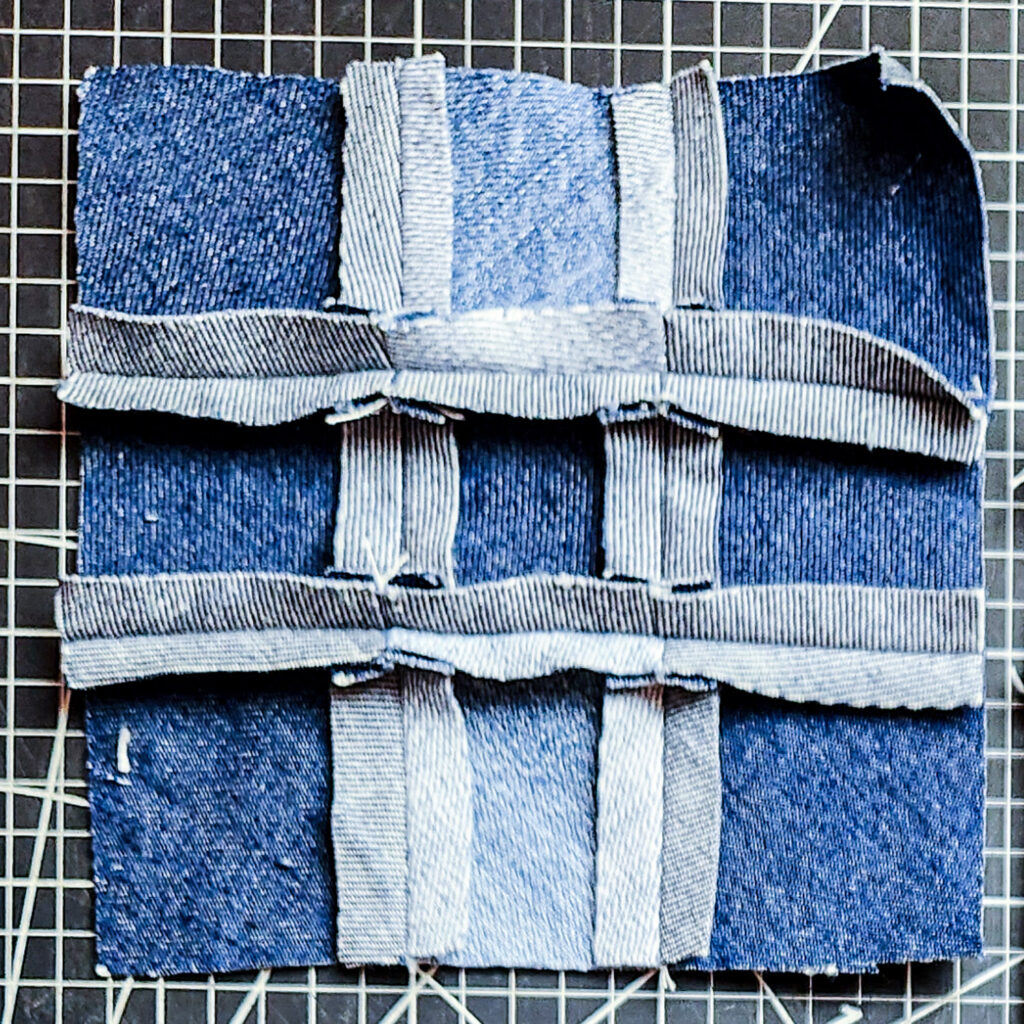
JOSY SWATCH
Straight-grain slashing
ROSY SWATCH
Bias slashing


3. Washing
Josy swatch was washed once and Rosy swatch was wash twice.


4. Hand Fraying
Josy swatch: I used a seam ripper to hand-fray the cut edges after washing
Rosy swatch: I used the dog brush to fray the edges by hand.
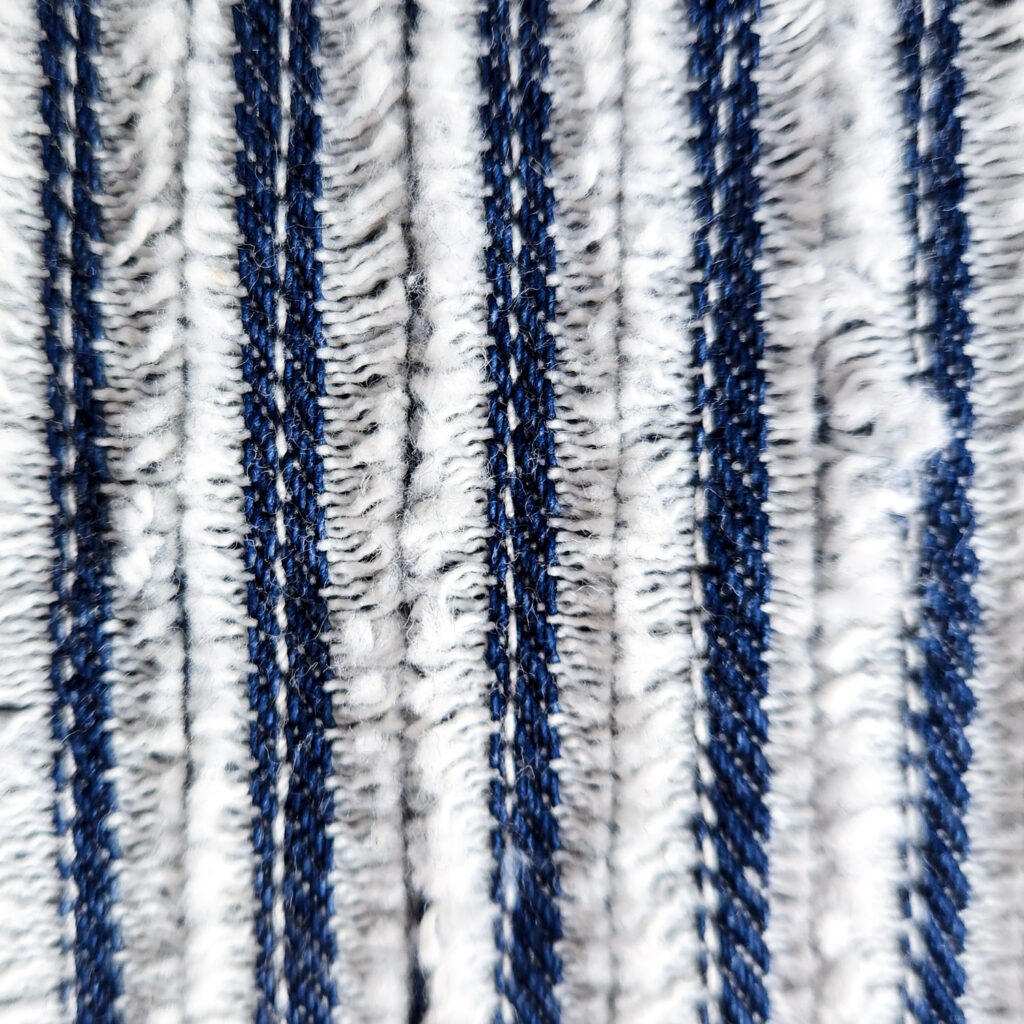
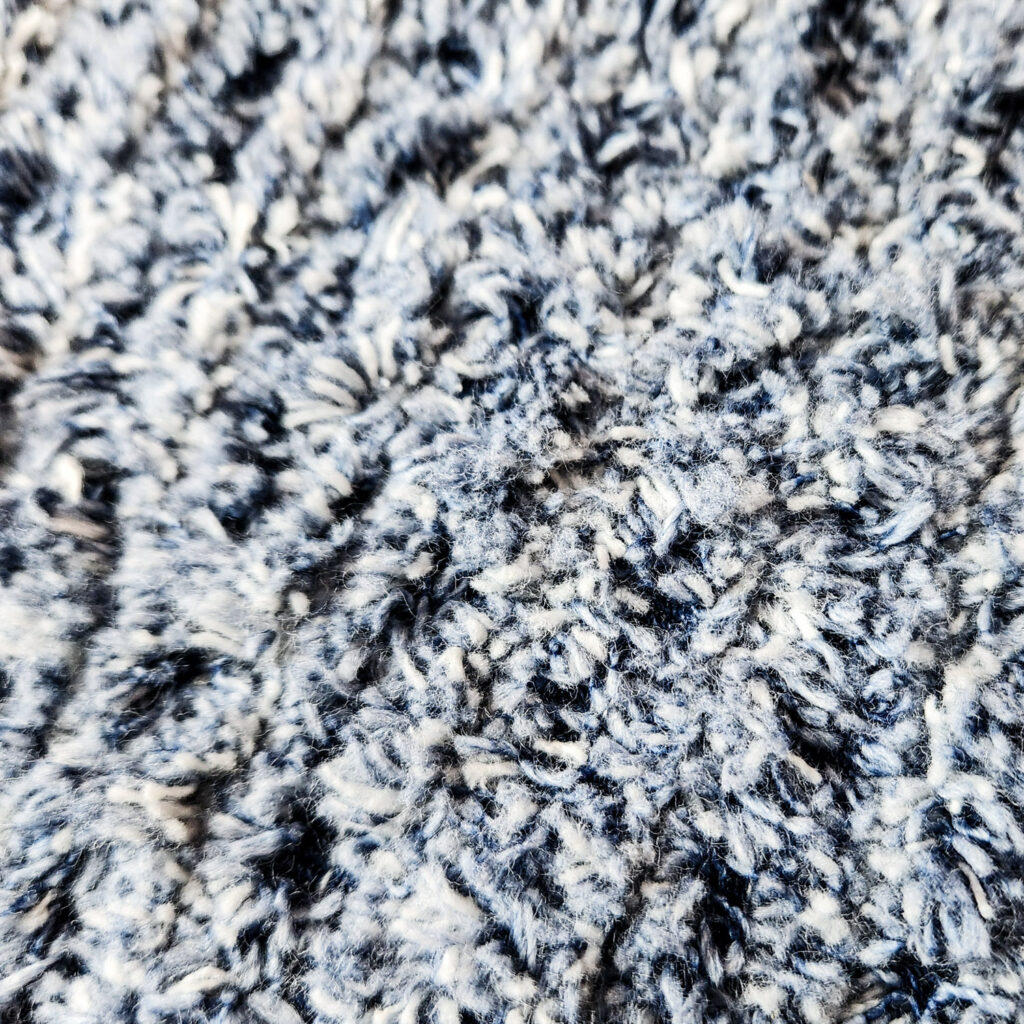
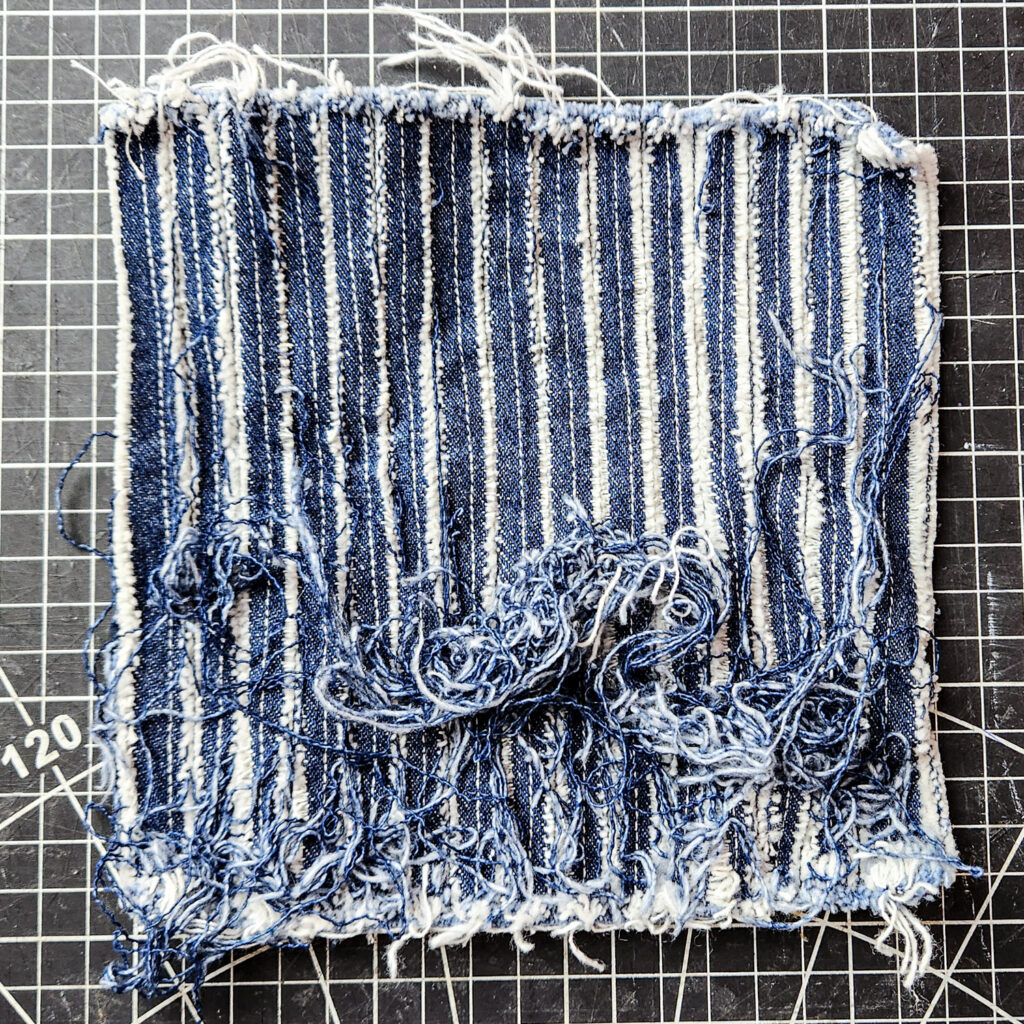
5. Distinctive elements
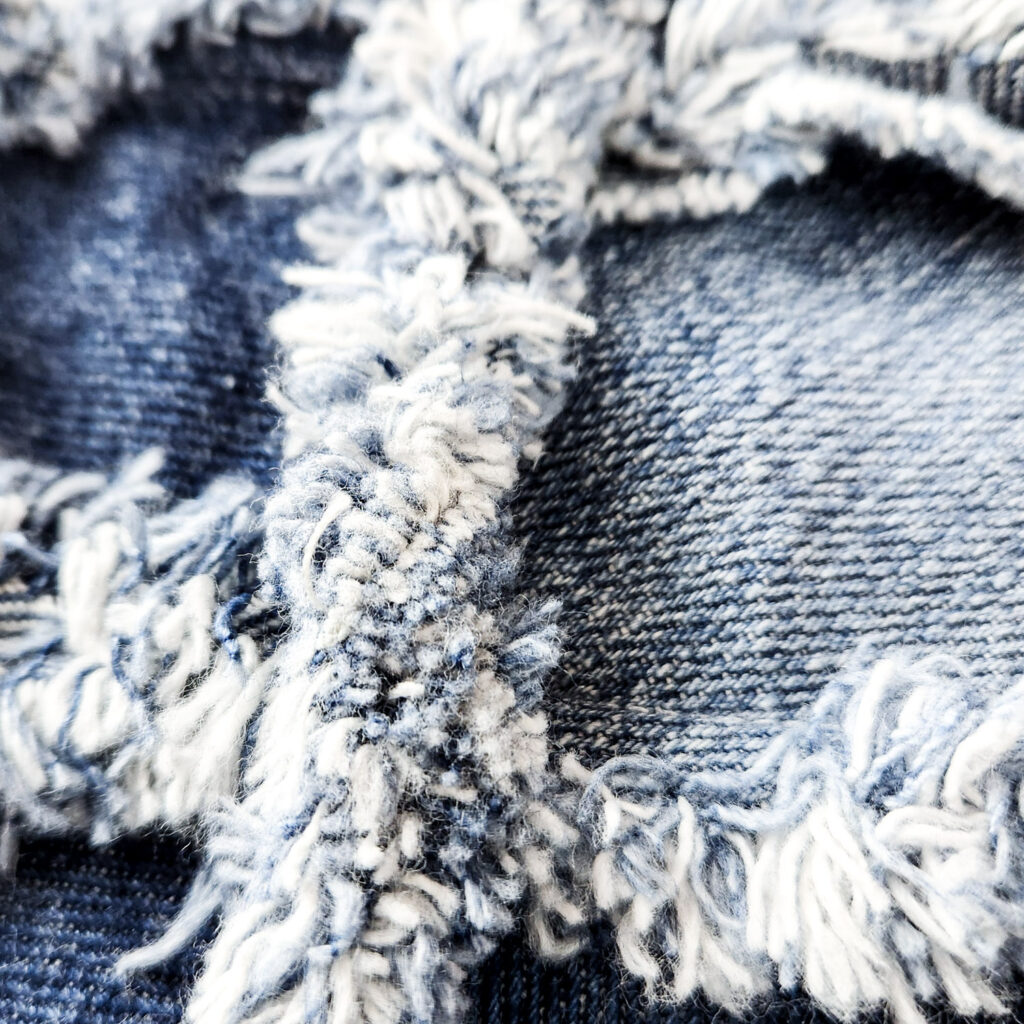
Josy swatch has frayed edges mainly reveal the white weft yarns, creating a lighter and more uniform effect. Rosy swatch frayed edges on the other hand are bicolored and very fluffy, creating a cozy and playful texture.
BACK TO BEGINNING…
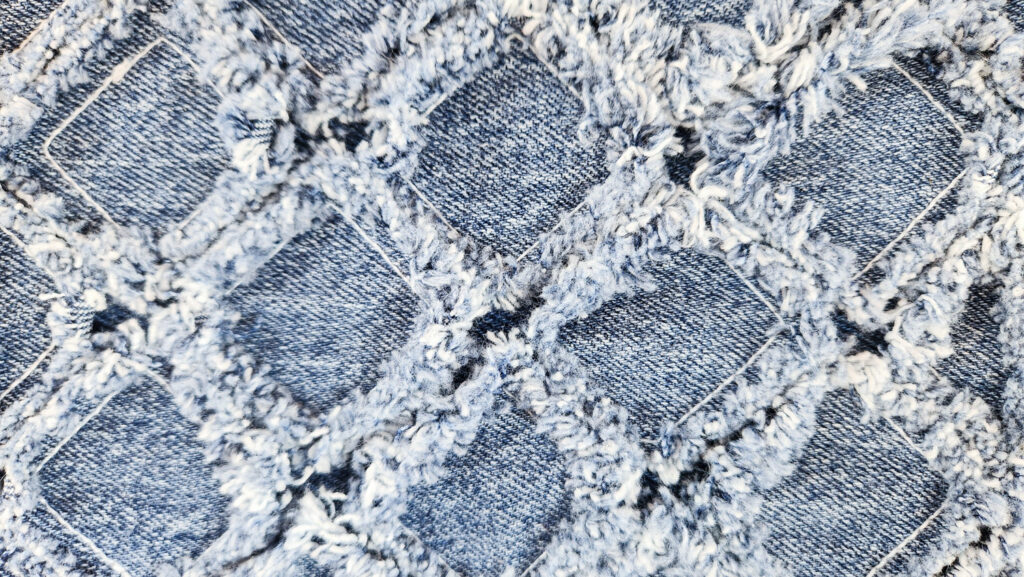
“How to do this type of fringed effect?”
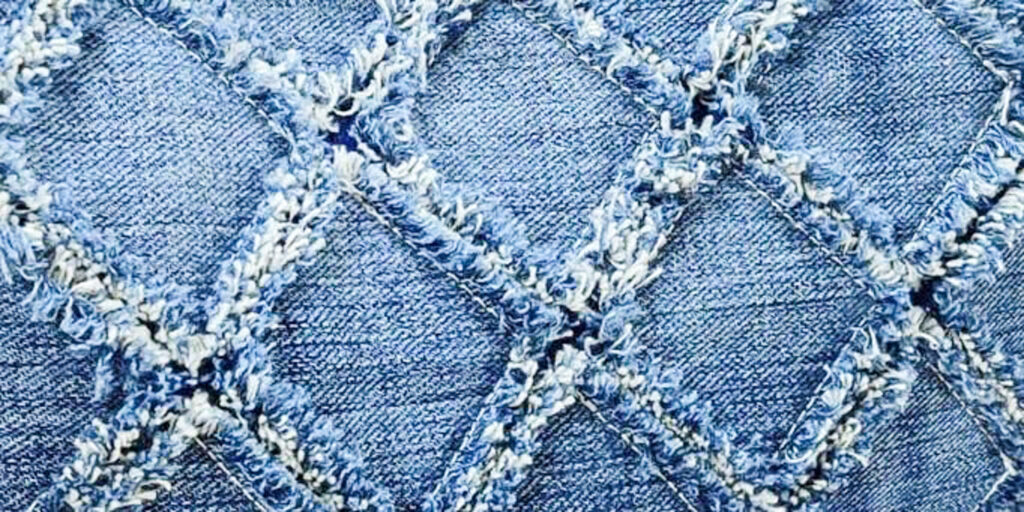
Analyzing the picture with our new found knowledge we see:
- The diamond pattern increases the level of difficulty.
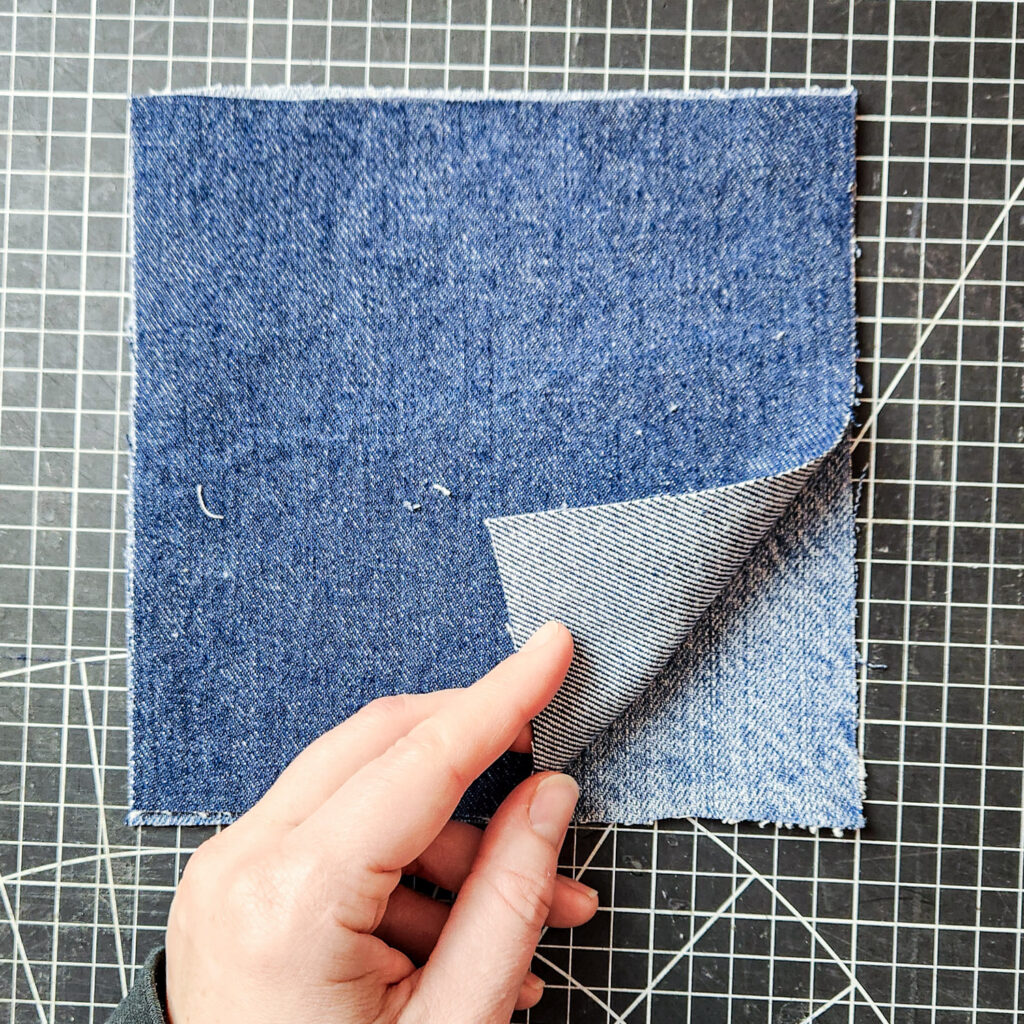
- There appears to be a base fabric with a second layer stitched on top.
- The bicolored fraying suggests the cuts were made on the bias.
This effect falls more into the fabric slashing technique.
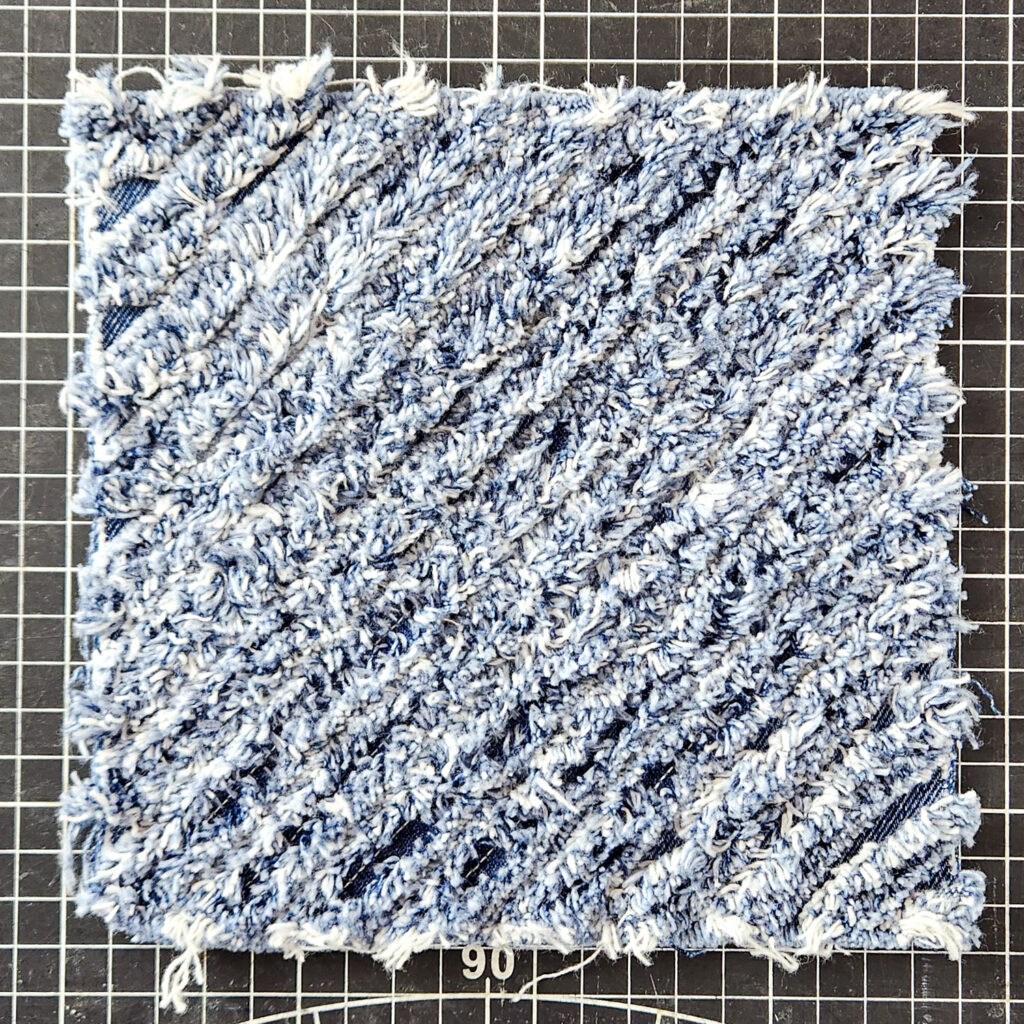
Diamond pattern fabric slashing
To test this idea, I created another sample.
I cut two 7 × 7 inch squares and traced diagonal lines using fabric chalk.
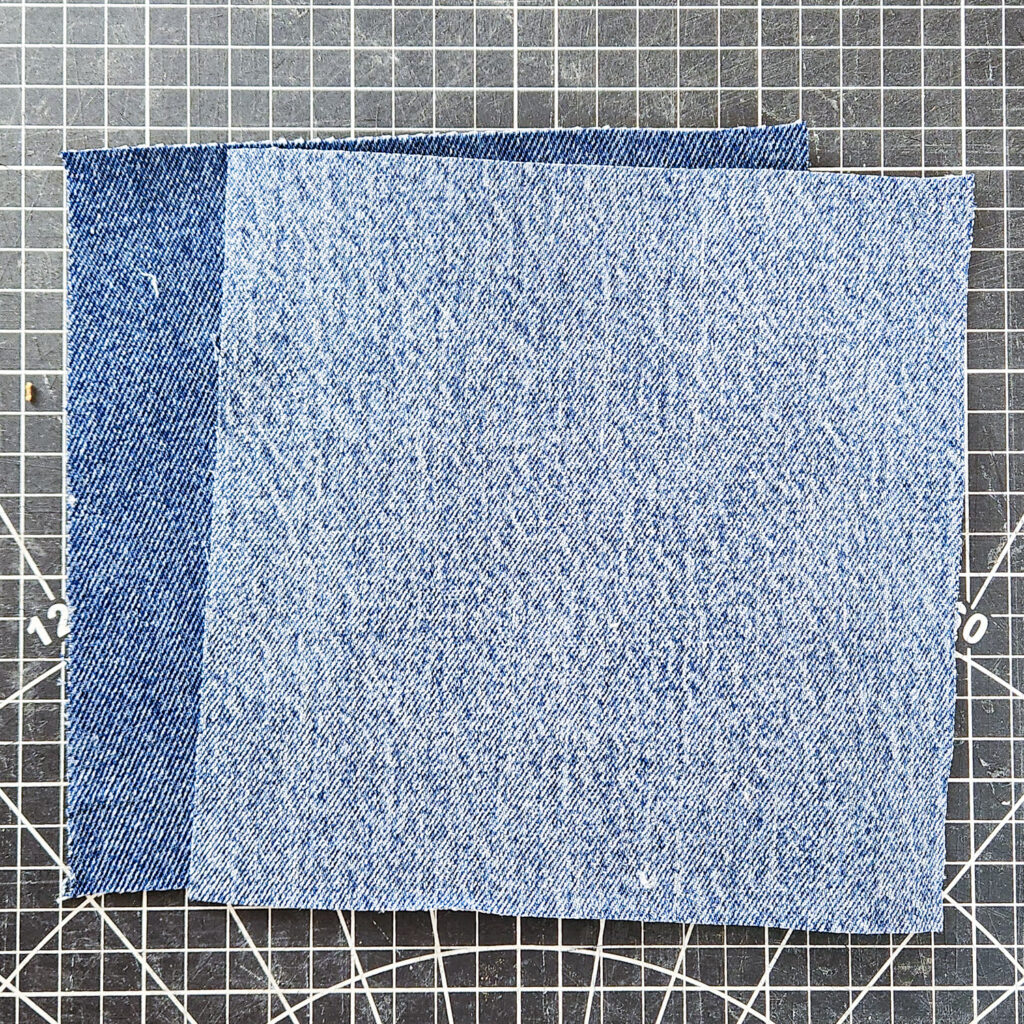
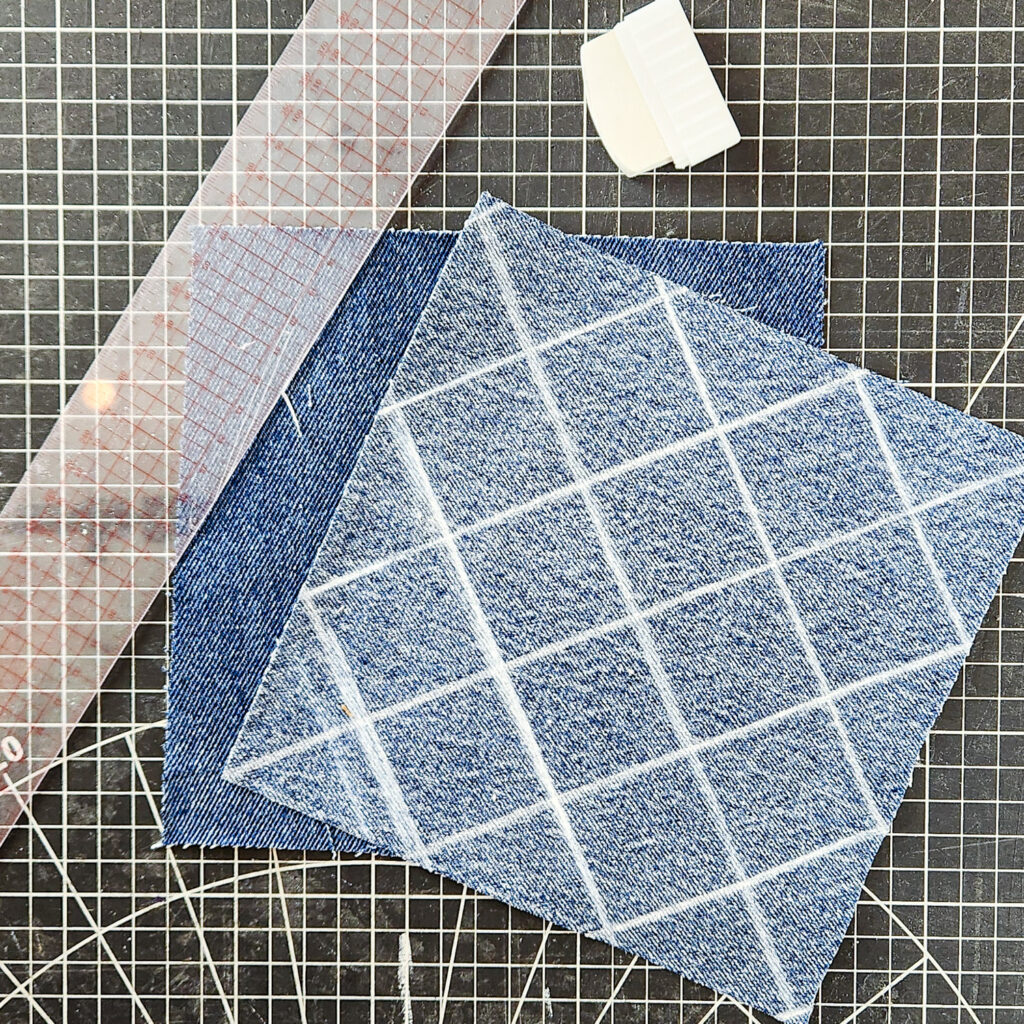
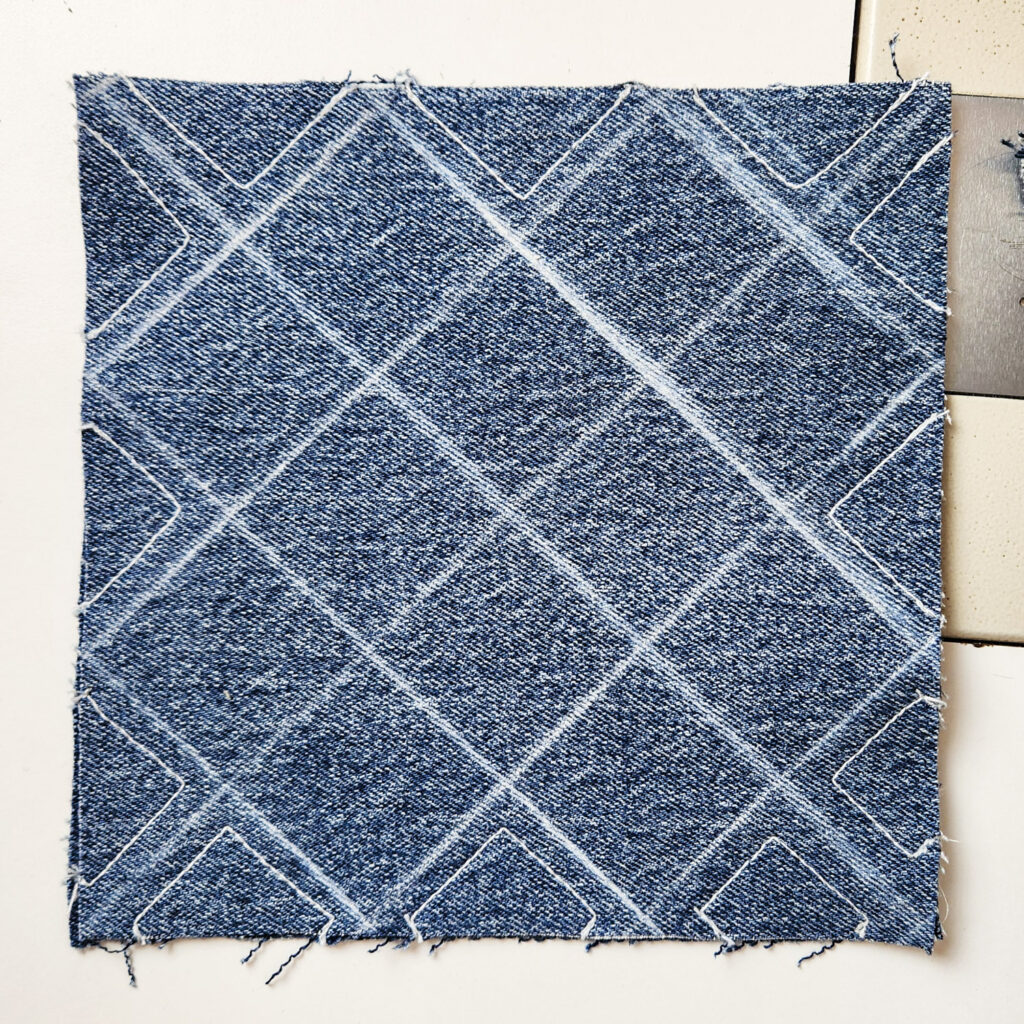
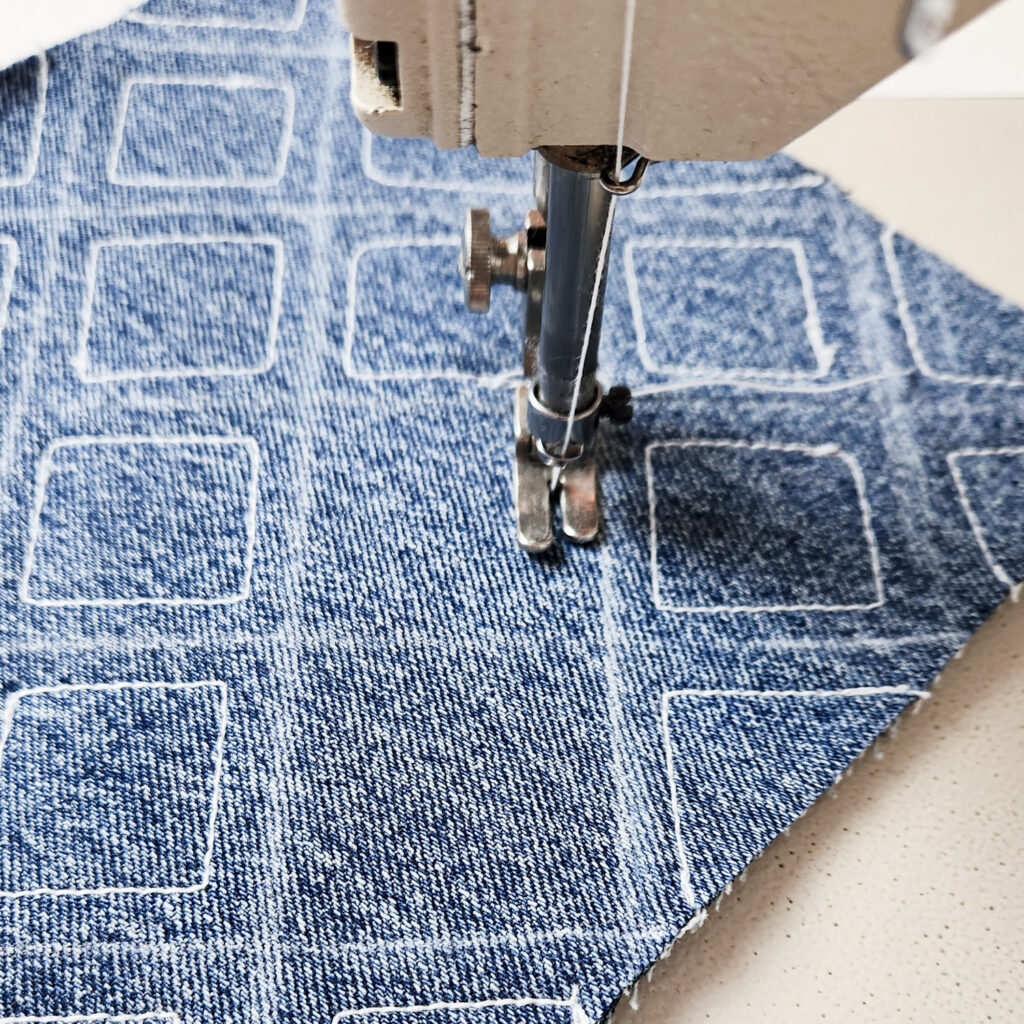
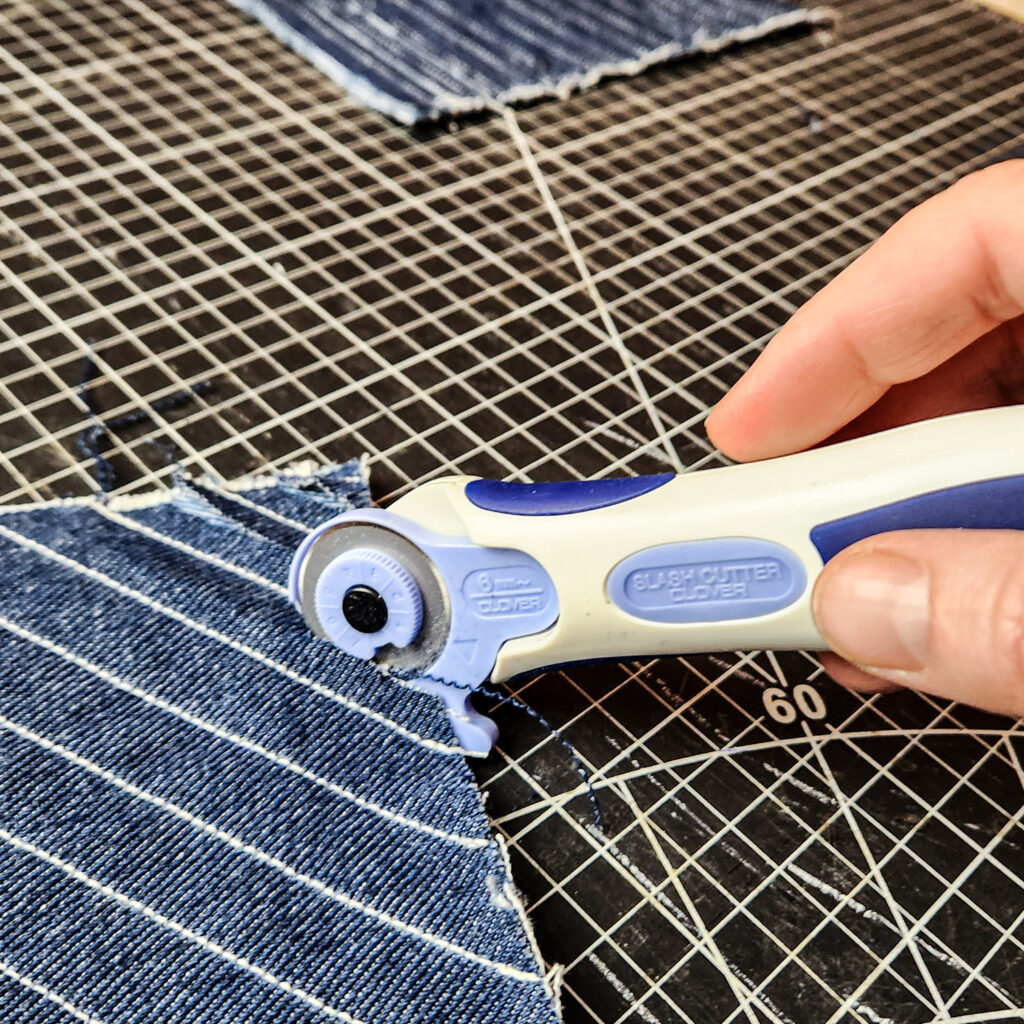
I sewed rows ¼ inch apart following the diagonal lines.
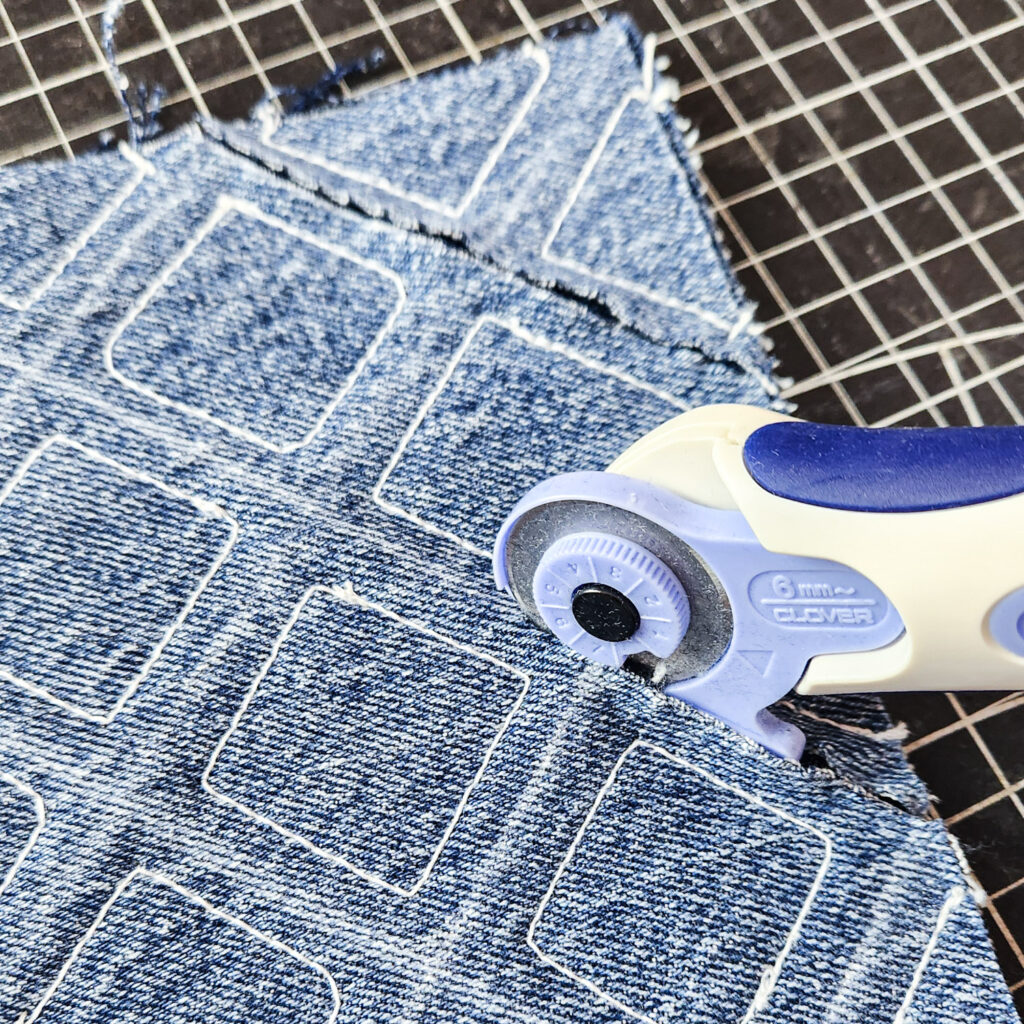
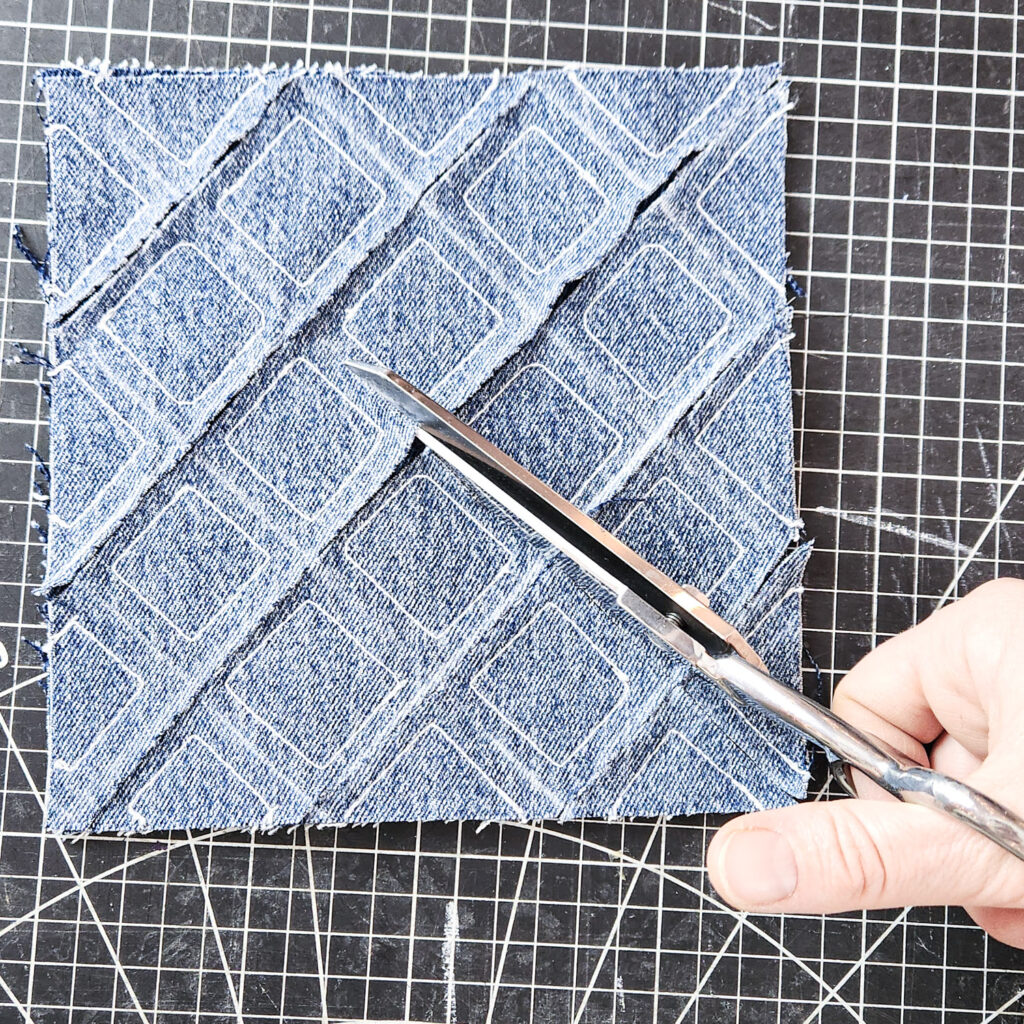
I slashed between the rows with a rotary cutter on one side and scissors on the other where the cutter was harder to control.
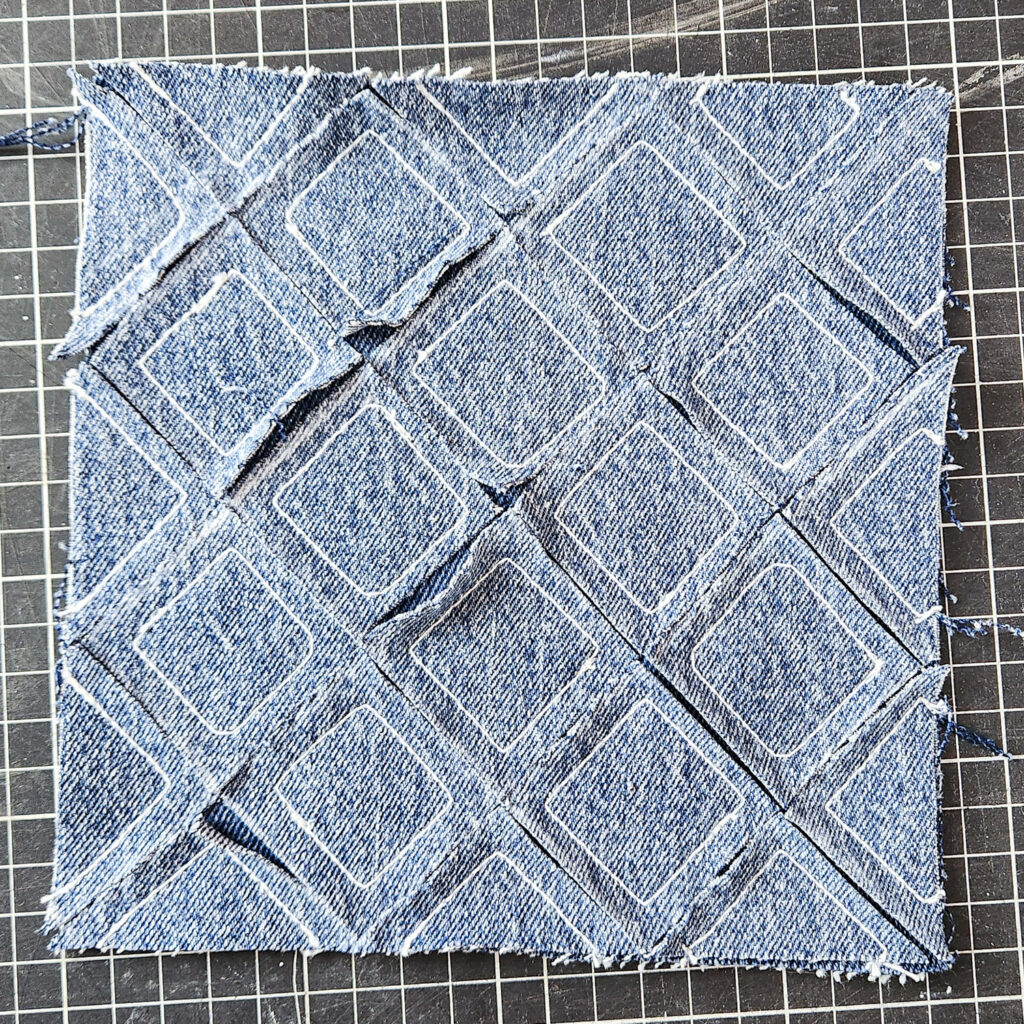
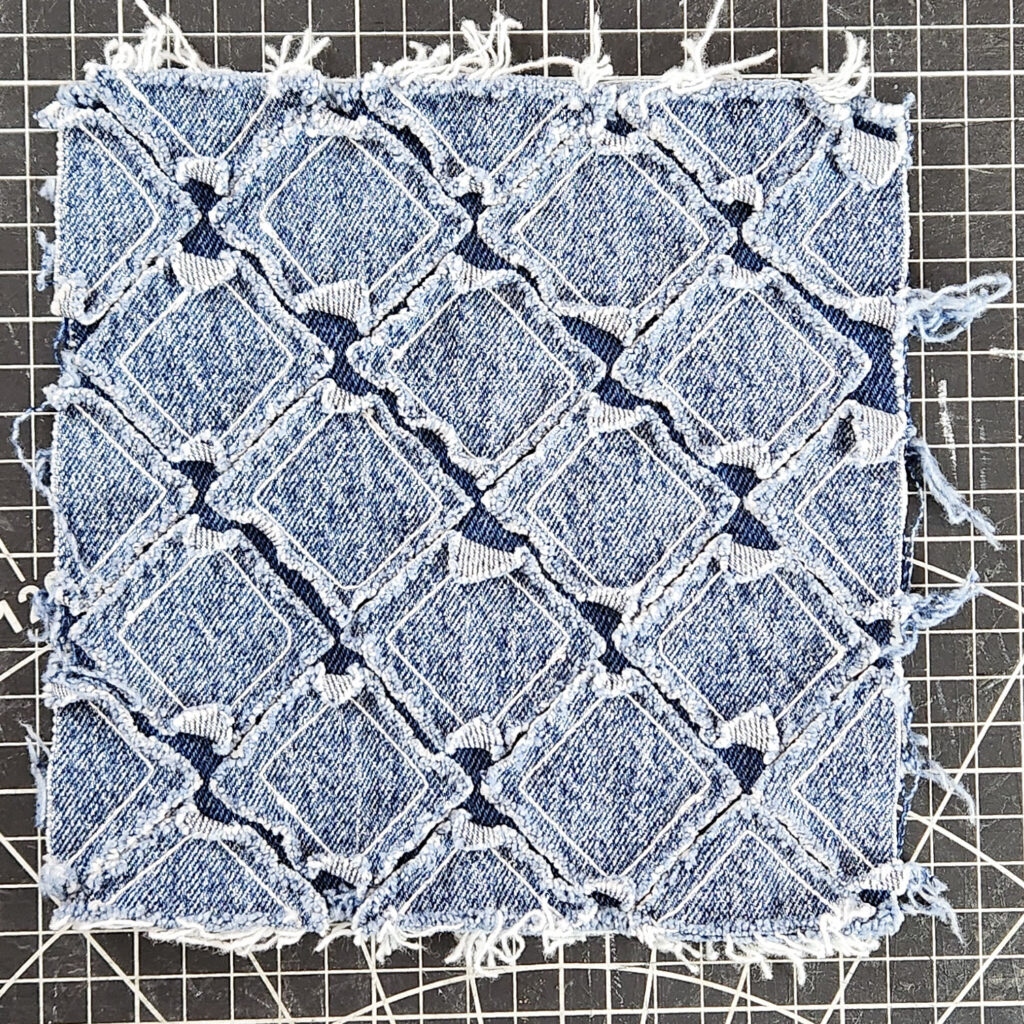
I washed the sample twice. Used the dog brush to hand-fray all the cut edges.
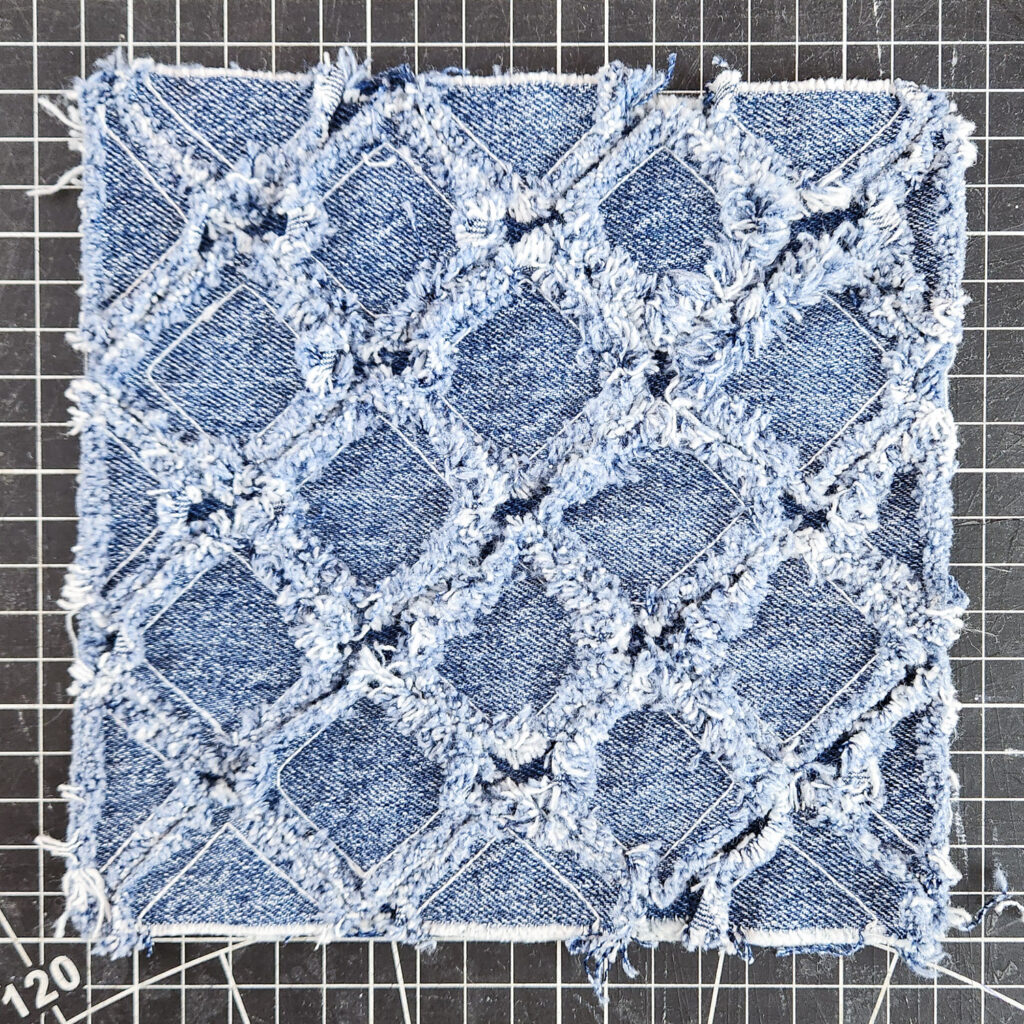
I think this is the closest result to the original picture.
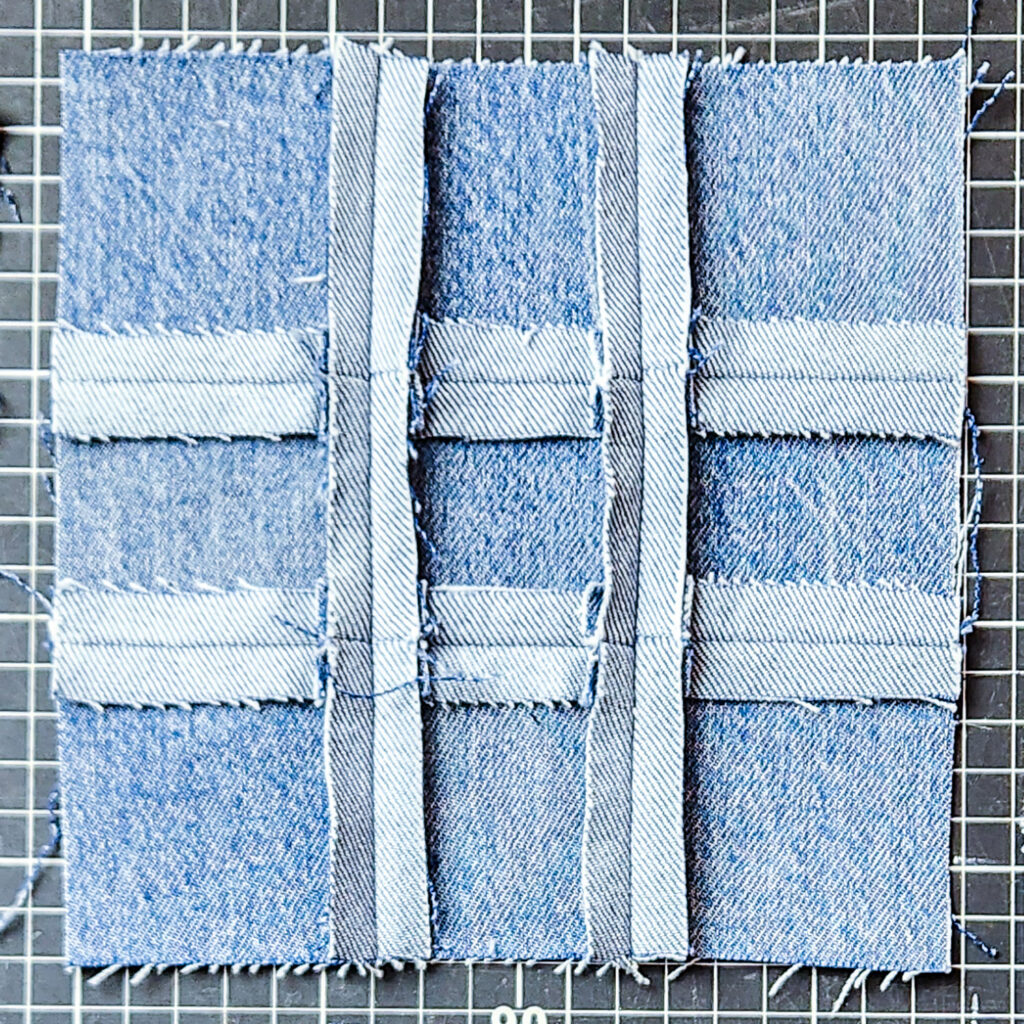
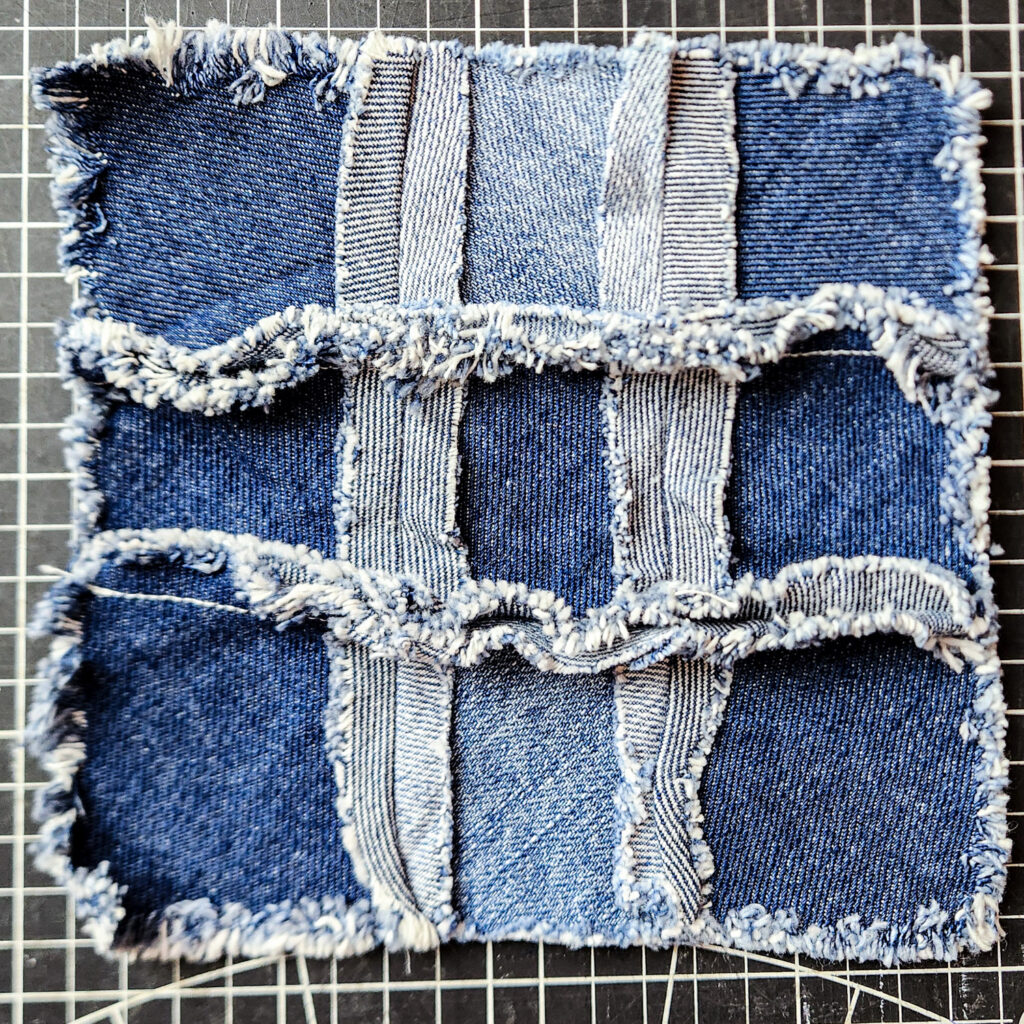
For the fun of comparison:
Top sample: Fabric slashing
Bottom sample: Rag quilt technique
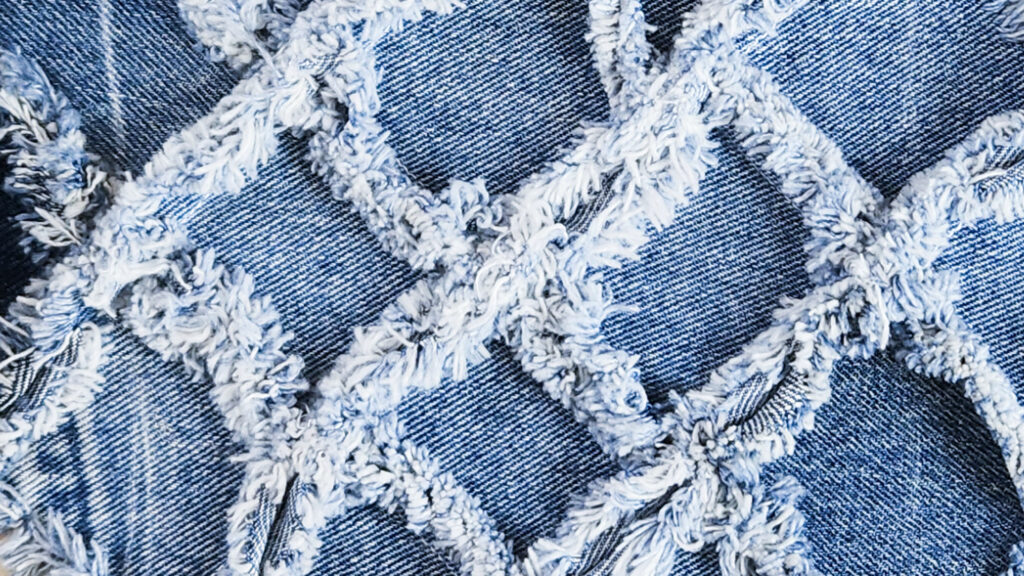
Although both techniques can be used, I feel that for this particular diamond pattern effect, fabric slashing produces a cleaner result.
A Final Note
I had so much fun with this experiment! I completely lost myself in a rabbit hole of denim samples. I only shared a few here because the newsletter was already getting quite long… or was it? 🤓
As always, I love hearing your feedback. Feel free to hit reply and let me know which sample was your favorite!
Subscribe to the newsletter for here
Warmly,
Ariane xo 💙
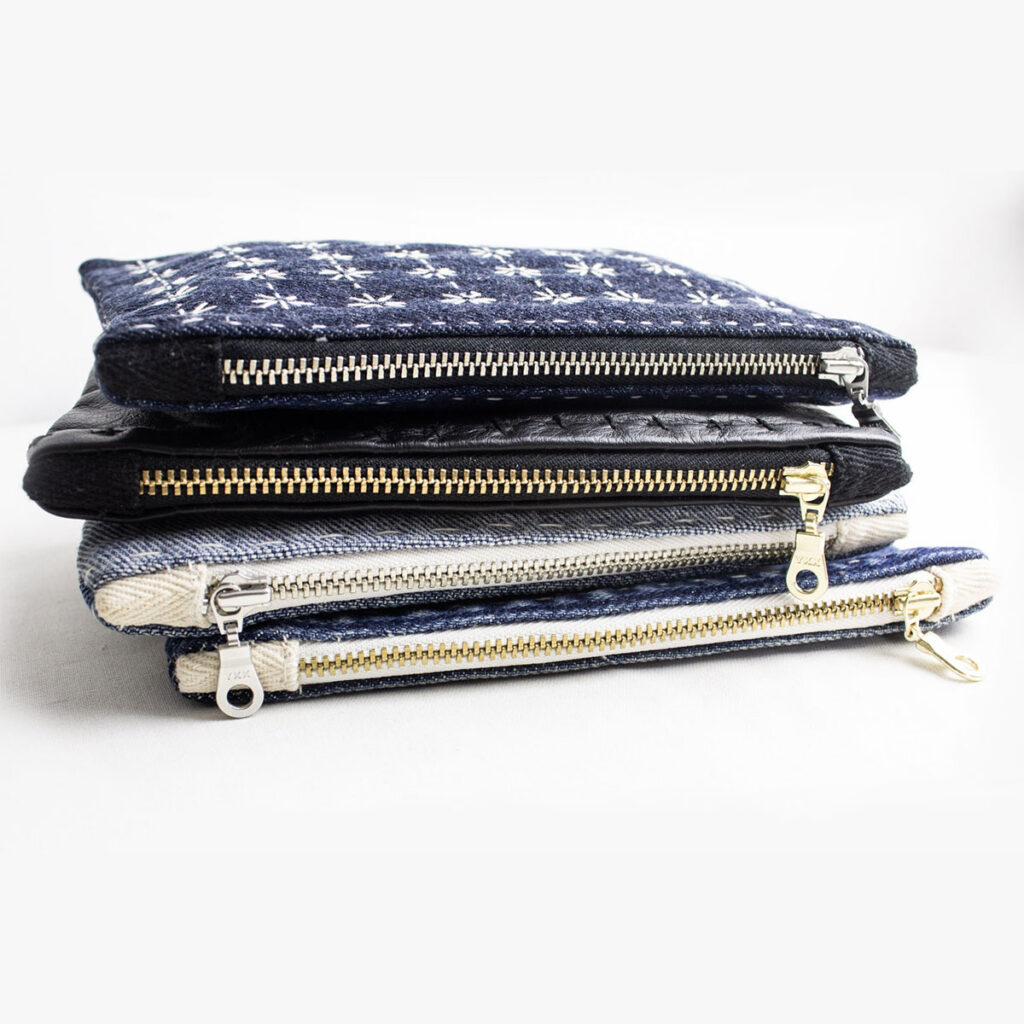
Do you wish to make your very own denim pouch...
Deb Downs
Wonderful demonstration Of working with denim. Thank you for the in detailed pictures and instructions. They were extremely helpful in learning a new technique I’ve never tried.