


COOL SEWING PROJECT FOR BEGINNERS
Hey there! Is this your first sewing project?
I'm super excited to make this with you, and I'll be here to guide you through each step of the process. So, you know those old jeans you were thinking of donating? Well, keep them because we're going to transform them into adorable scrunchies...
MATERIAL NEEDED


→ The downloadable pattern has Josy scrunchy and bow
Both pattern are in 3 sizes- small-medium-large


→ Elastic 0.5 cm/ 3/8 inch (Amazon link)
→ Ribbons (Amazon link) optional
To create styles variations, it can be interesting to incorporate all kinds of ribbons — grosgrain, twill tape, etc.


→ Sewing scissors (Amazon link)
→ All-purpose scissors (Amazon link)
→ Small X-Acto (Amazon link)
→ Larger X-Acto (Amazon link)
For machine sewing, you can use all-purpose polyester or cotton thread.(Amazon link) However, if you're hand-sewing, I find it more interesting to use thicker thread, tex 60 or 70.


If you prefer machine sewing, use size 90/14 sewing needles if you're sewing denim. If you are hand-sewing denim, I like to use Sashiko needles. Use what you have on hand, but keep in mind that thicker fabric requires a sturdier needle.
→ Home sewing machine needle assortment (Amazon link)
→ My favorite Sashiko needles (Amazon link)
7 SEWING TIPS FOR BEGINNERS
Chatting about the fabric grainline, the right and wrong sides, notches, pinning, etc. Just pure fun!
SEWING STEPS
Step 1 : Fold and pin


Fold piece A in half, right sides together, Align the notches together, and pin in center.
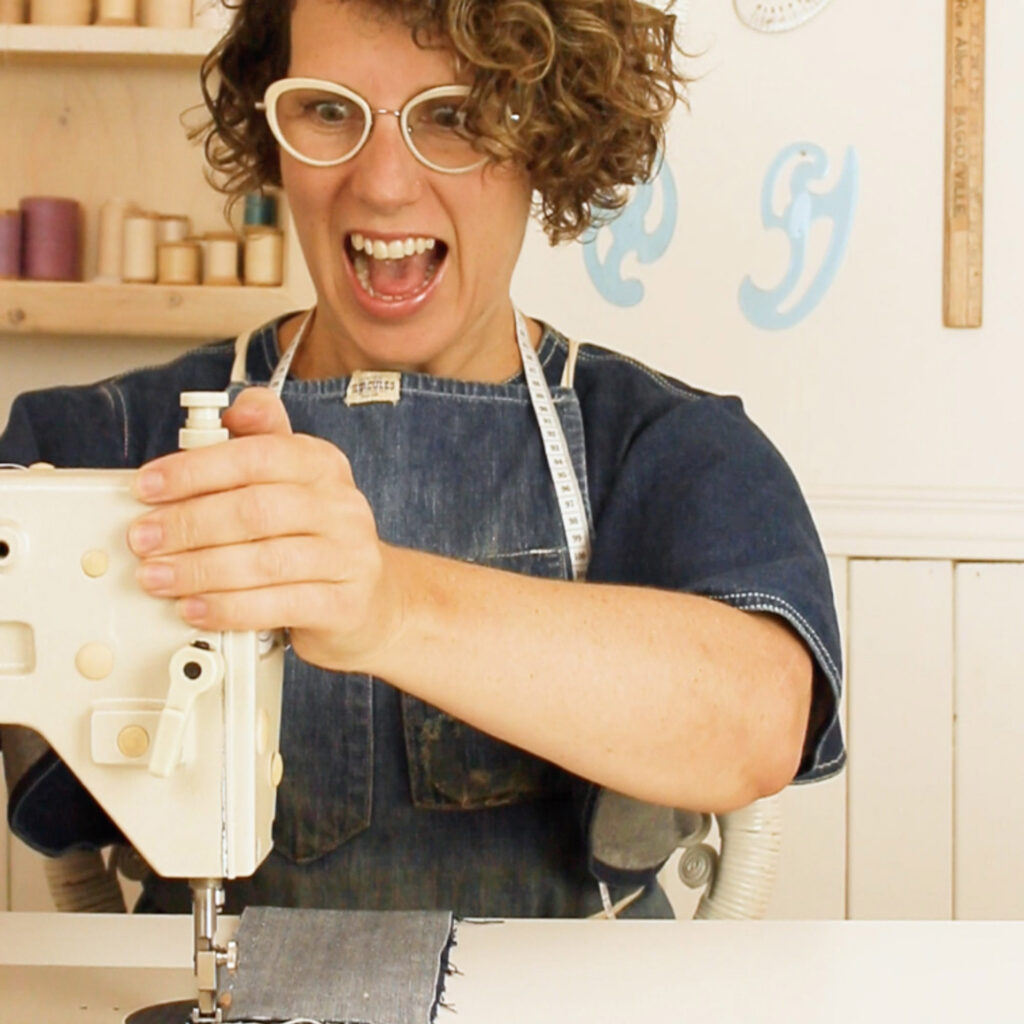
Step 2 : Sew the sides together


Locate the first notch. Align your needle with the notch and position the edge of your fabric on the guide line to maintain a 1 cm (0.5 inch) seam allowance. Lower the presser foot. Lower the presser foot.


Start sewing at the first notch and sew with a 1 cm seam allowance until you reach the second notch. Make sure to backstitch at the beginning and end of the seam to secure it.
Step 3: Turn right side out


Pssst! Like this kind of content? Sign up for the denim upcyclers monthly newsletter!

Step 4: Insert the elastic


Step 5 : Sew the ends together


Step 6 : Finishing seam


SHARE YOUR CRAFT

Share you creation using #denimupcyclers. Join our Facebook group here
One reply on “DIY | COMMENT FABRIQUER DES ÉLASTIQUES CHOUCHOUS“